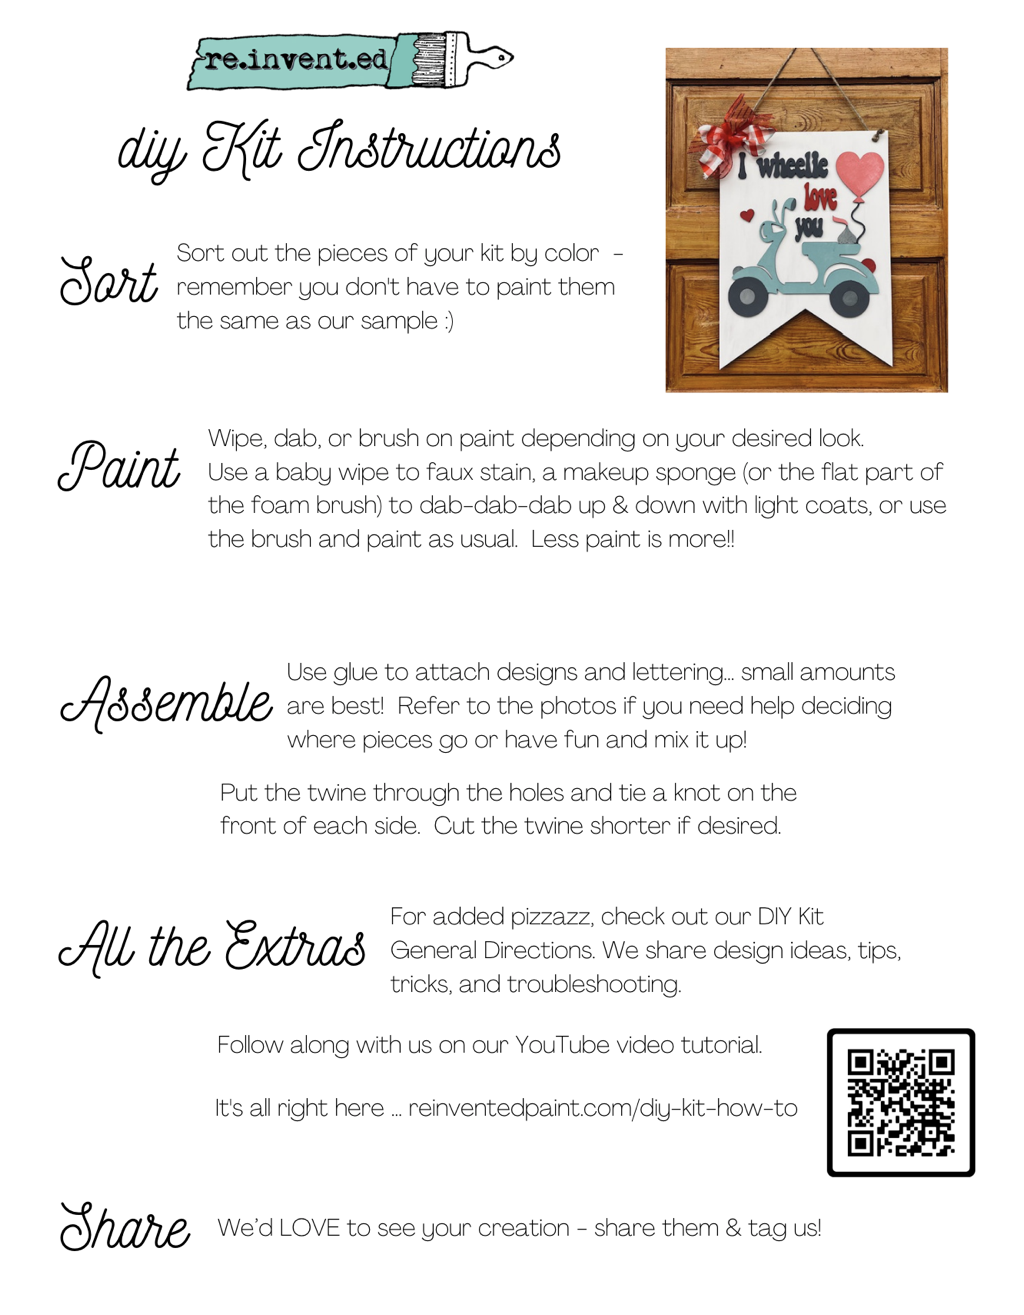
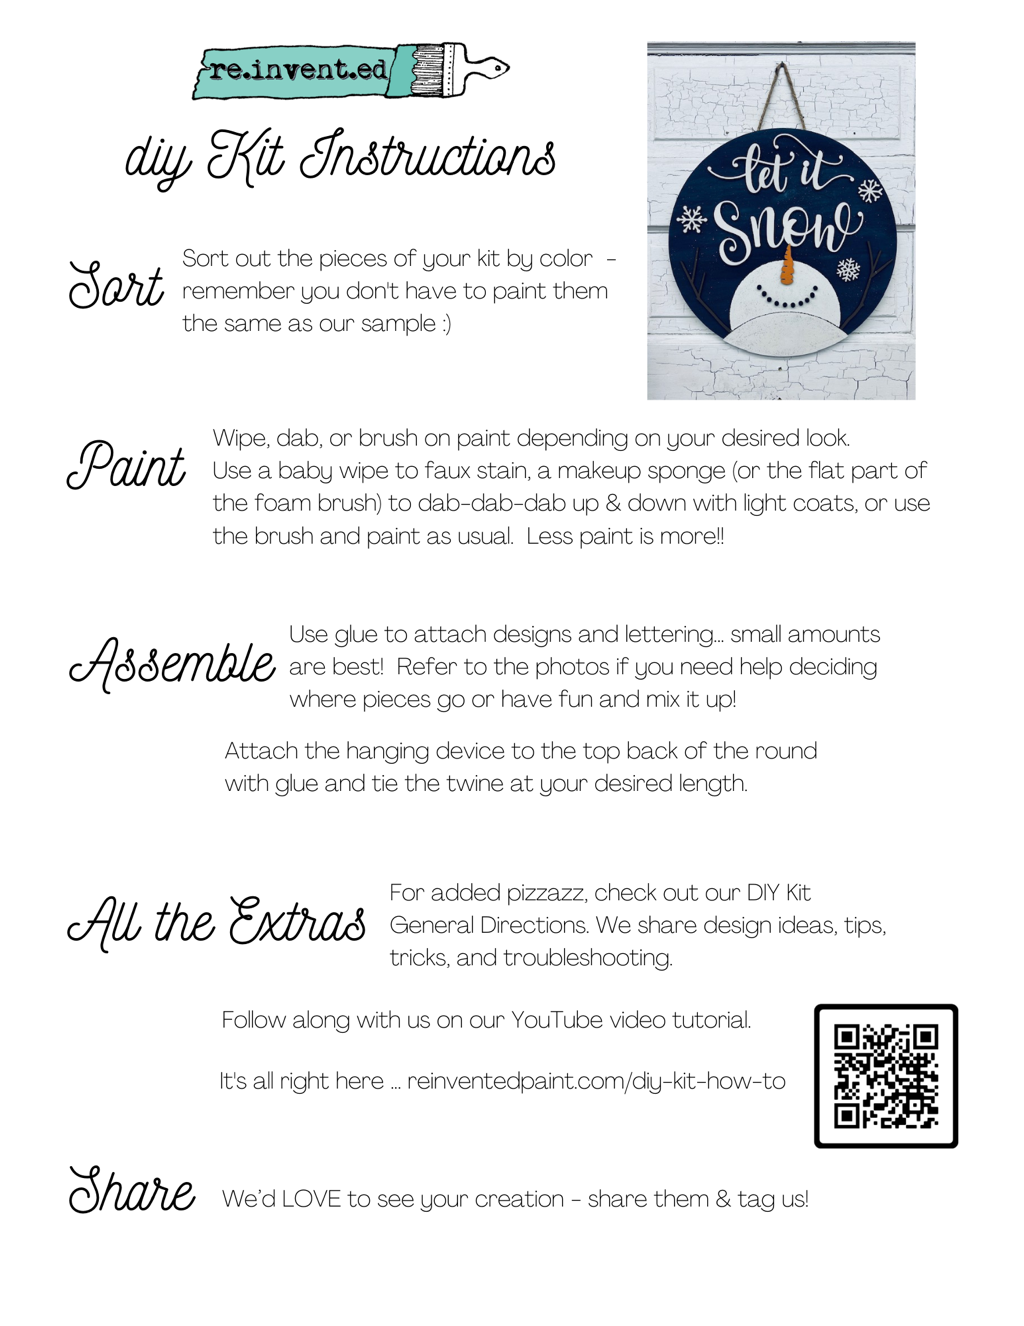
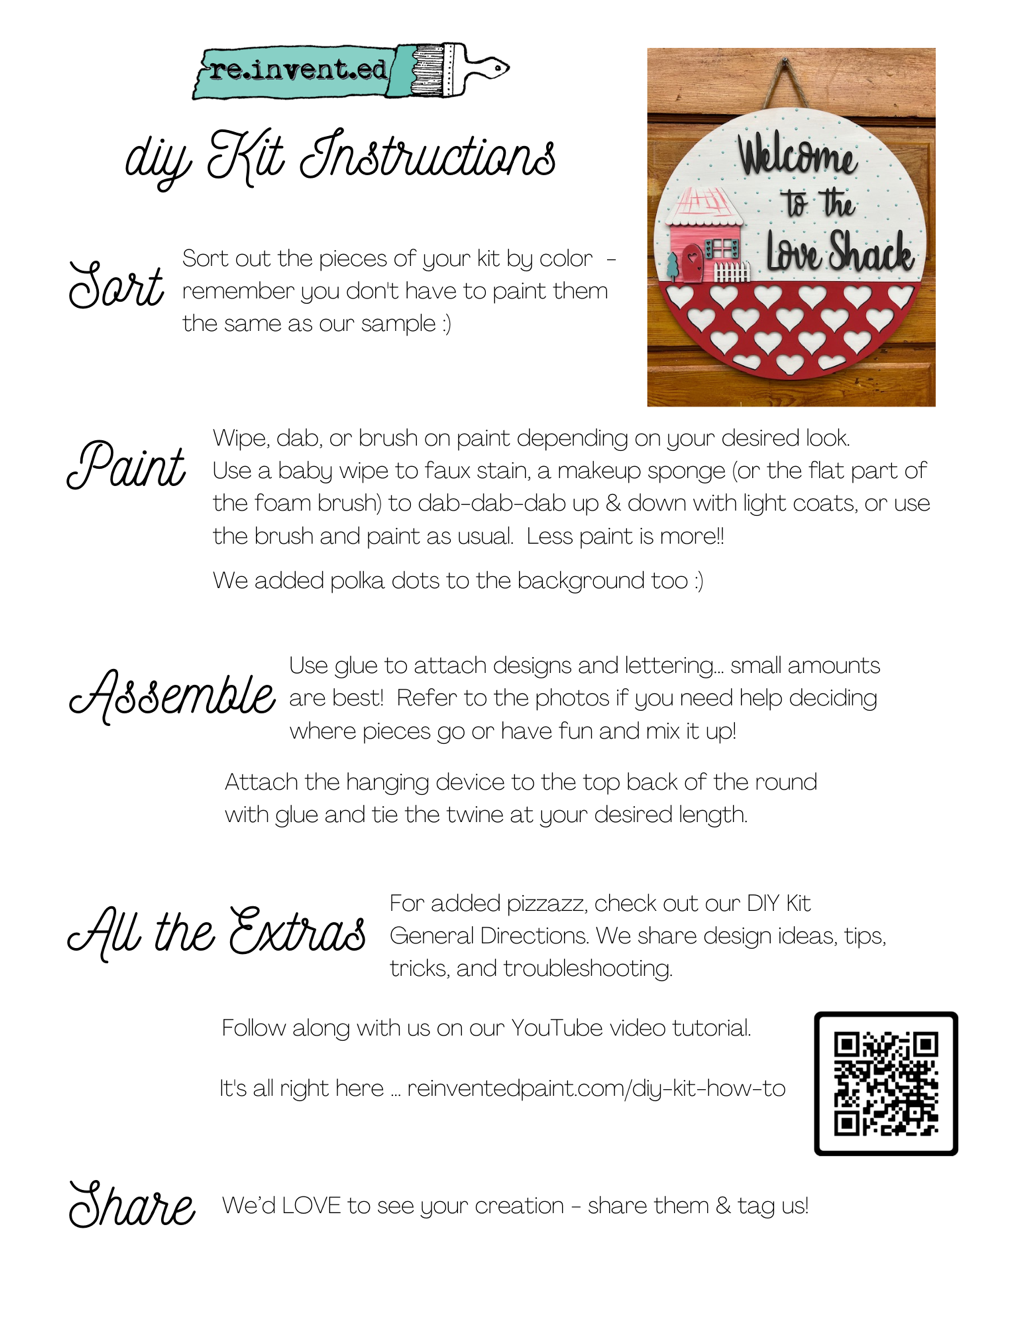
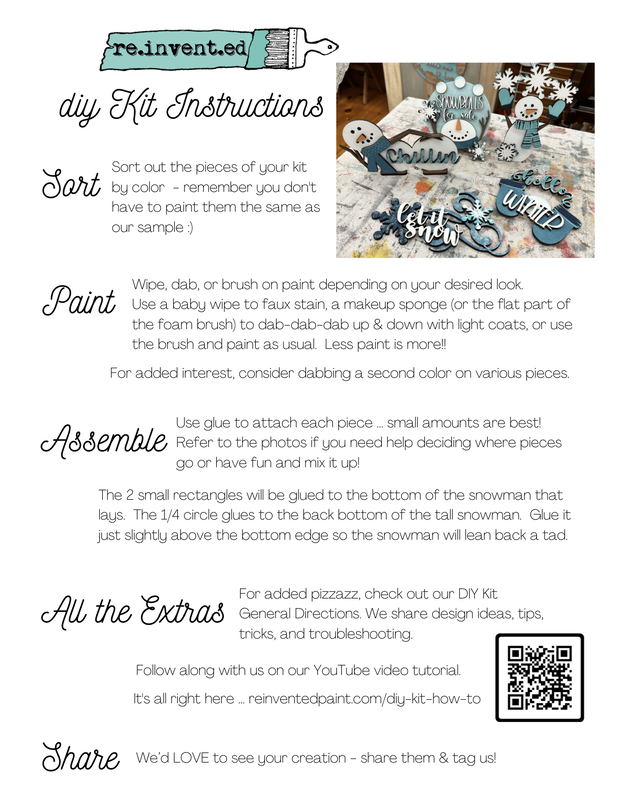
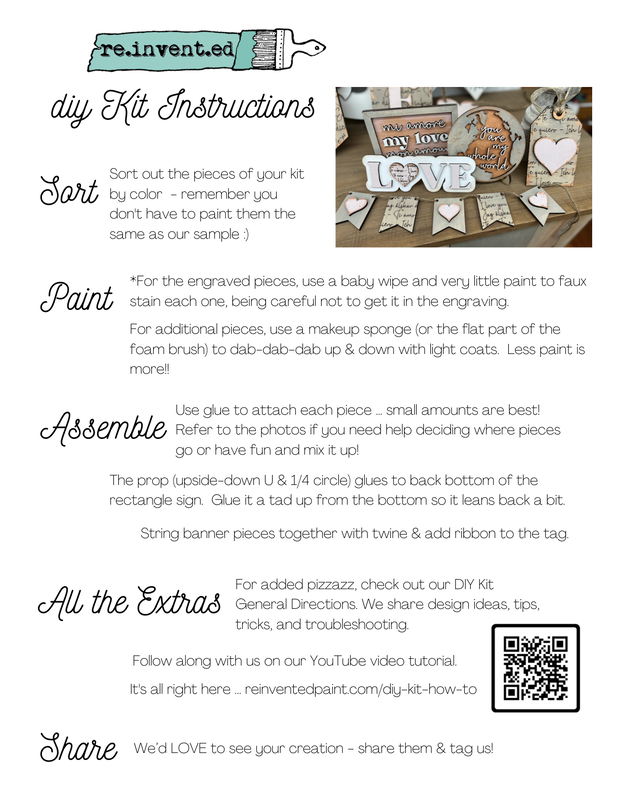
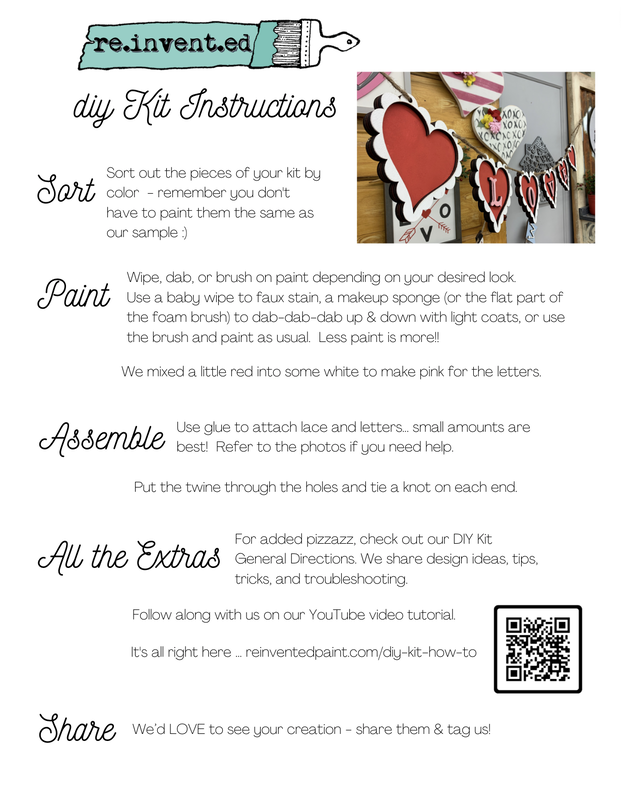
How To Photos...Videos...Directions
General Directions, Tips, and Tricks
*** If you can't find a picture of your project on our website or FB page, check your email. There should be a picture on your receipt from when you purchased your kit.
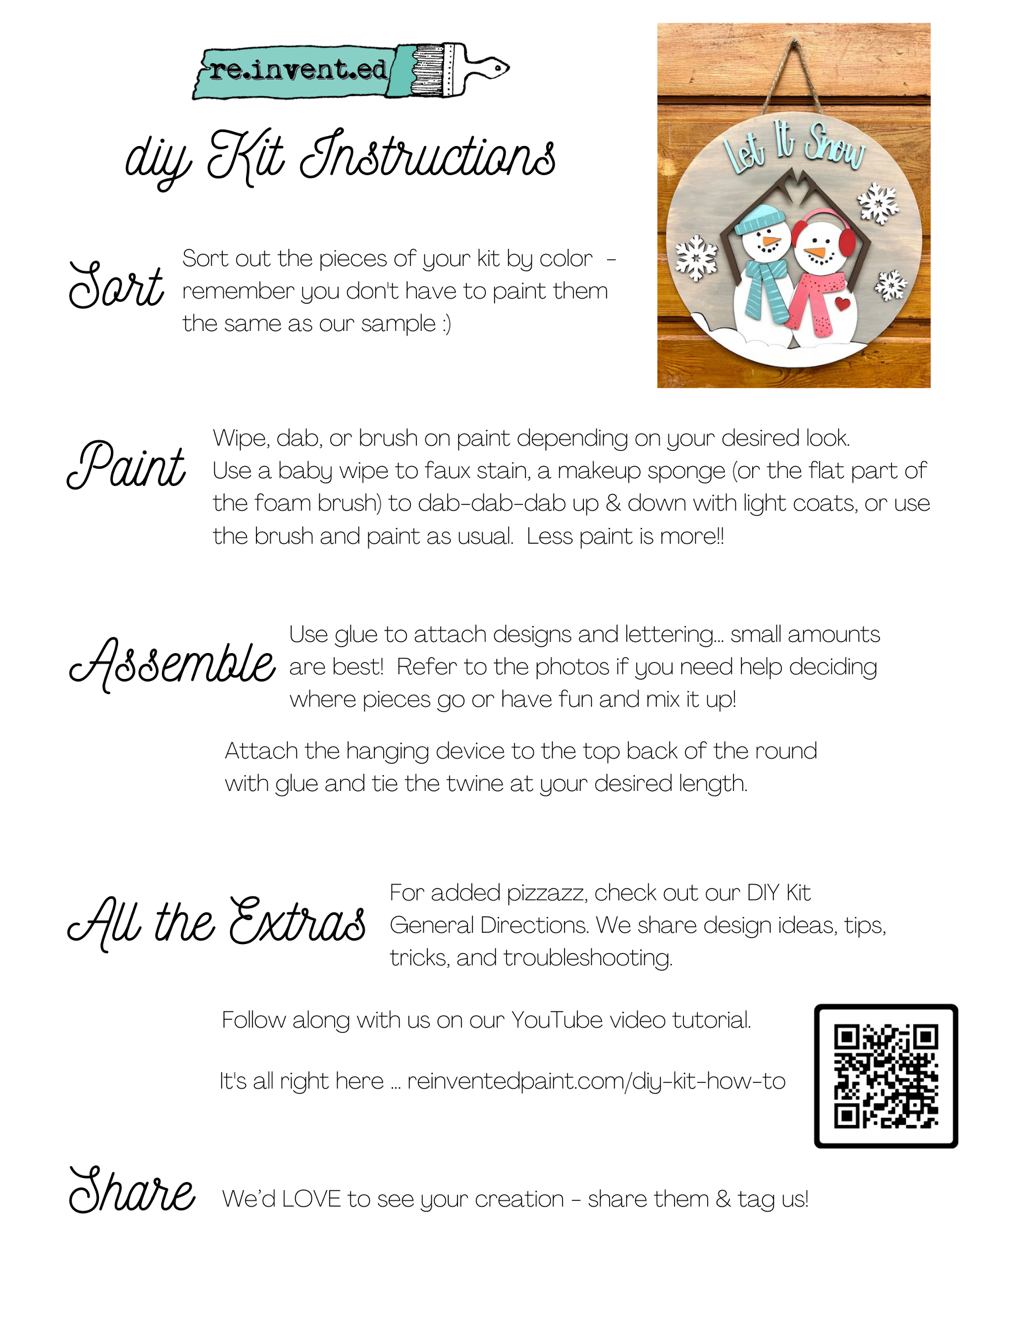
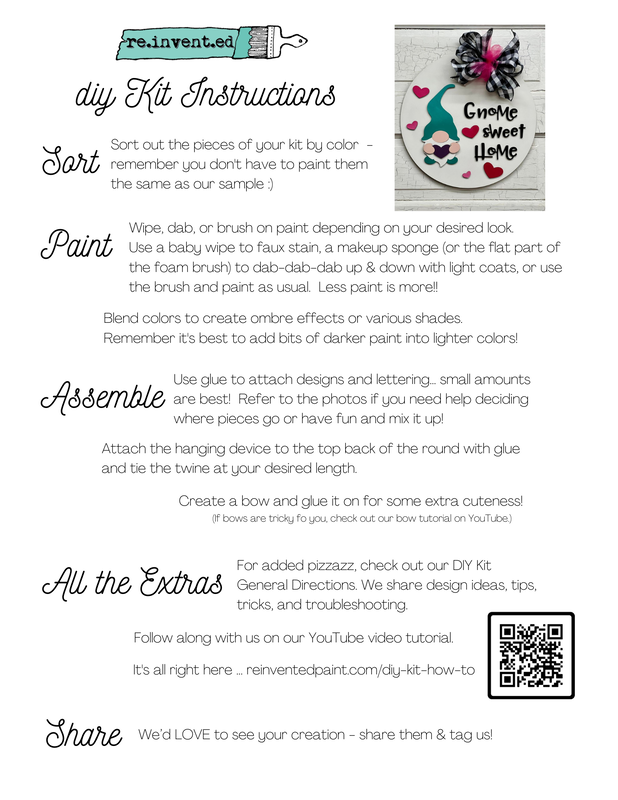
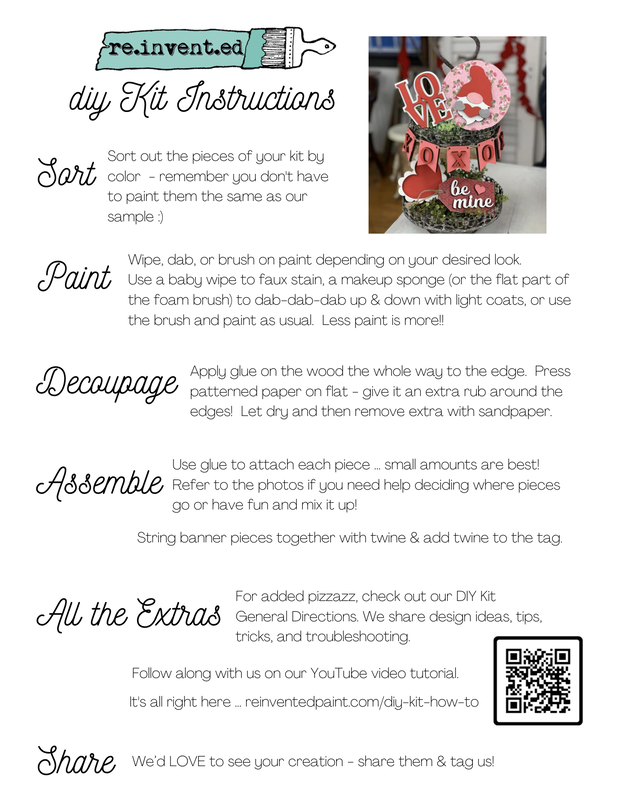
- Backgrounds or large pieces ... I often use a foam brush or a roller to paint backgrounds. You can also use a large sponge or chip brush. Do 2 coats for more solid coverage.
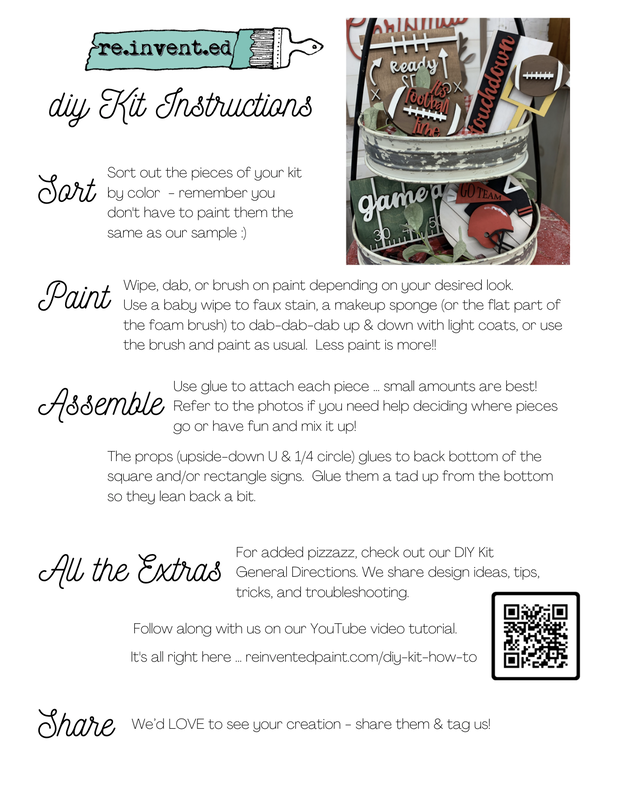
- For smaller 3D pieces, use a round dauber, foam (makeup) wedge, or the side of a foam brush. Paint in an up and down motion to help keep the edges clean. This will create texture however most of this settles down as it dries - I prefer this method because it doesn't create noticeable brush strokes. Thin coats are highly recommended! Less is more and it's better to do 2 thin coats than I thick one.
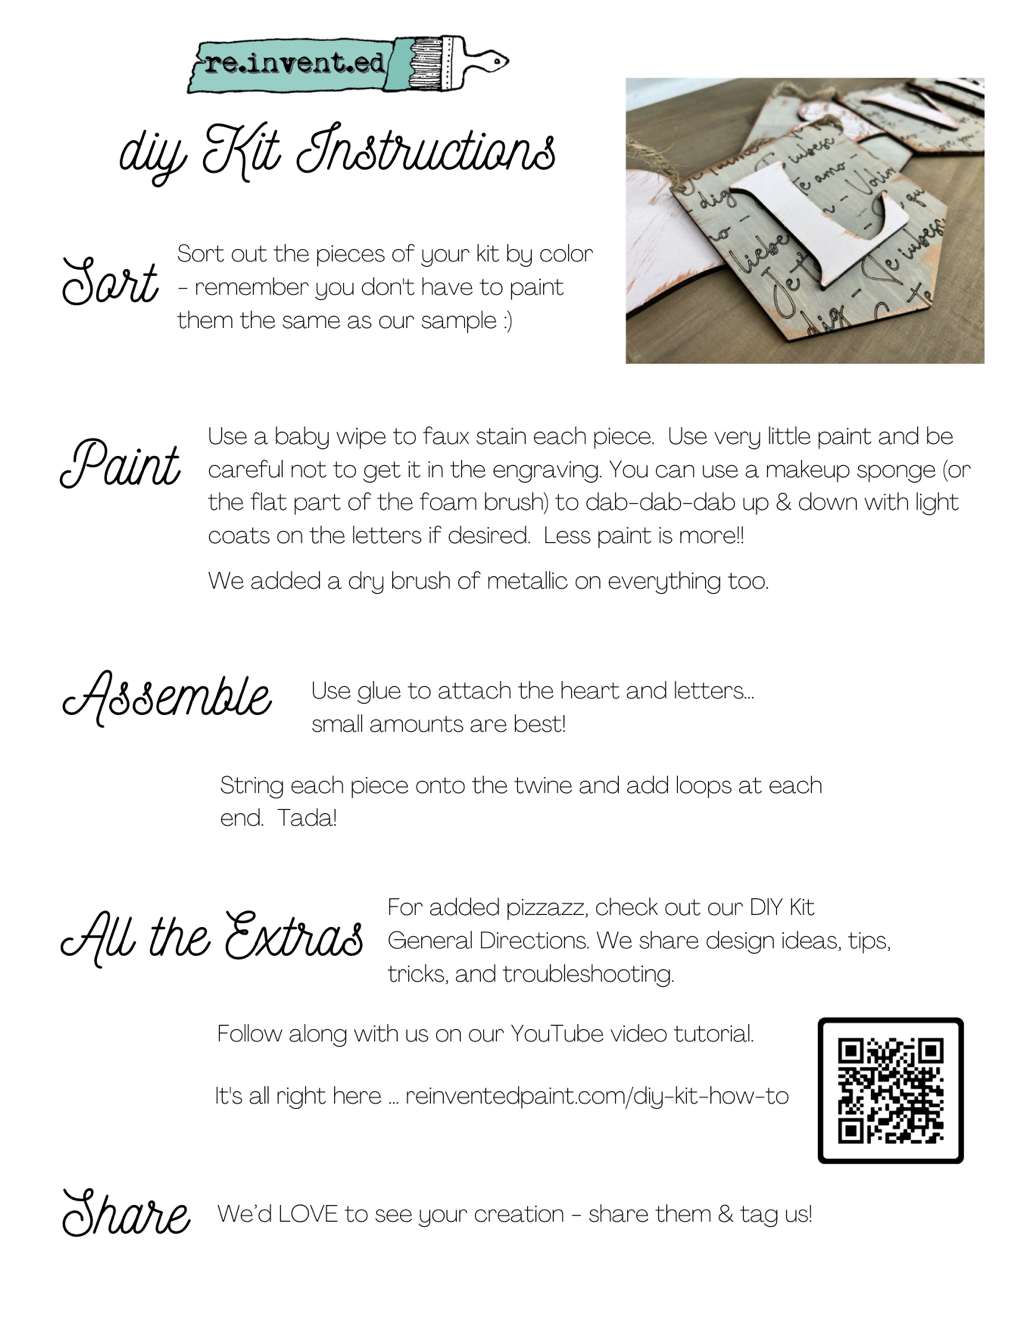
- Alternately, you can apply the paint with a baby wipe (or damp paper towel) for a faux 'stained' look. Rub a small amount of paint onto the surface to achieve your desired color; use a new wipe if it seems too dry. Go with the grain on backgrounds. This is one of my favorite techniques and I use it for large and small pieces.
- If desired, you can use a small amount of watered-down paint to add character... blot some on with a wipe to create an antique look or create splatter with an old toothbrush by running your finger across the bristles to spray small specks of paint onto the surface. Dry brushing is also another option for shading.
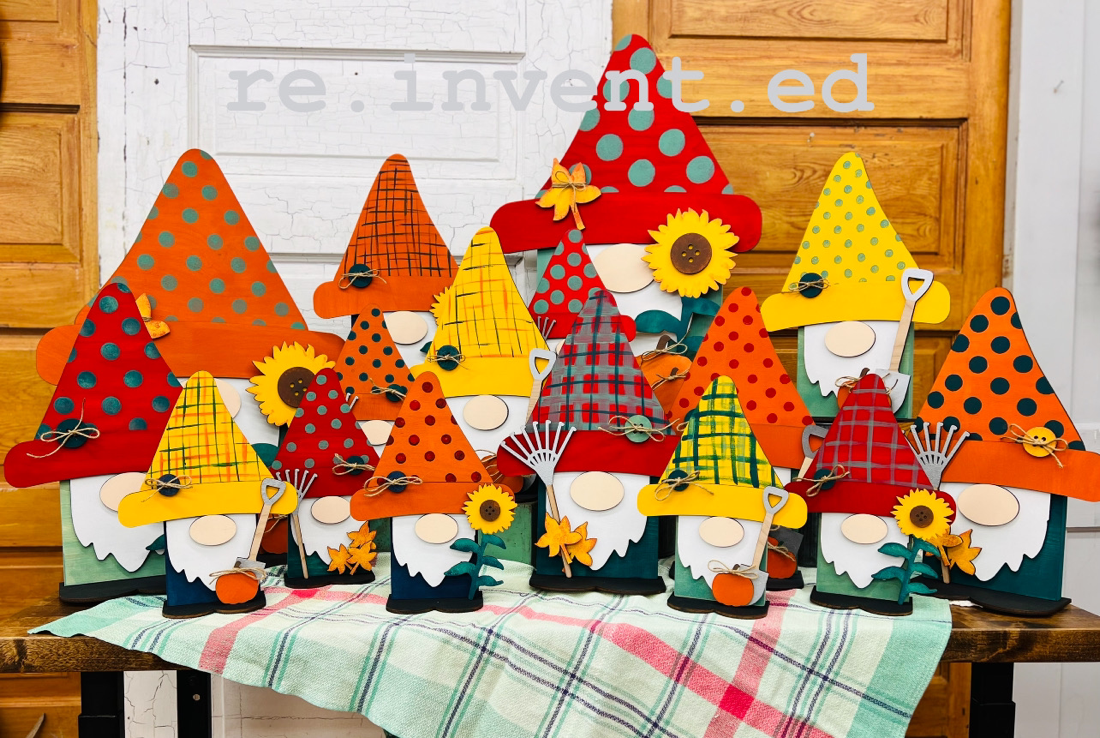
- Design ideas ... we love polka dots! Use a round sponge to create a dot by placing on the wood and rotating slightly to make a full dot. You can also dip the wrong end of a paint brush or a pencil eraser into paint to make smaller dots. Consider adding stripes, outlining, zigzags, etc. Scrapbook paper can even be decoupaged onto pieces for more detailed pattern (just sand the edges to remove the excess when dry).
- I often sand pieces to create a worn look. Sanding also smooths the grain that can sometimes be raised due to the moisture when using a baby wipe.
- Most of the wood in our kits has been cut on a laser. Occasionally, a batch of wood may char on the edges a bit. You may notice it if it smudges onto the white foam wedge or tints light colored paint as you work. We try to avoid having any excess char, however it is always a possibility when working with lasered wood.
- Glue, just like paint, should be used in moderation. Your kit may contain a tube of Super glue - if so, use caution when piercing the top to open it as well as during use. You may have wood glue that can be applied with a brush or sponge - this is easier to work with but takes slightly longer to dry. Whichever glue you use, apply small amounts so that it doesn't ooze out from under the wood pieces. Make sure pieces remain aligned as they dry.
- Final steps ... glue or nail on a hanger. Add twine. Attach a bow. Maybe even add some glitter. Personalize your project to match your own decor!
*** If you can't find a picture of your project on our website or FB page, check your email. There should be a picture on your receipt from when you purchased your kit.
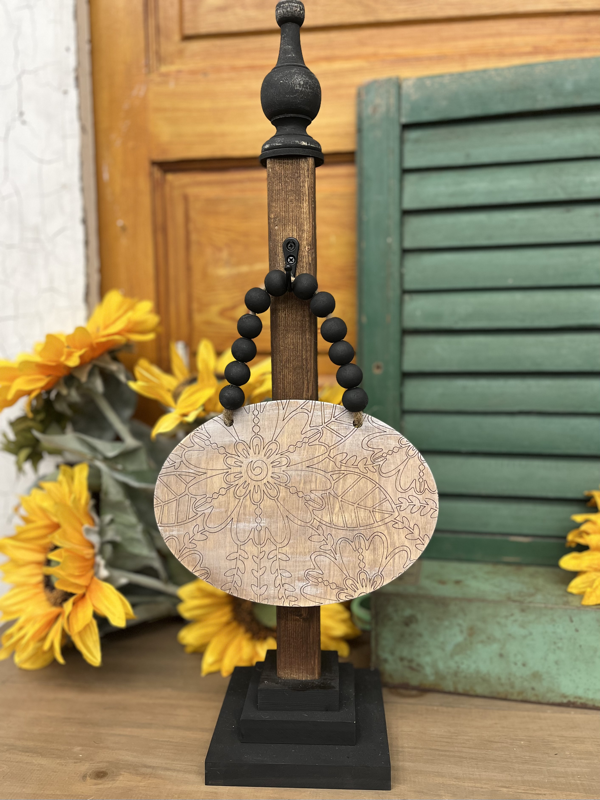
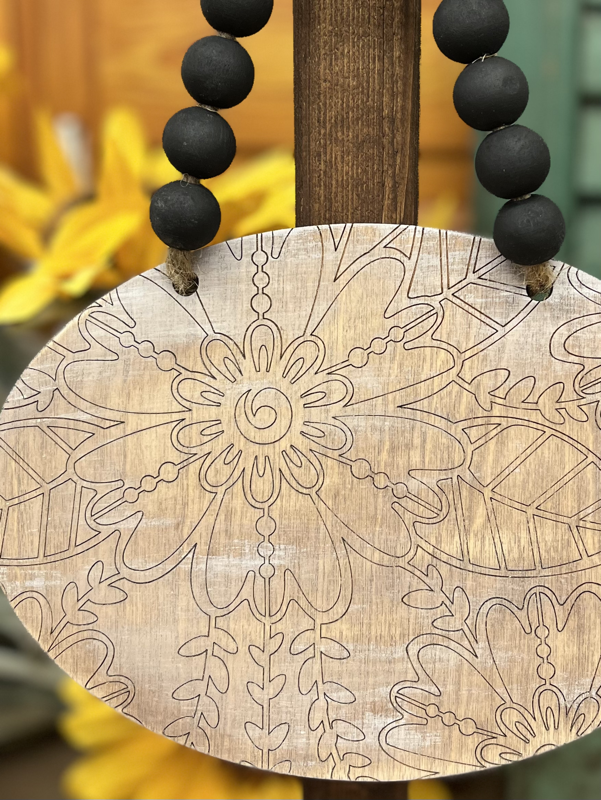
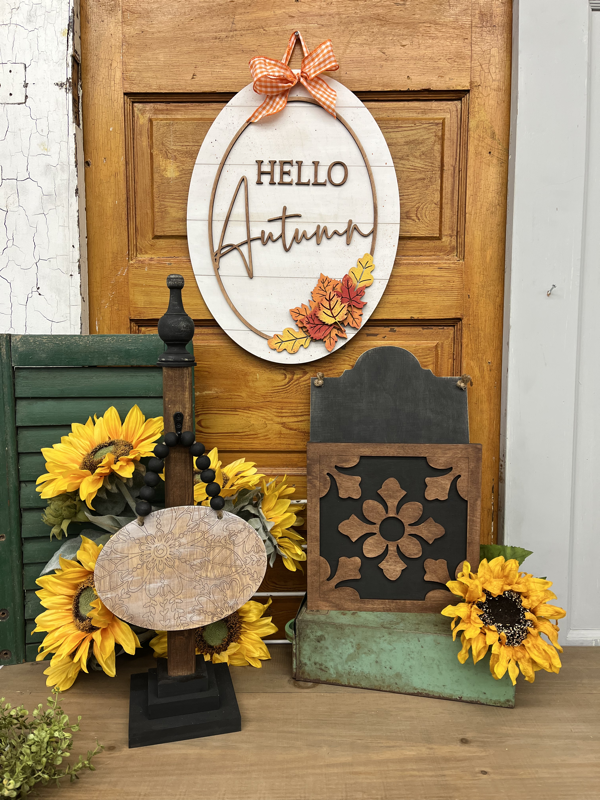
Adding our new stand to the back of your project …
Basic Painting Techniques
Quick & Easy Shading
Splatter, Speckle, Flecking
Creating a Background
Easy Bow Making
Mix & Match Everyday Hangers


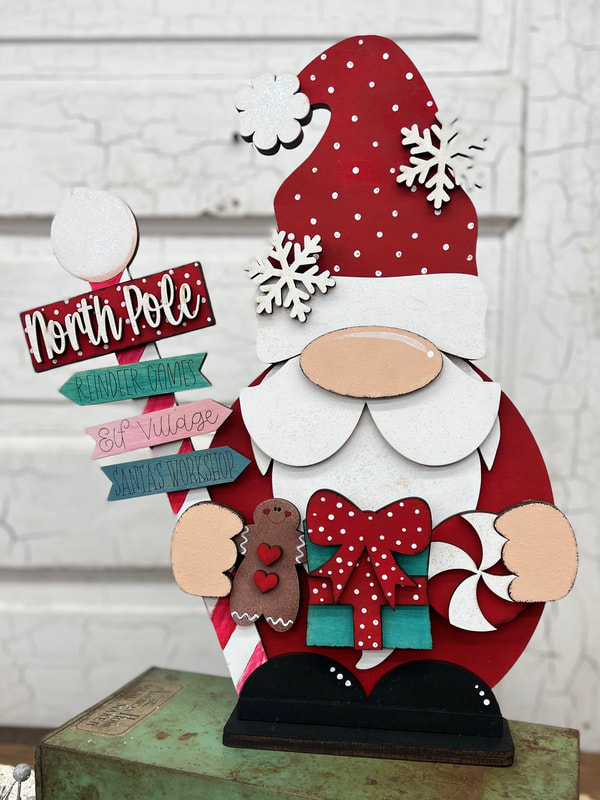
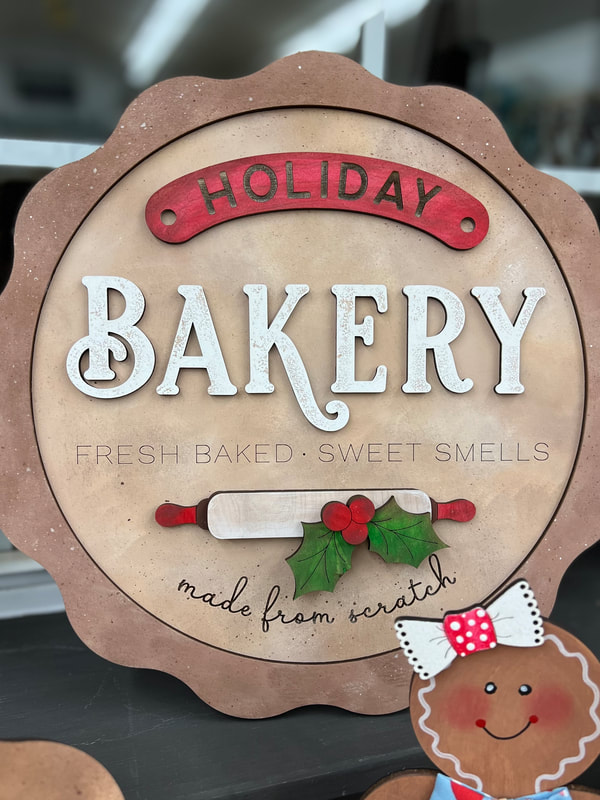
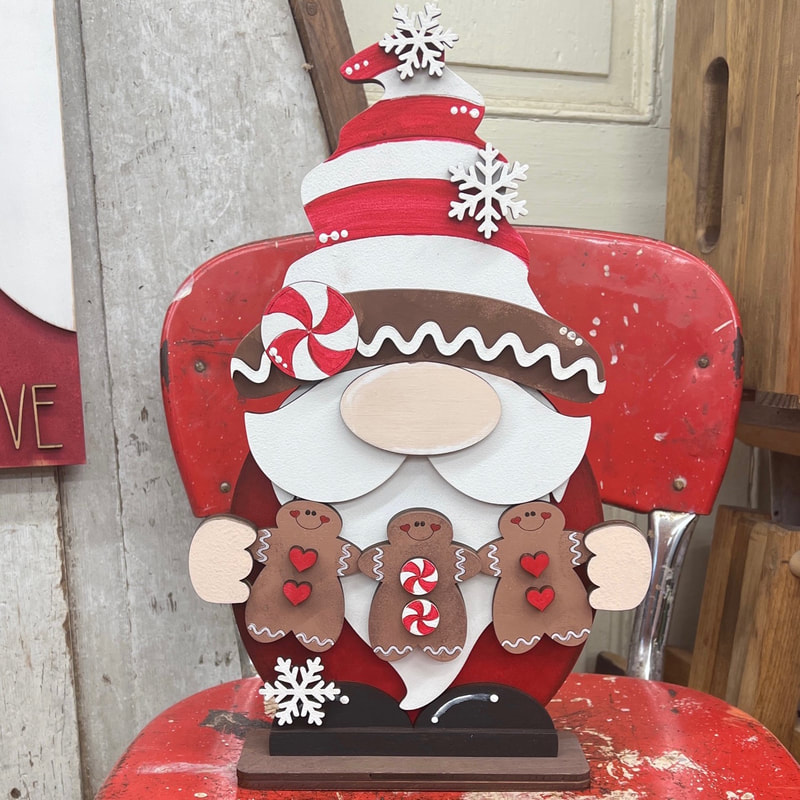
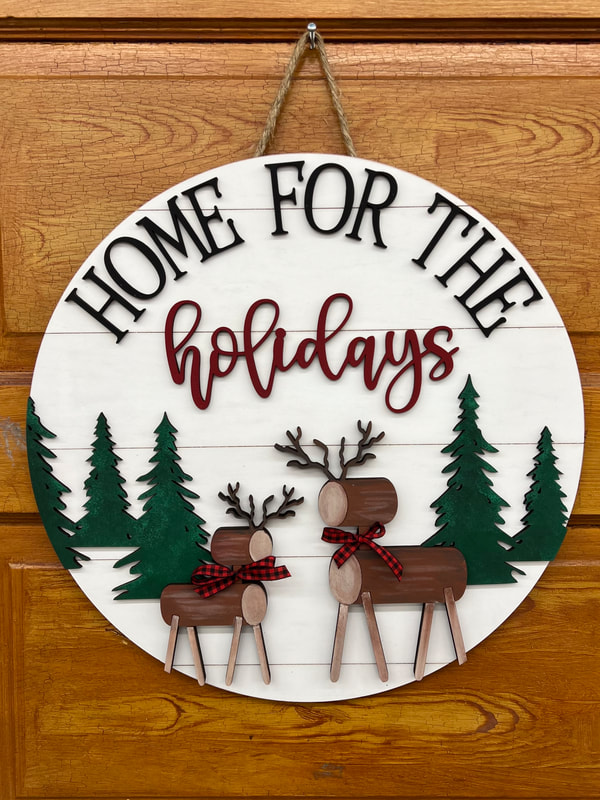
Holiday '22


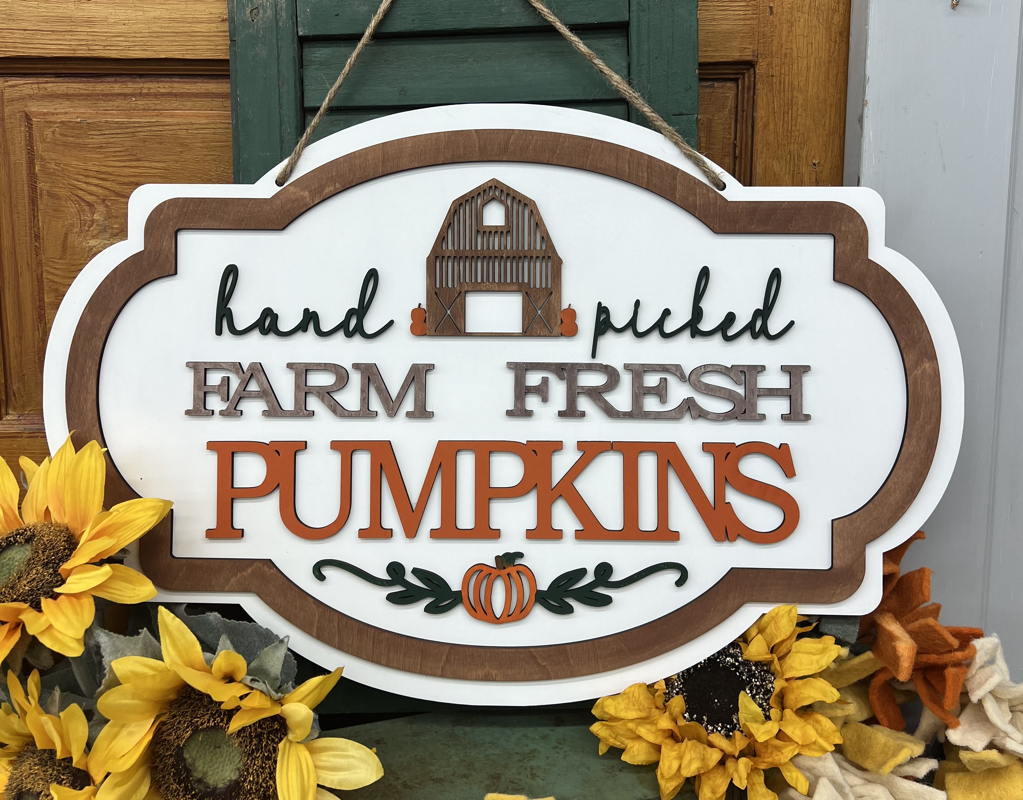
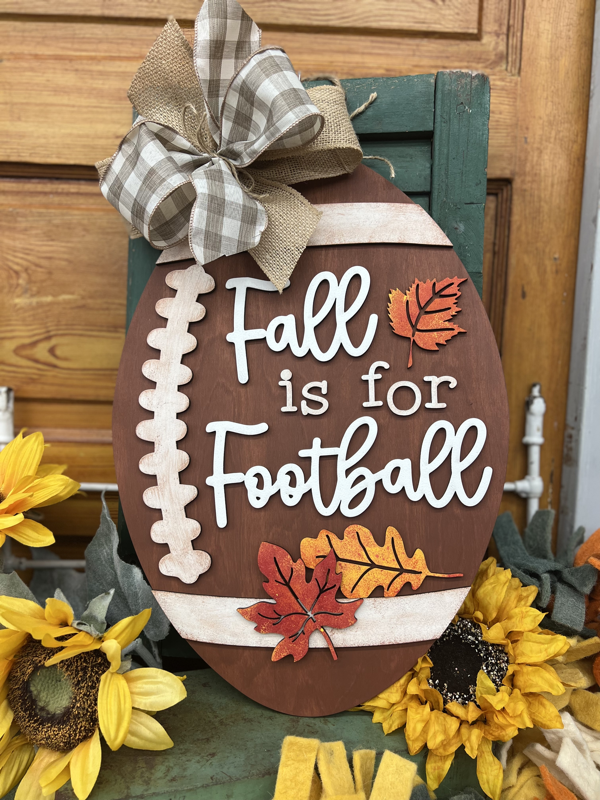
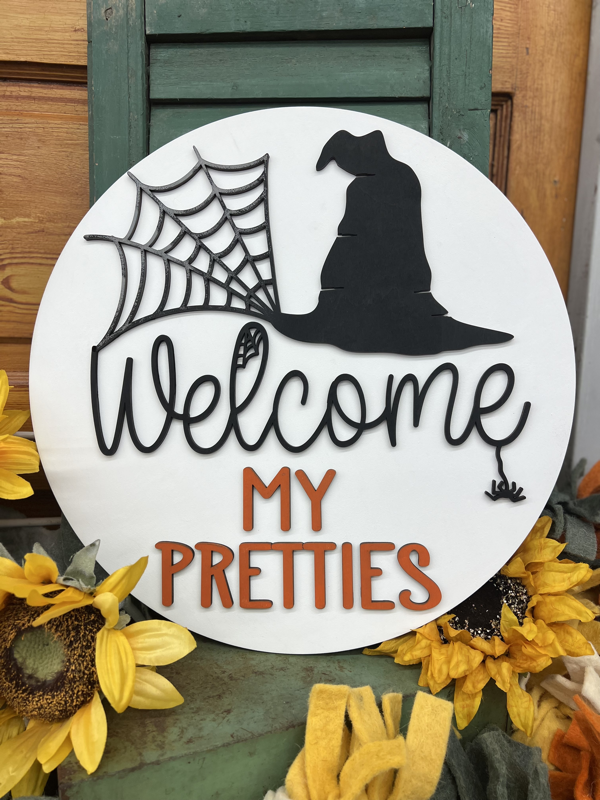
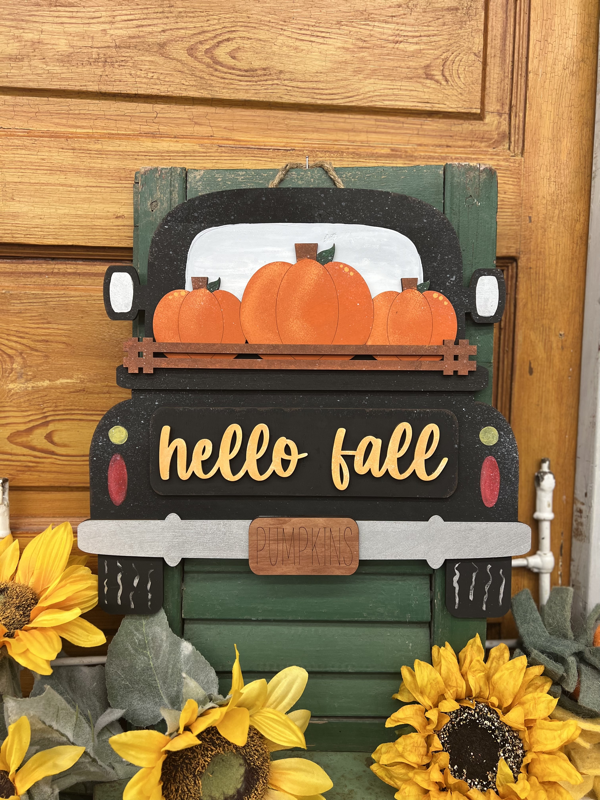
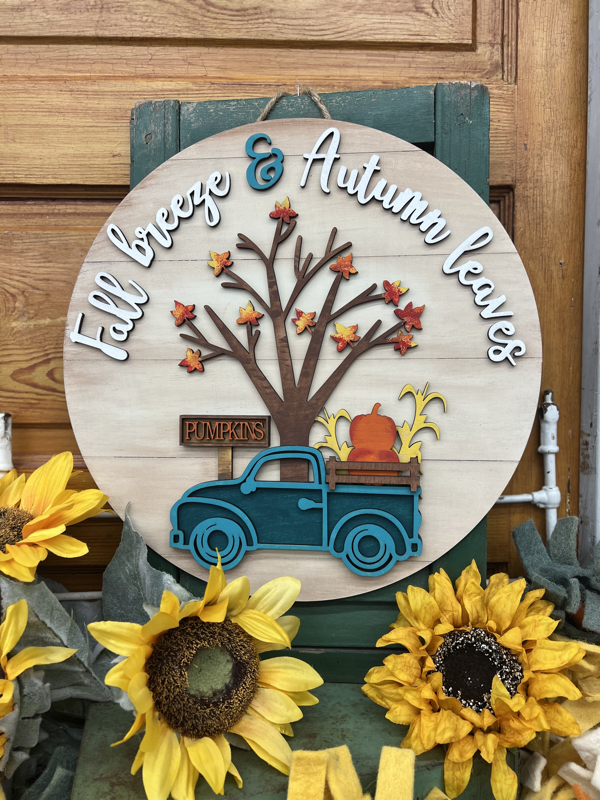
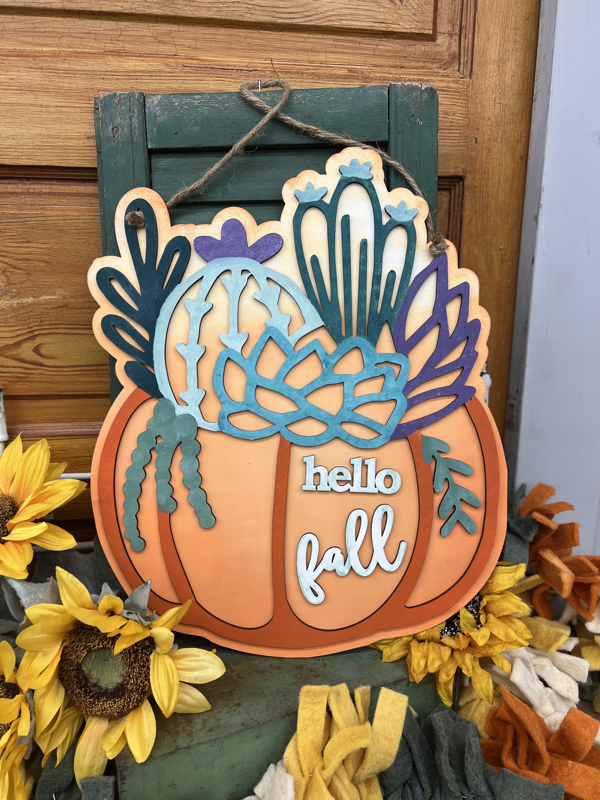
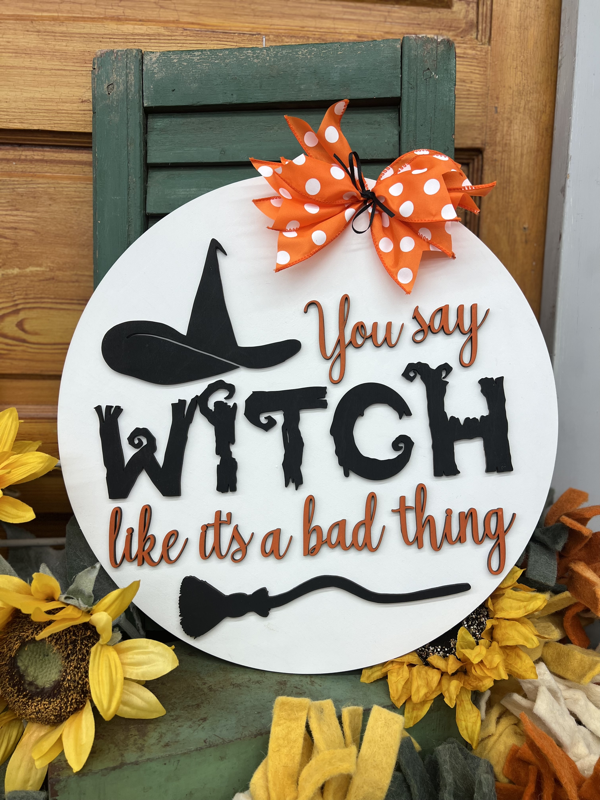
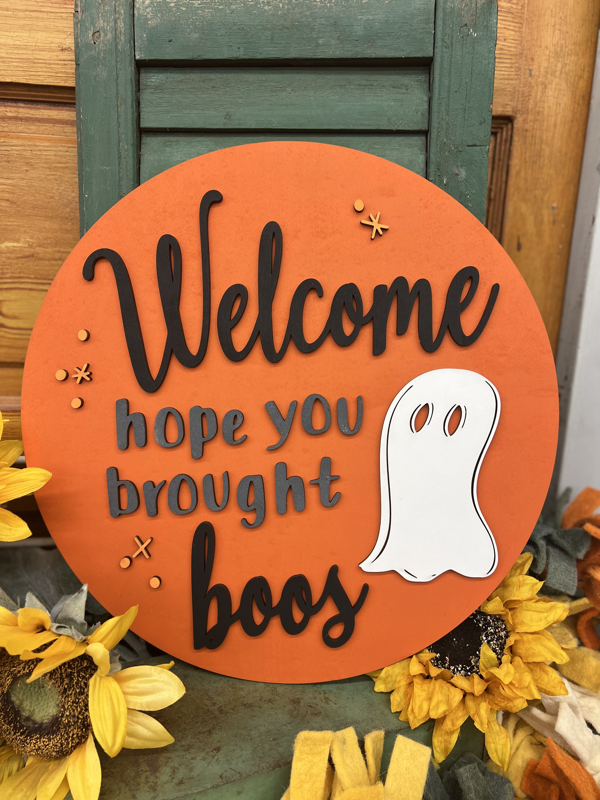
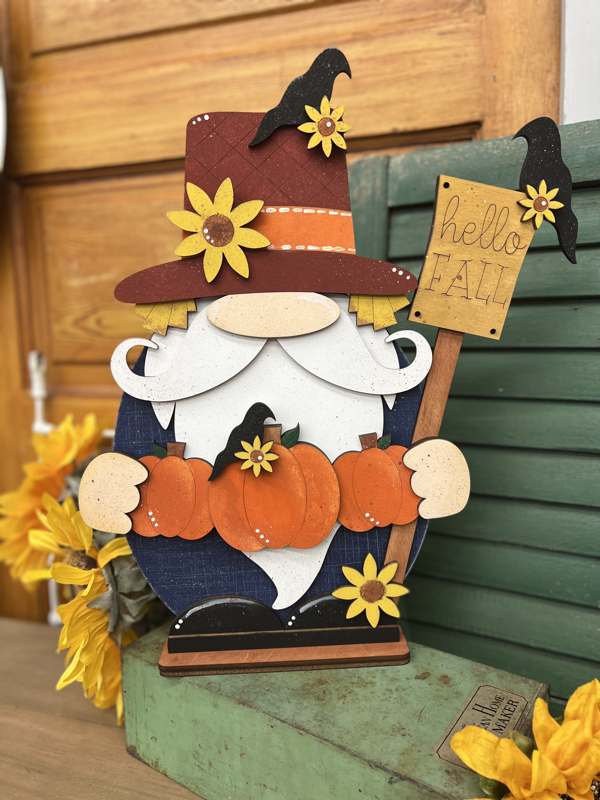
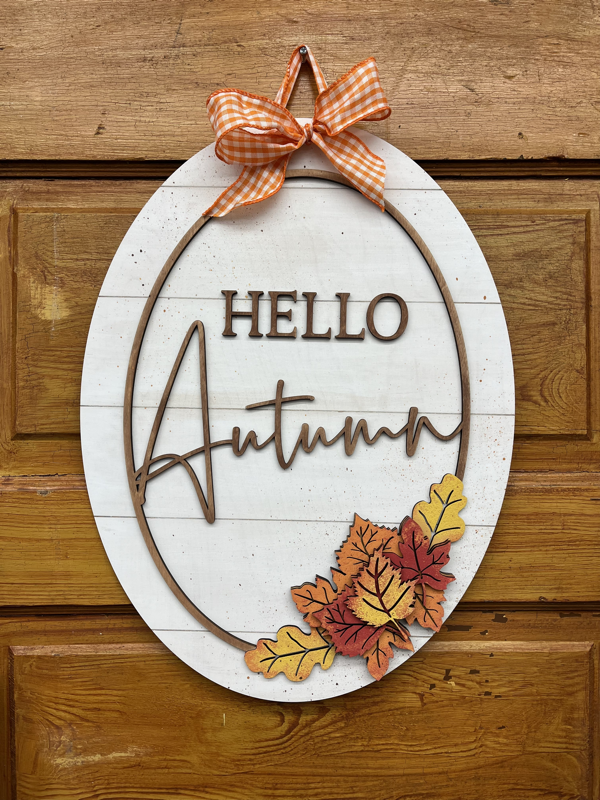
Fall ‘22


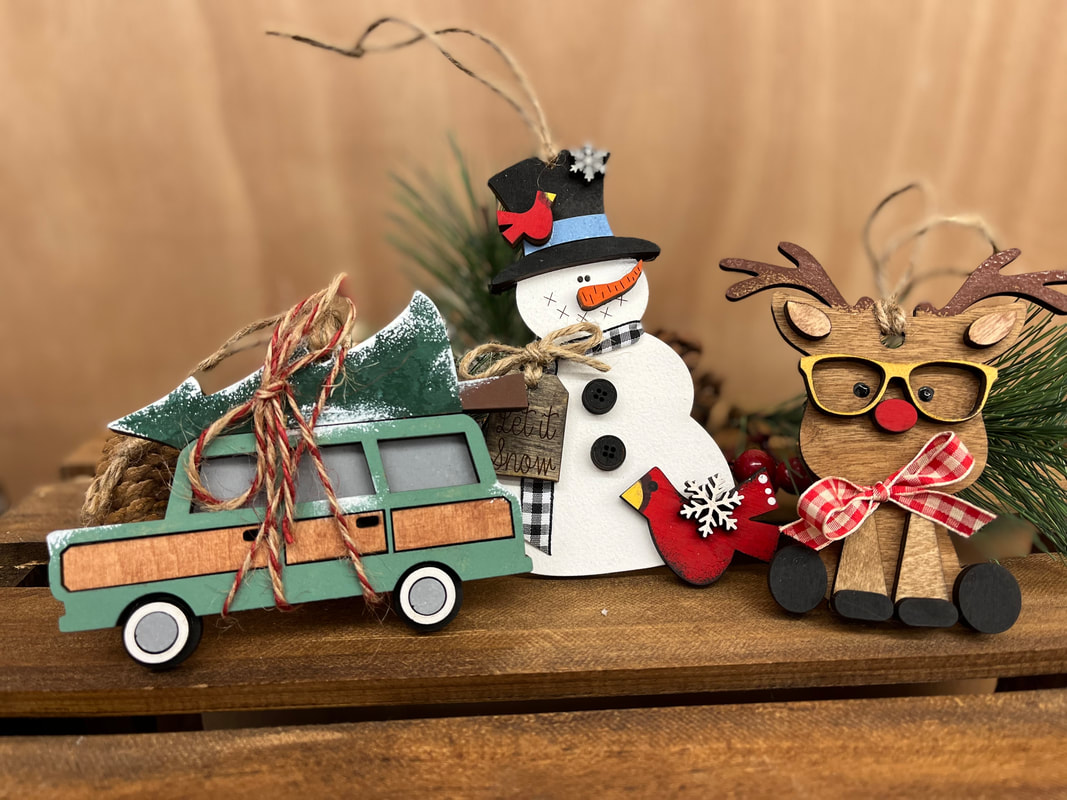
Christmas Ornament Collection’22


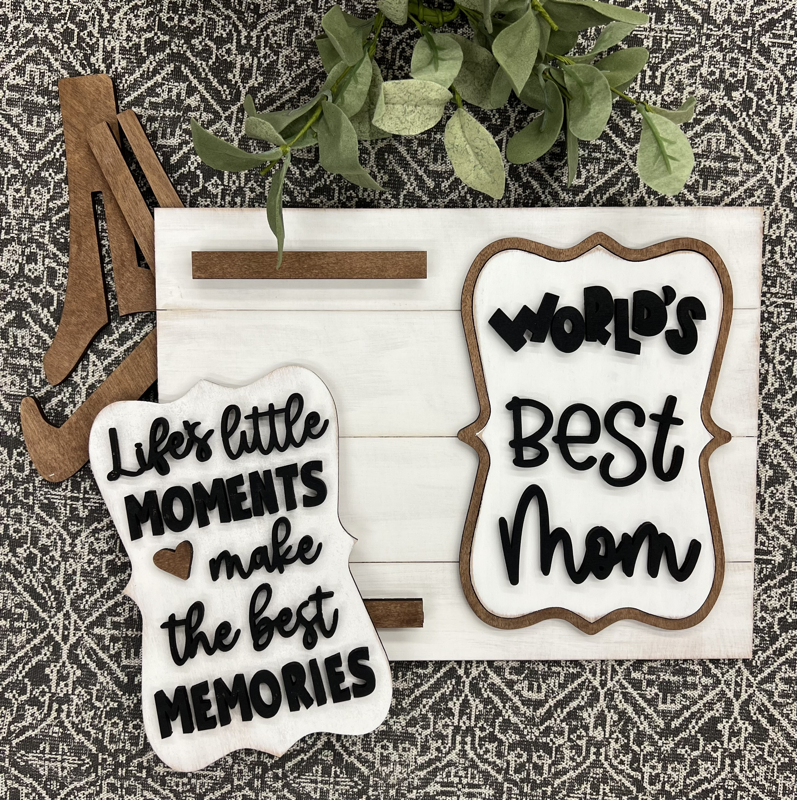
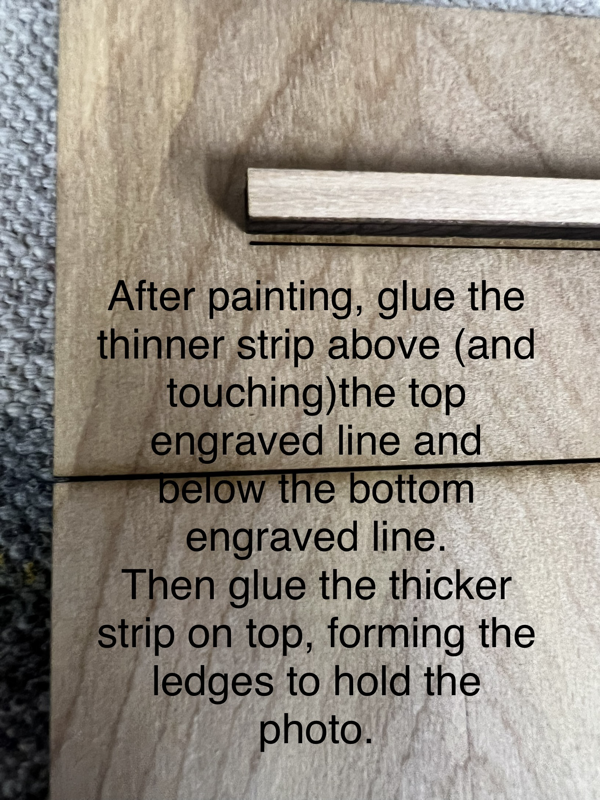
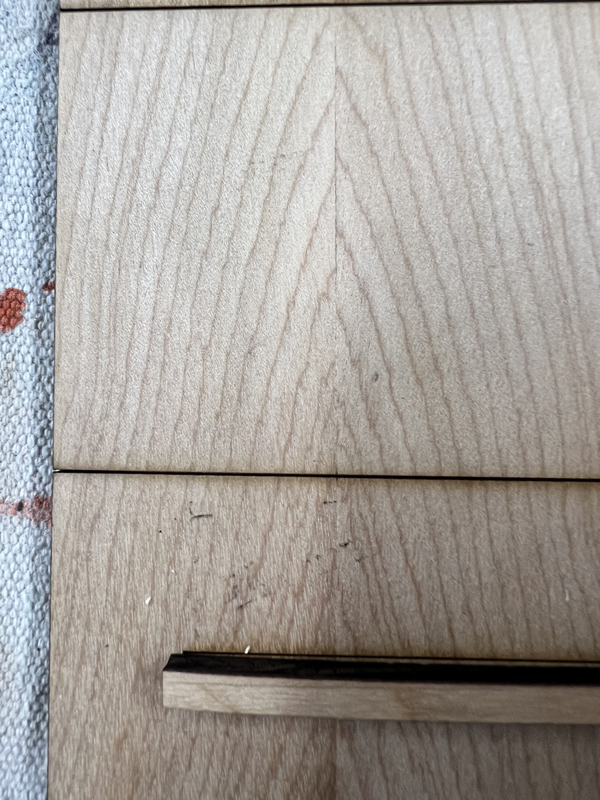
Memories Frame w/Inserts


Summer ‘22 Projects
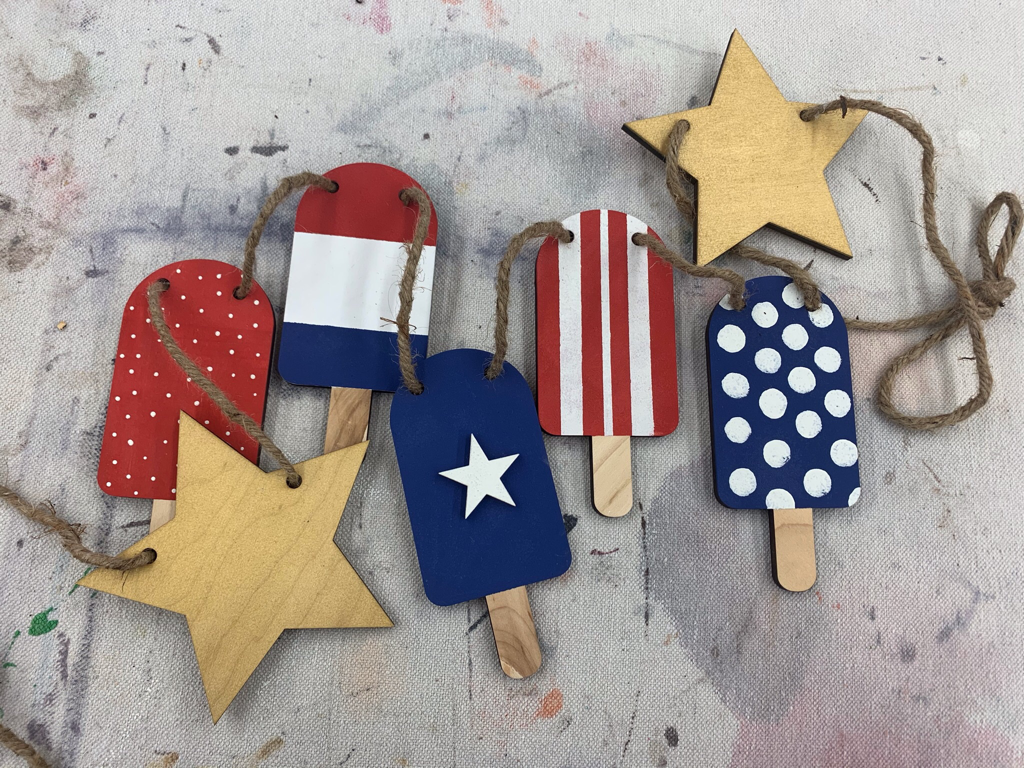
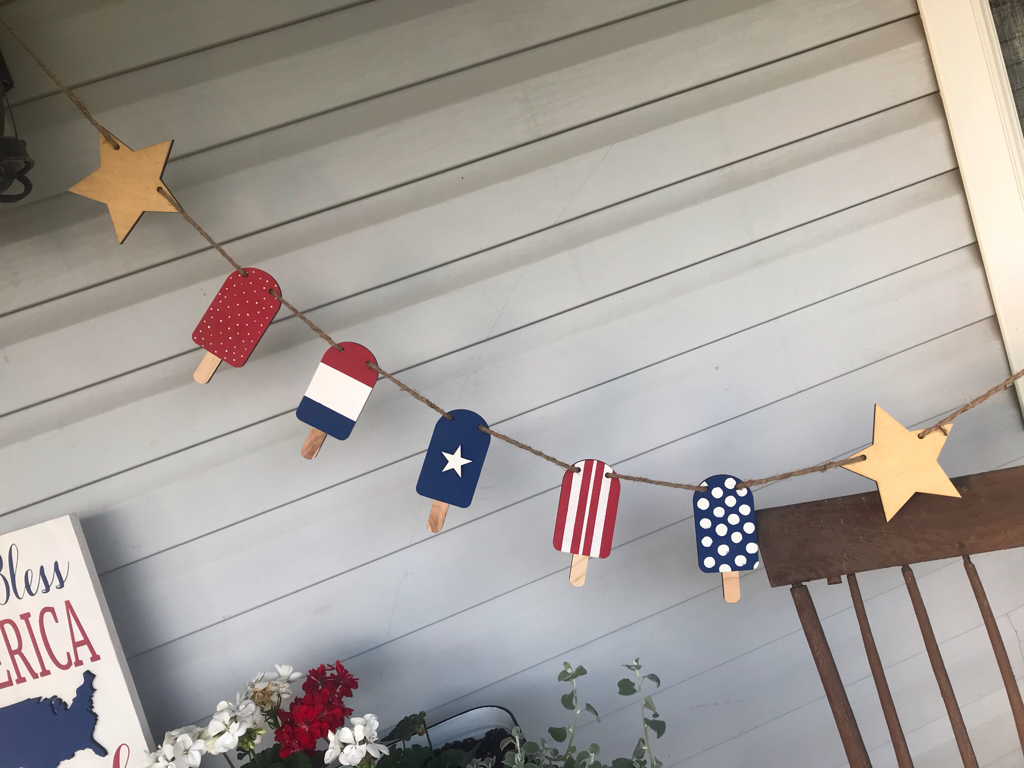
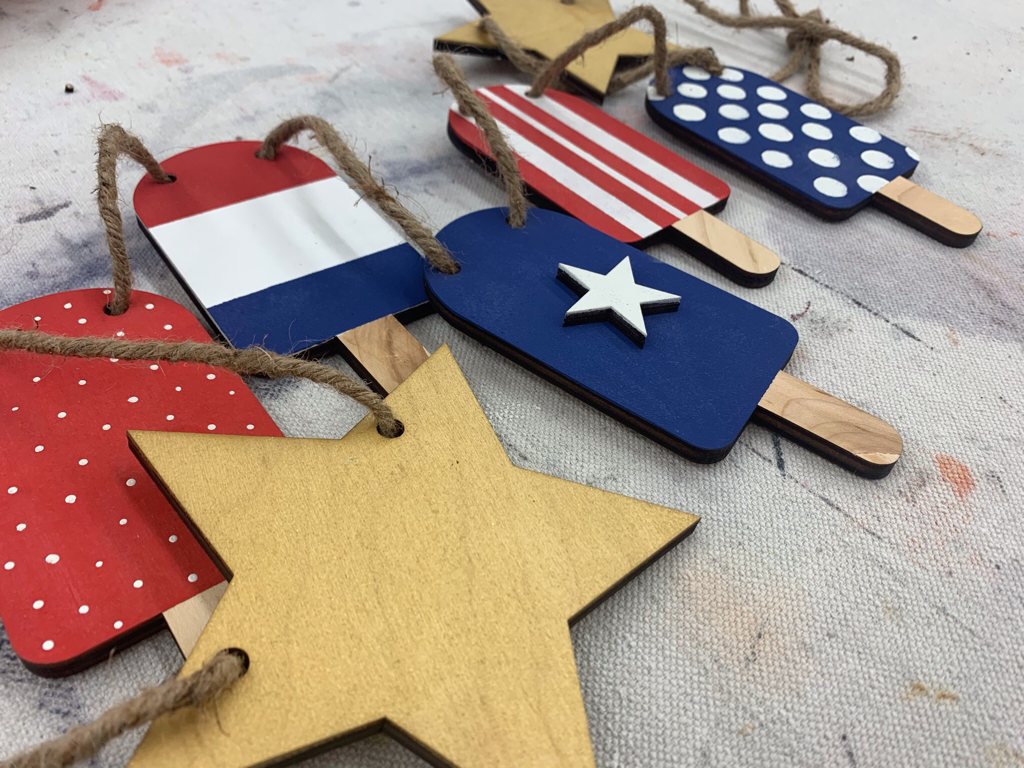
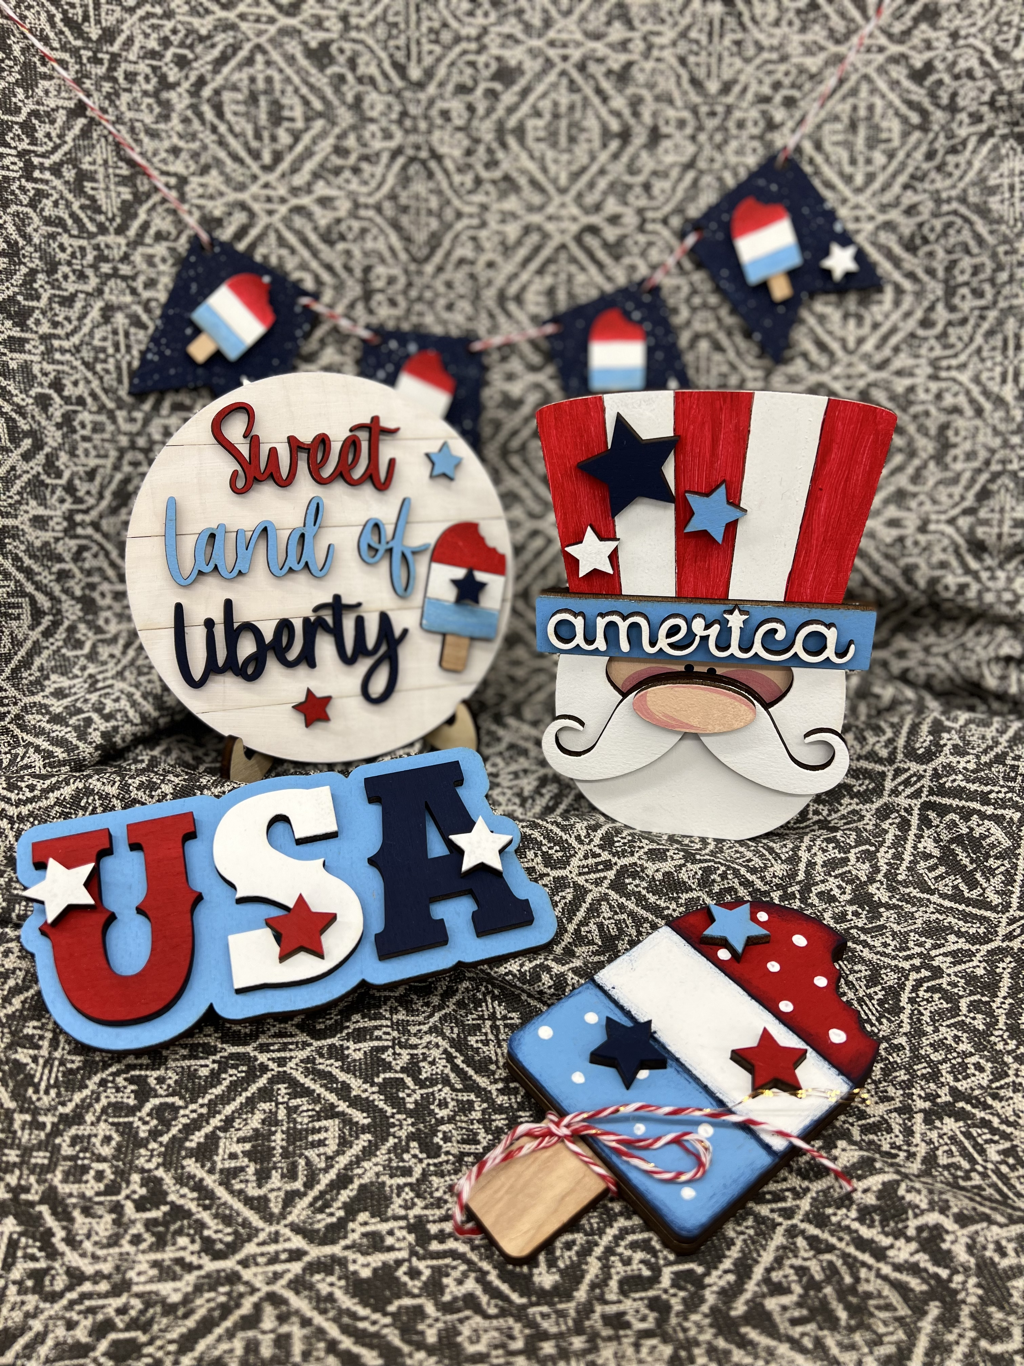
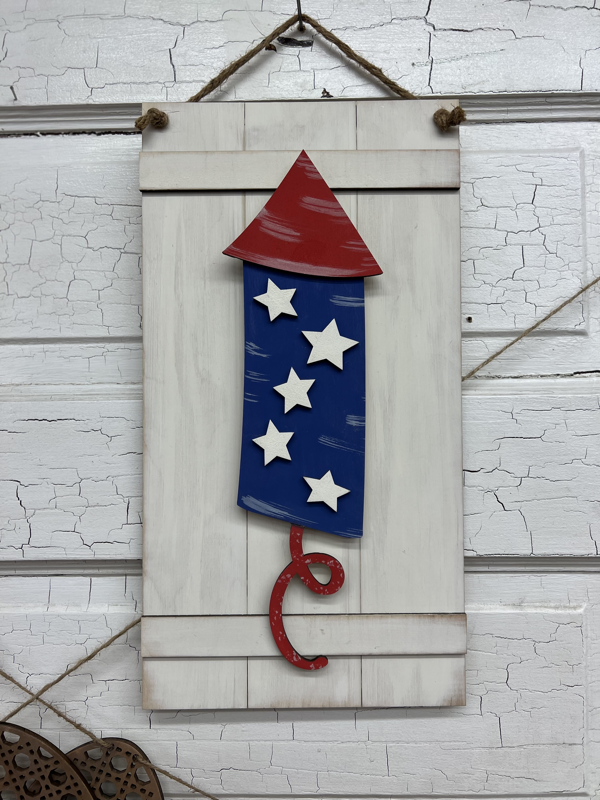
Patriotic Popsicles
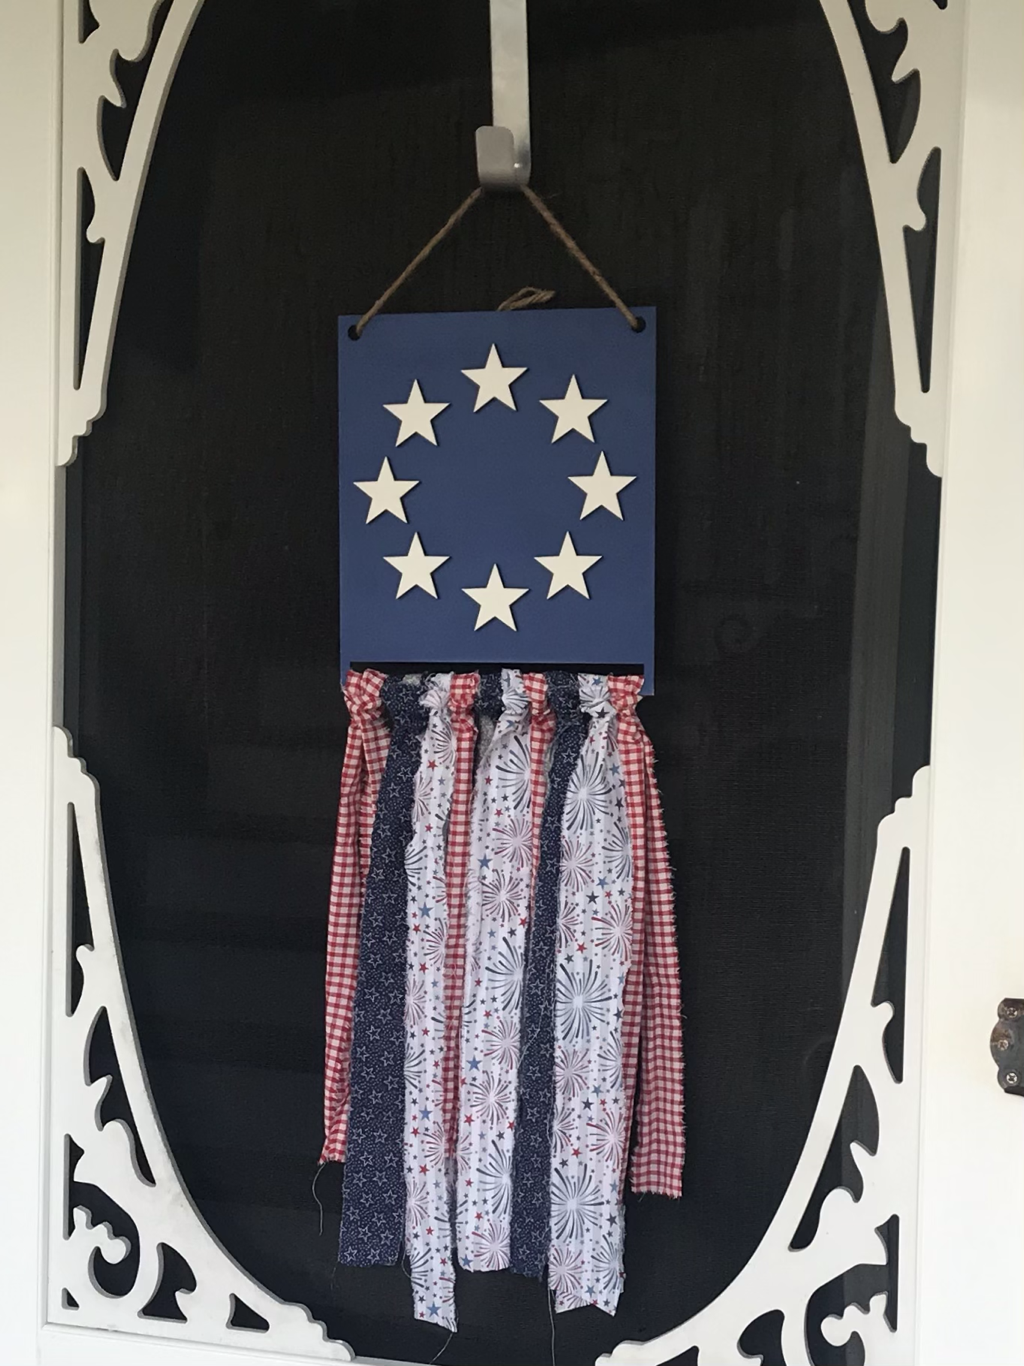
Circle of Stars
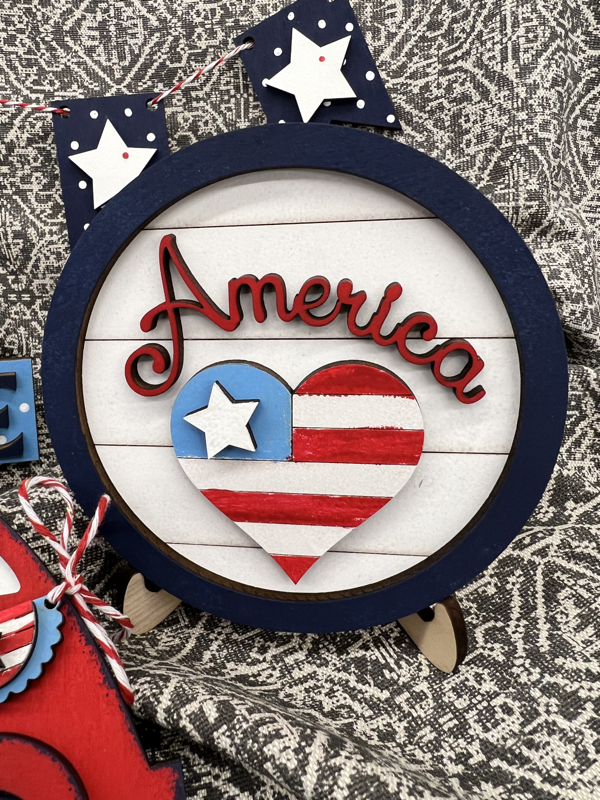
❤️ of America


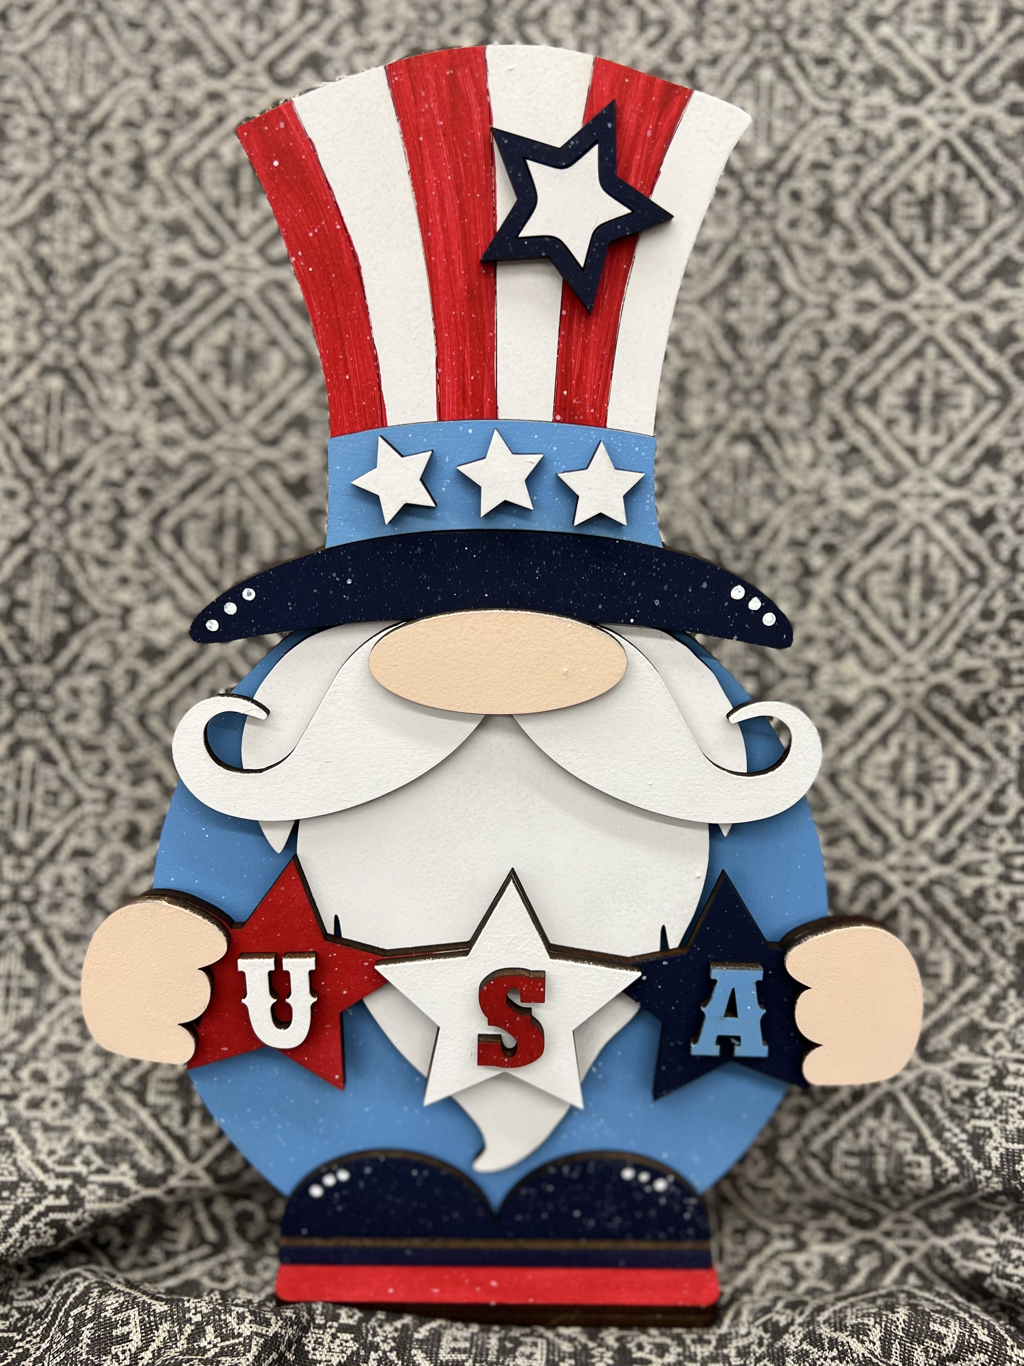
Sam the Patriotic Gnome
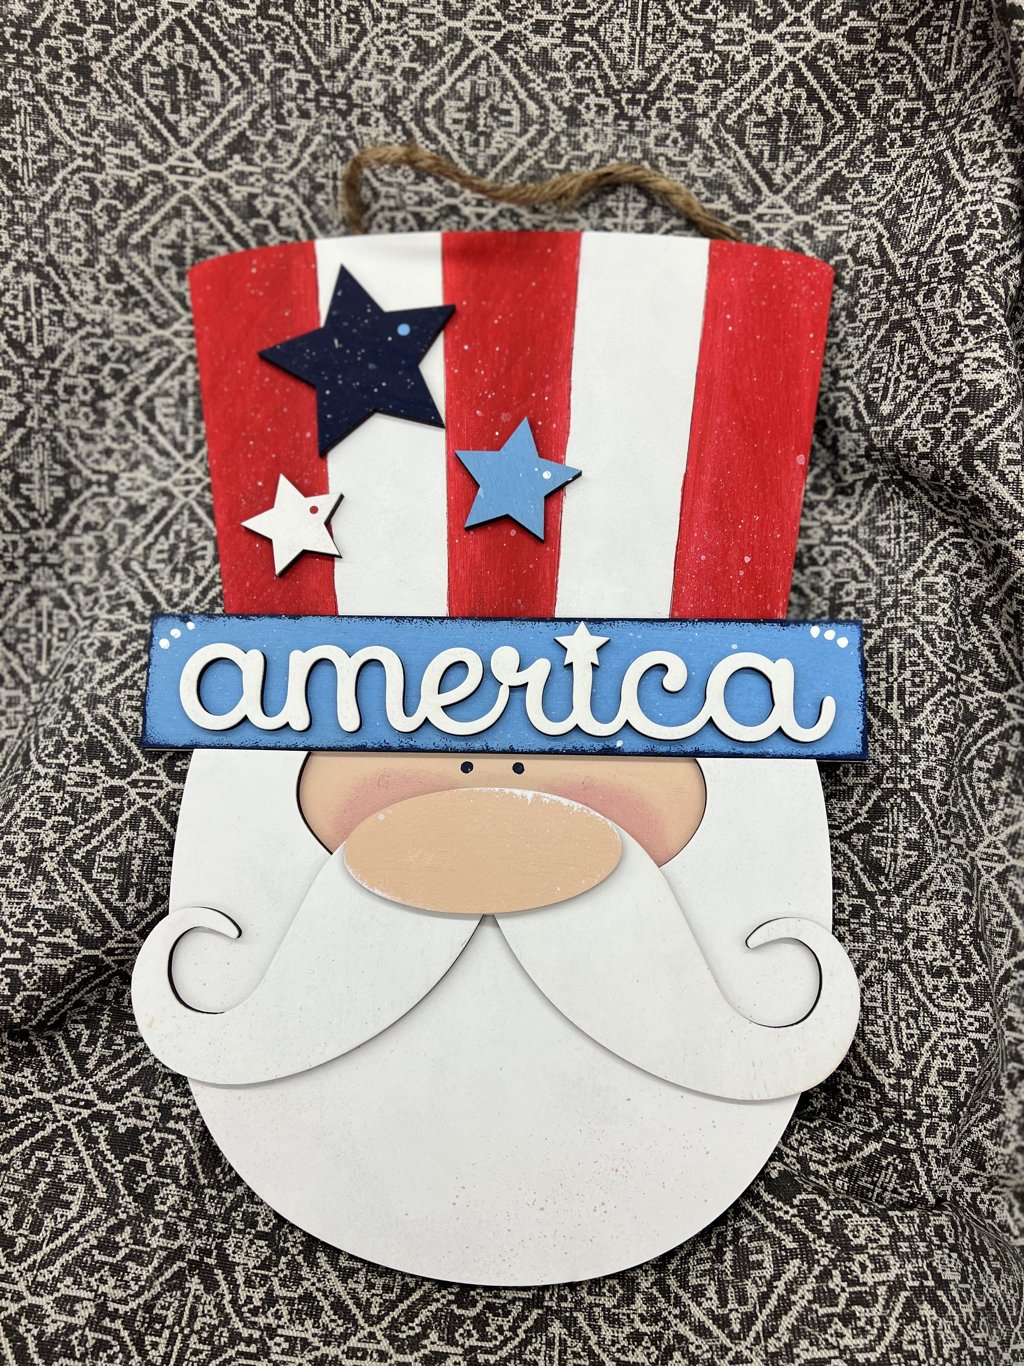
Uncle Sam Hanger
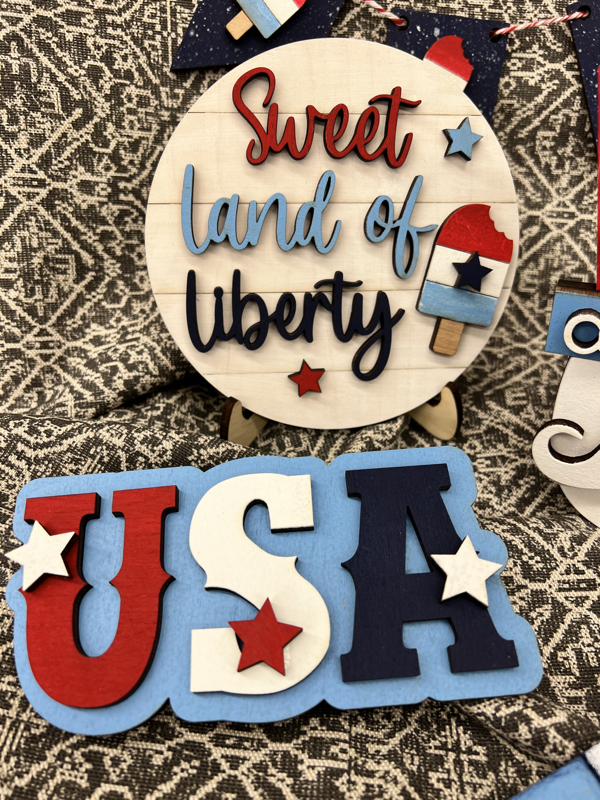
Sweet Land of Liberty Tiered Tray Set
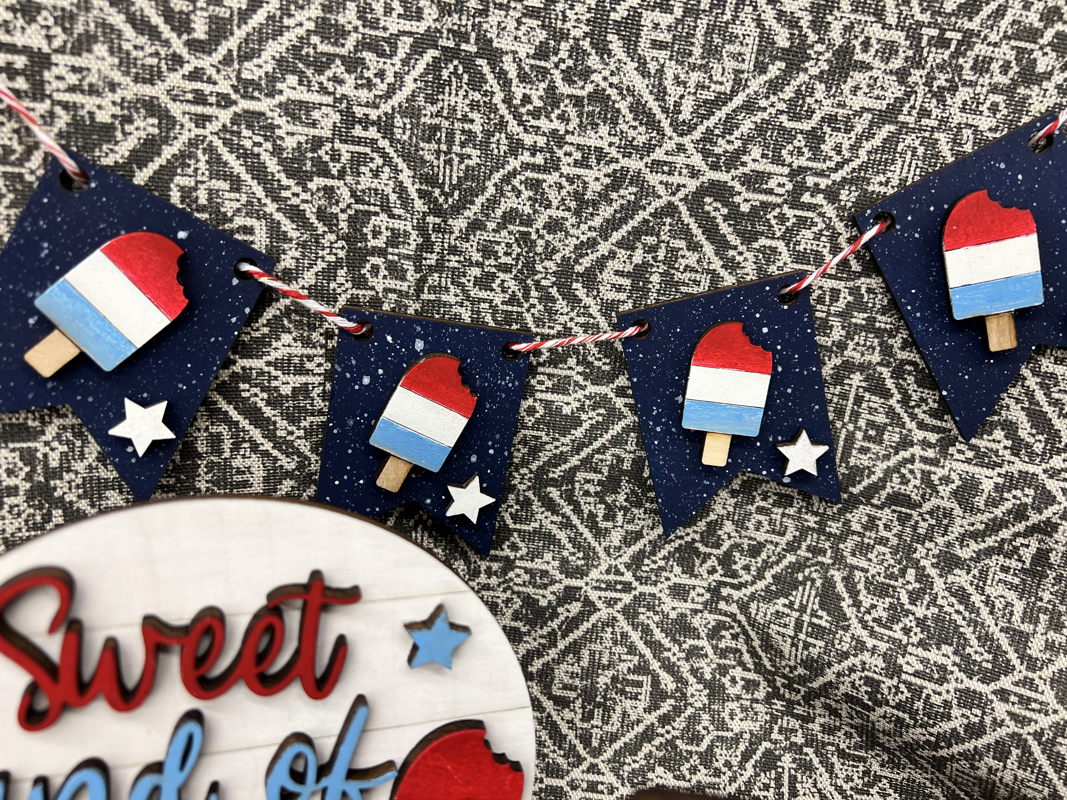


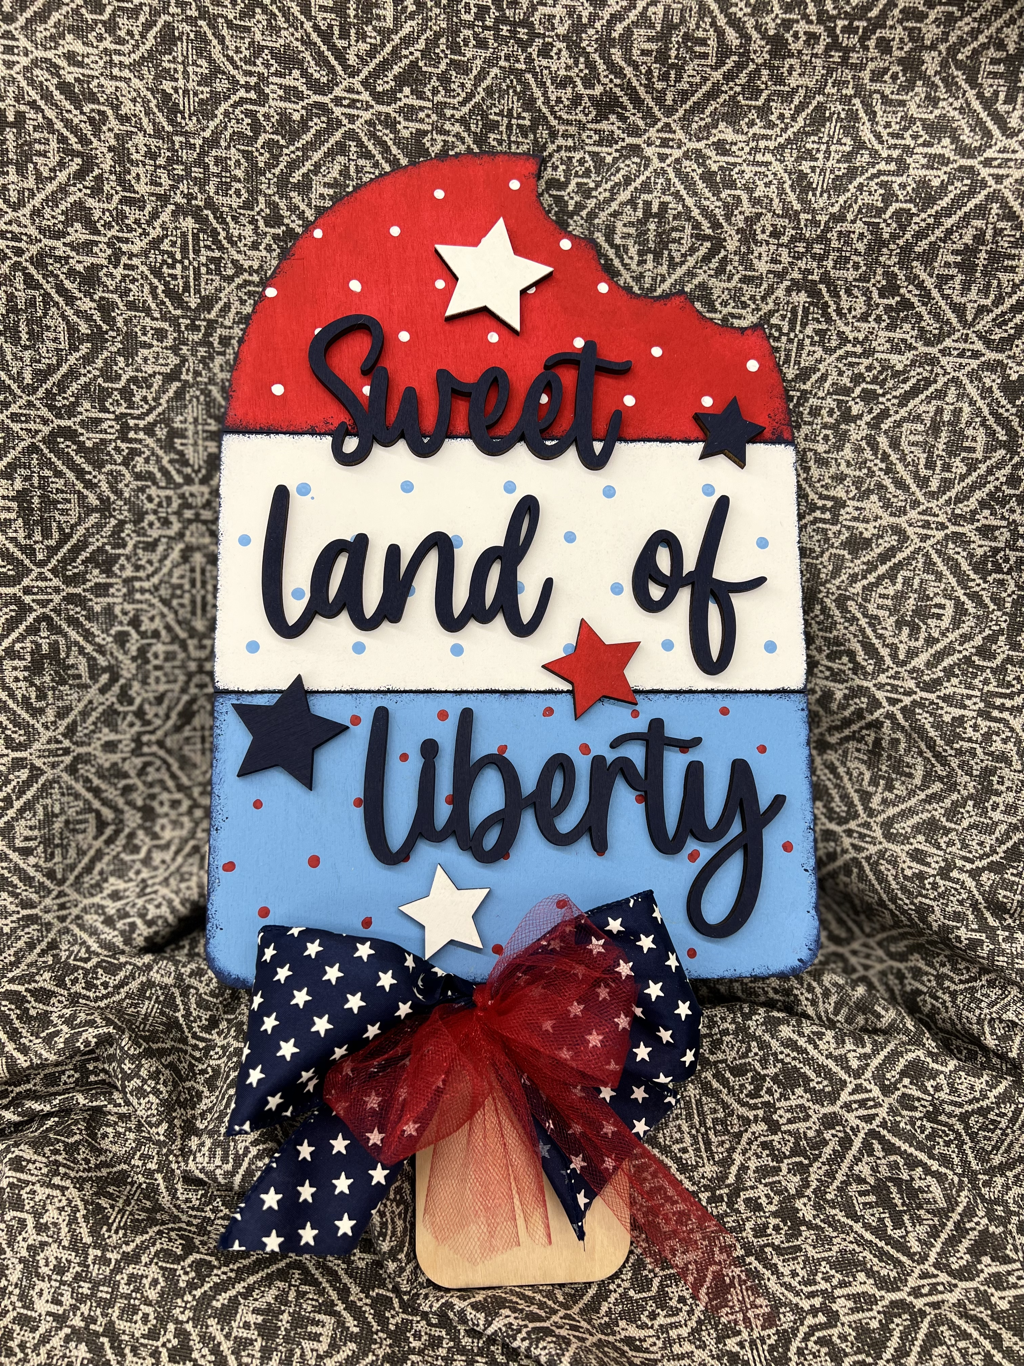
Sweet Land of Liberty Popsicle
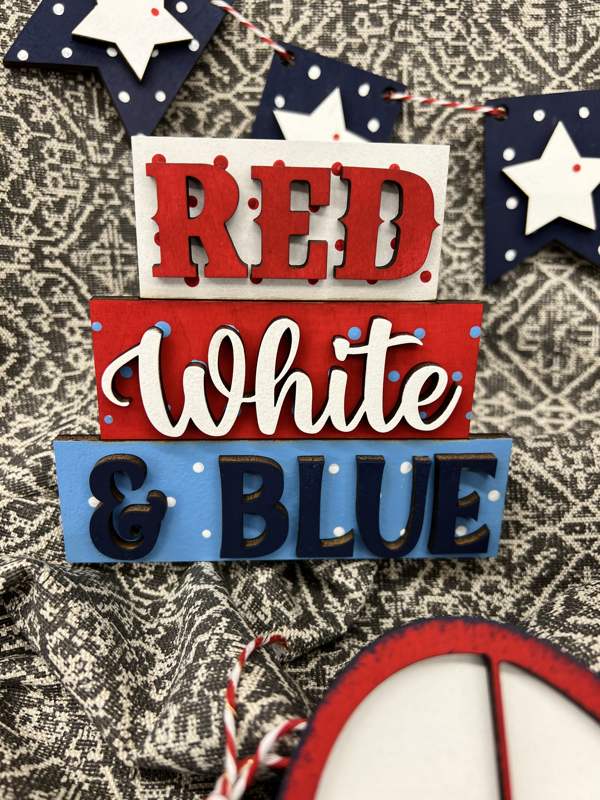
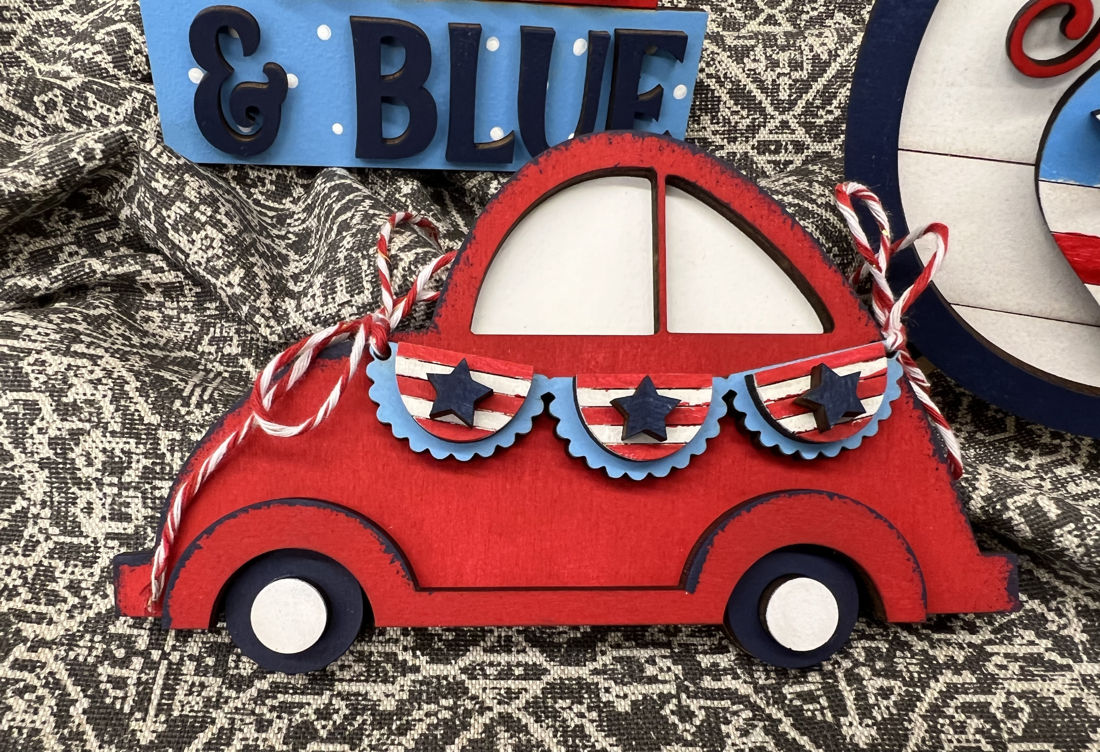
Red, White, & Blue Tiered Tray Set

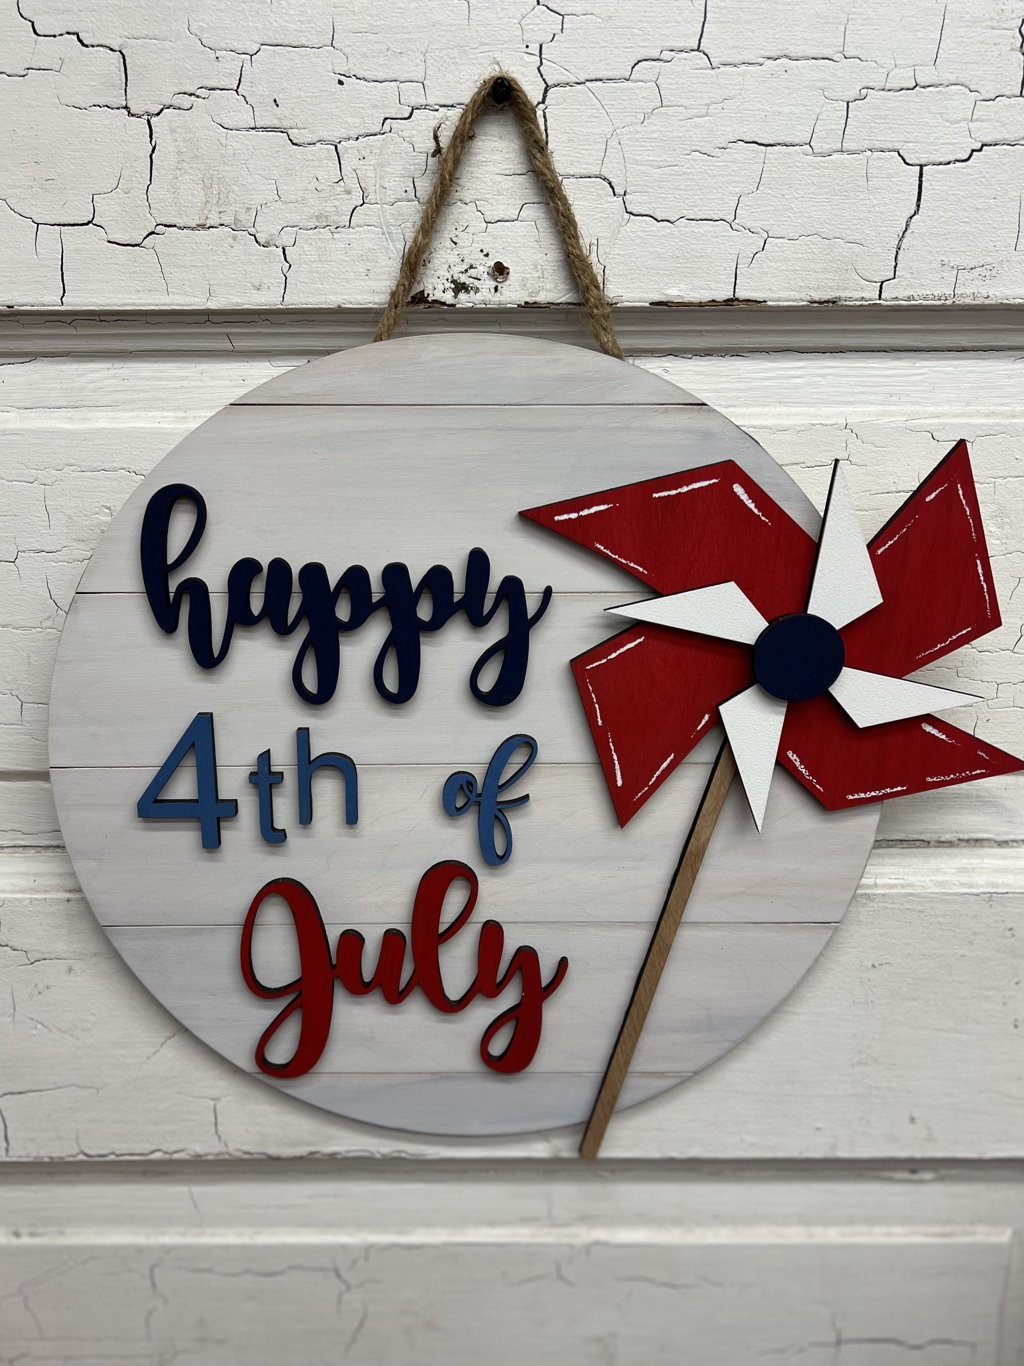
4th of July Pinwheel
Let Freedom Ring

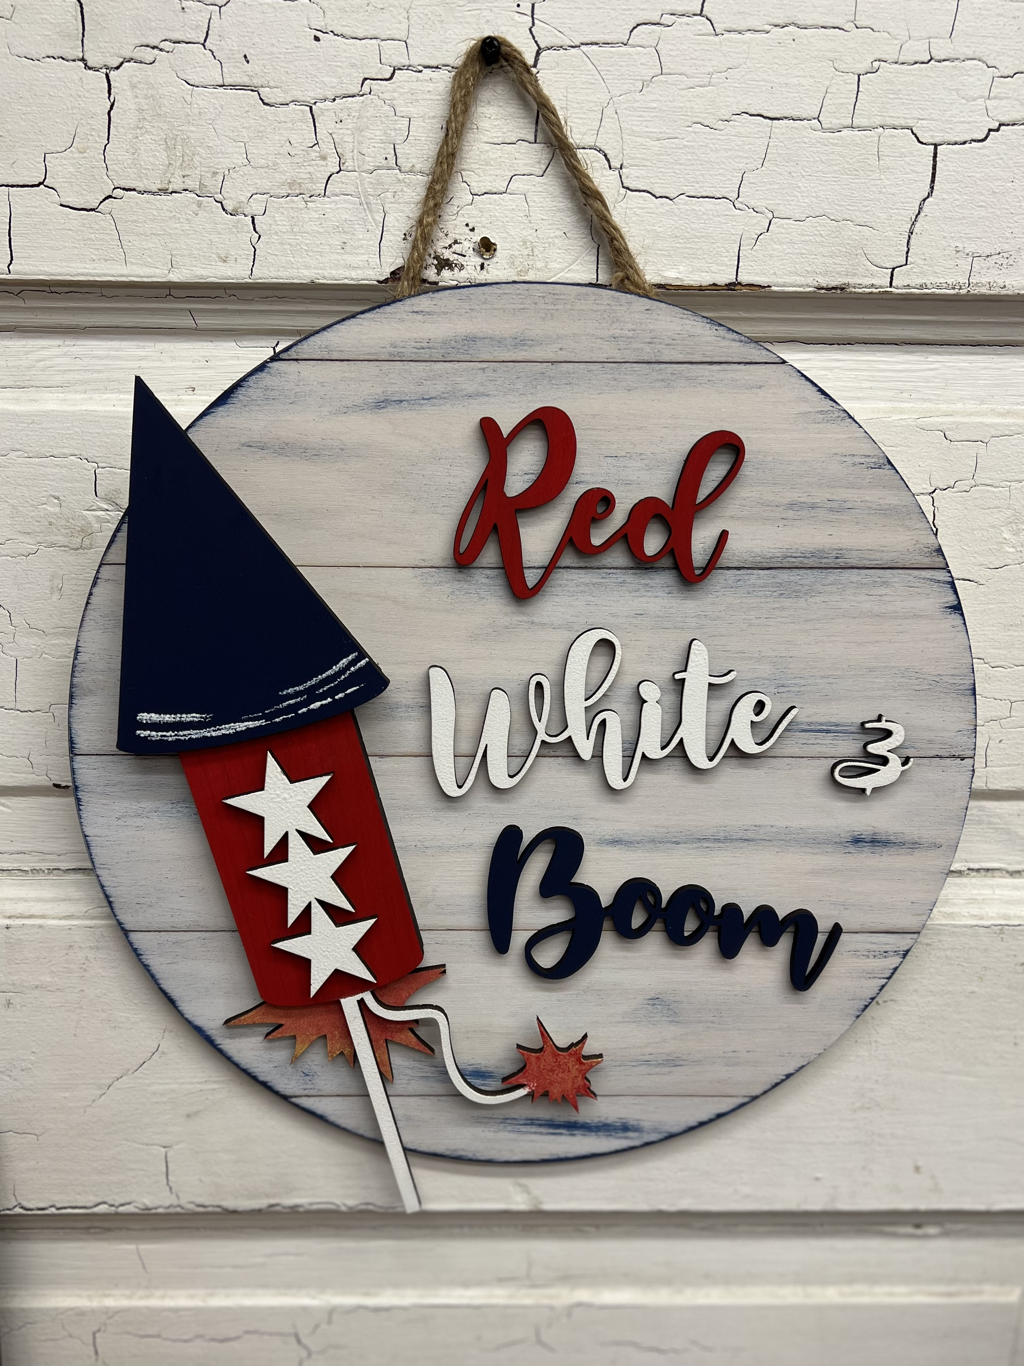
Red, White, & Boom
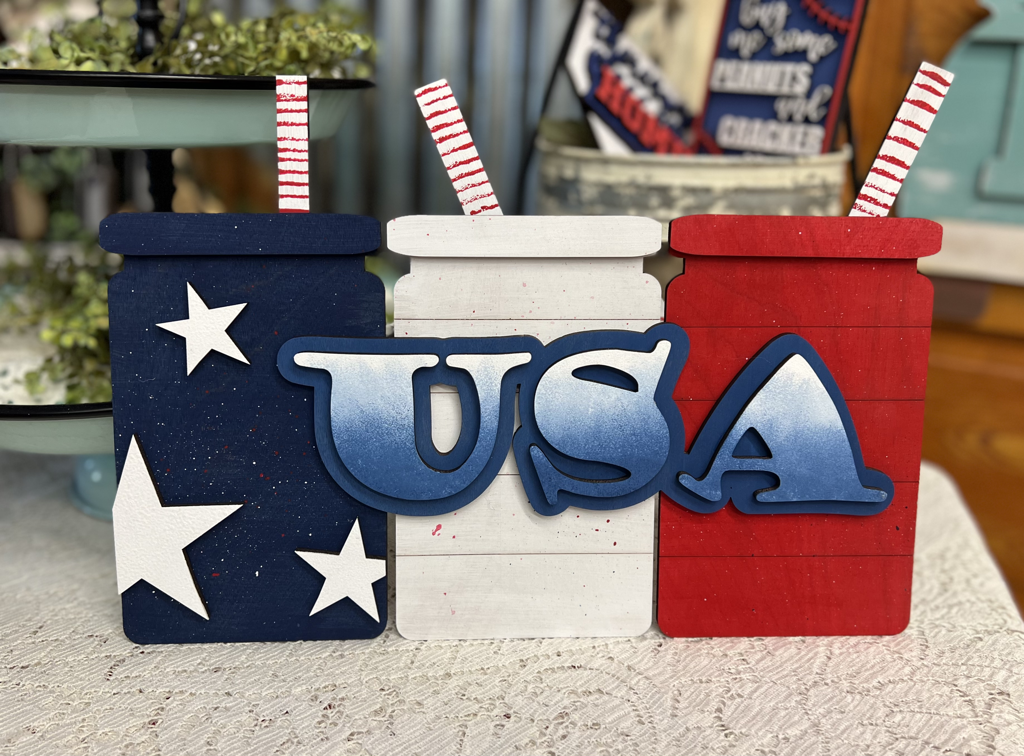
USA Mason Jars
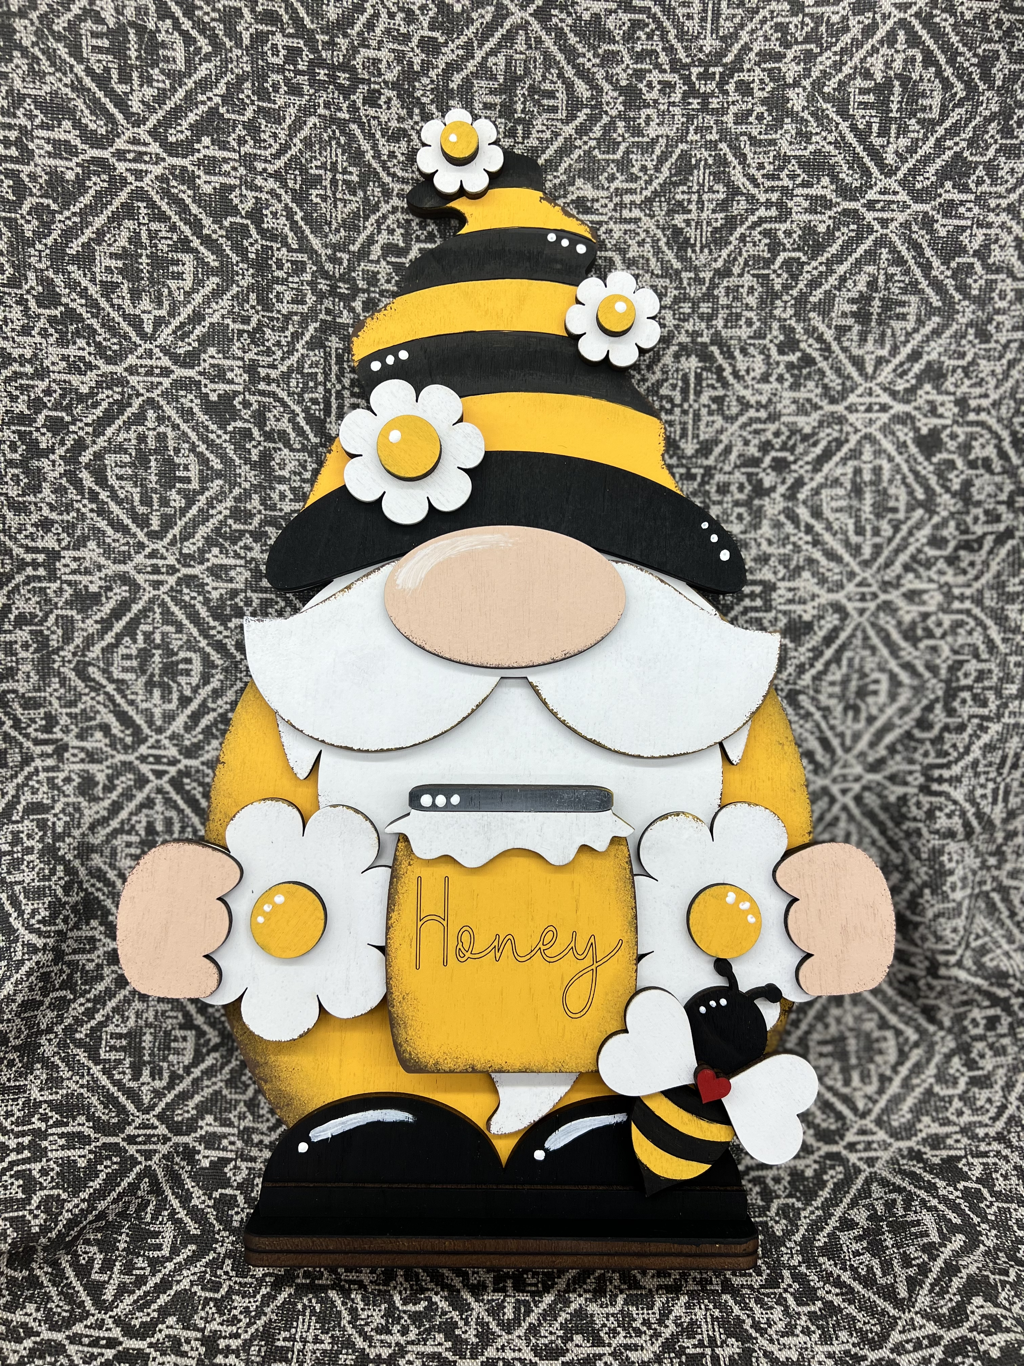
Honey I’m Gnome!
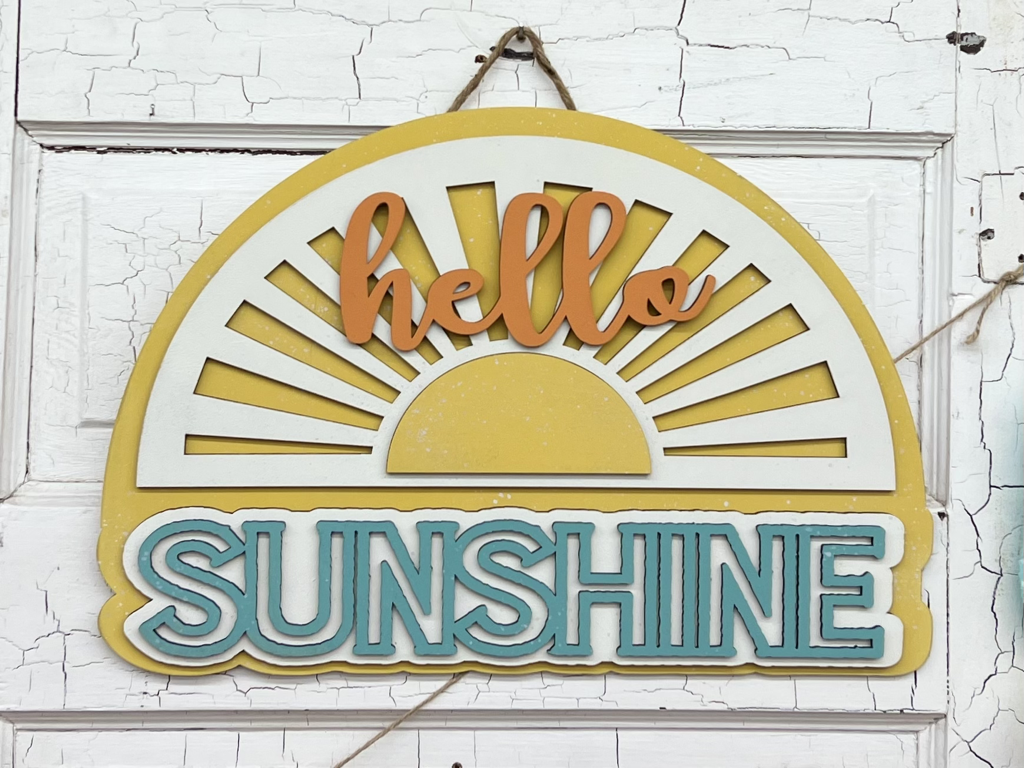
hello Sunshine!
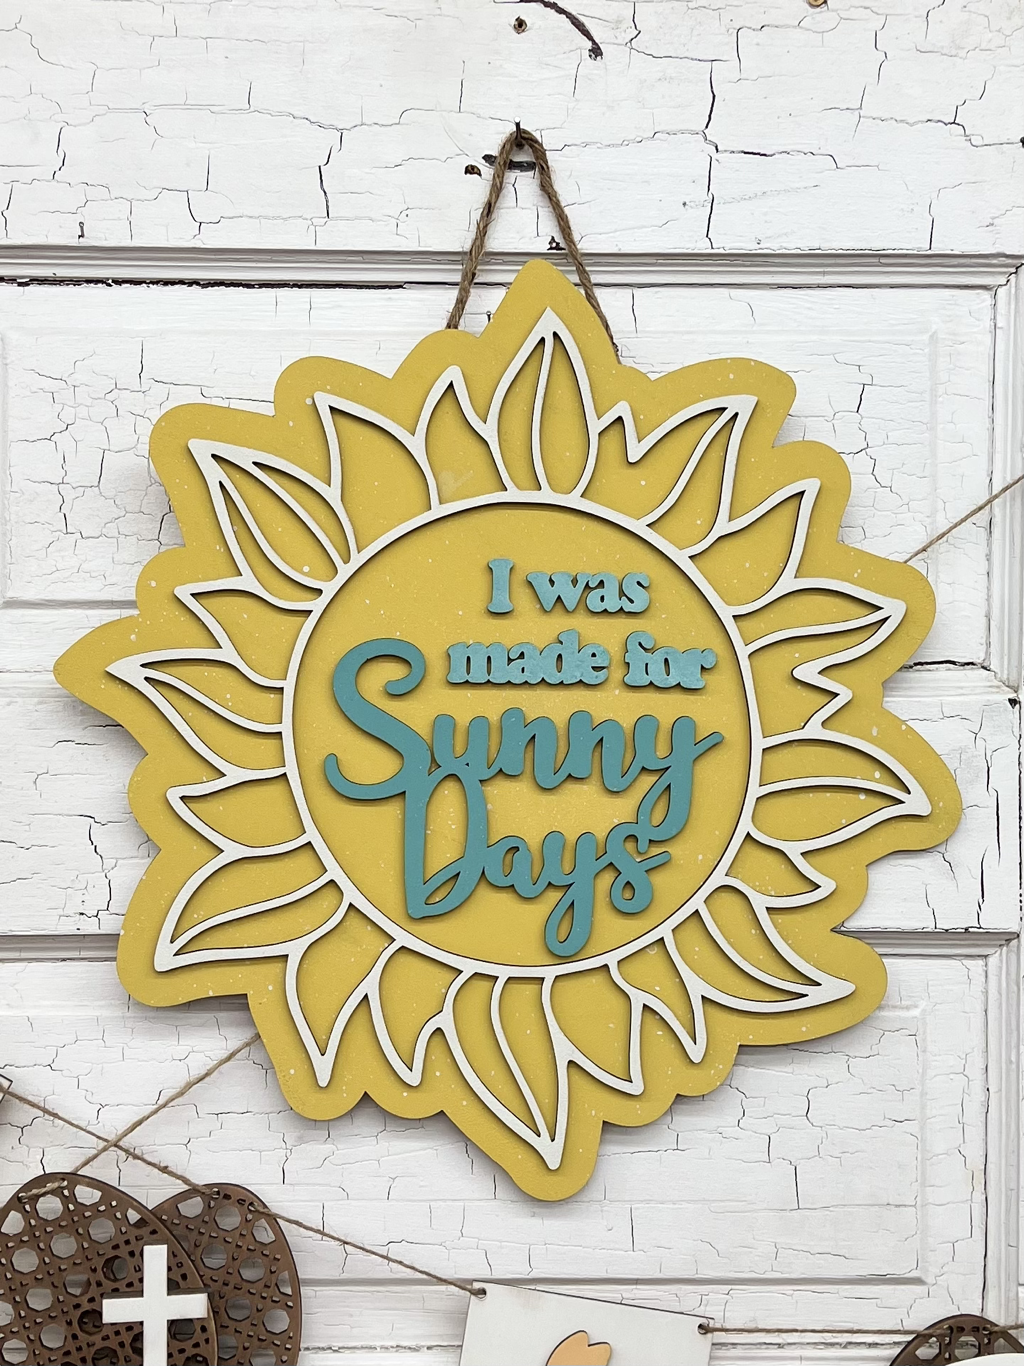
I was Made for Sunny Days
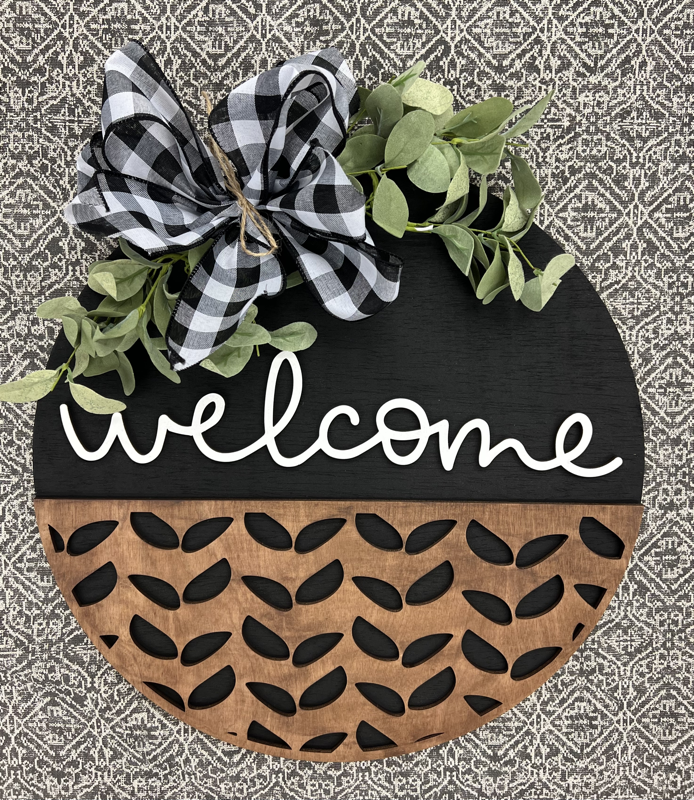
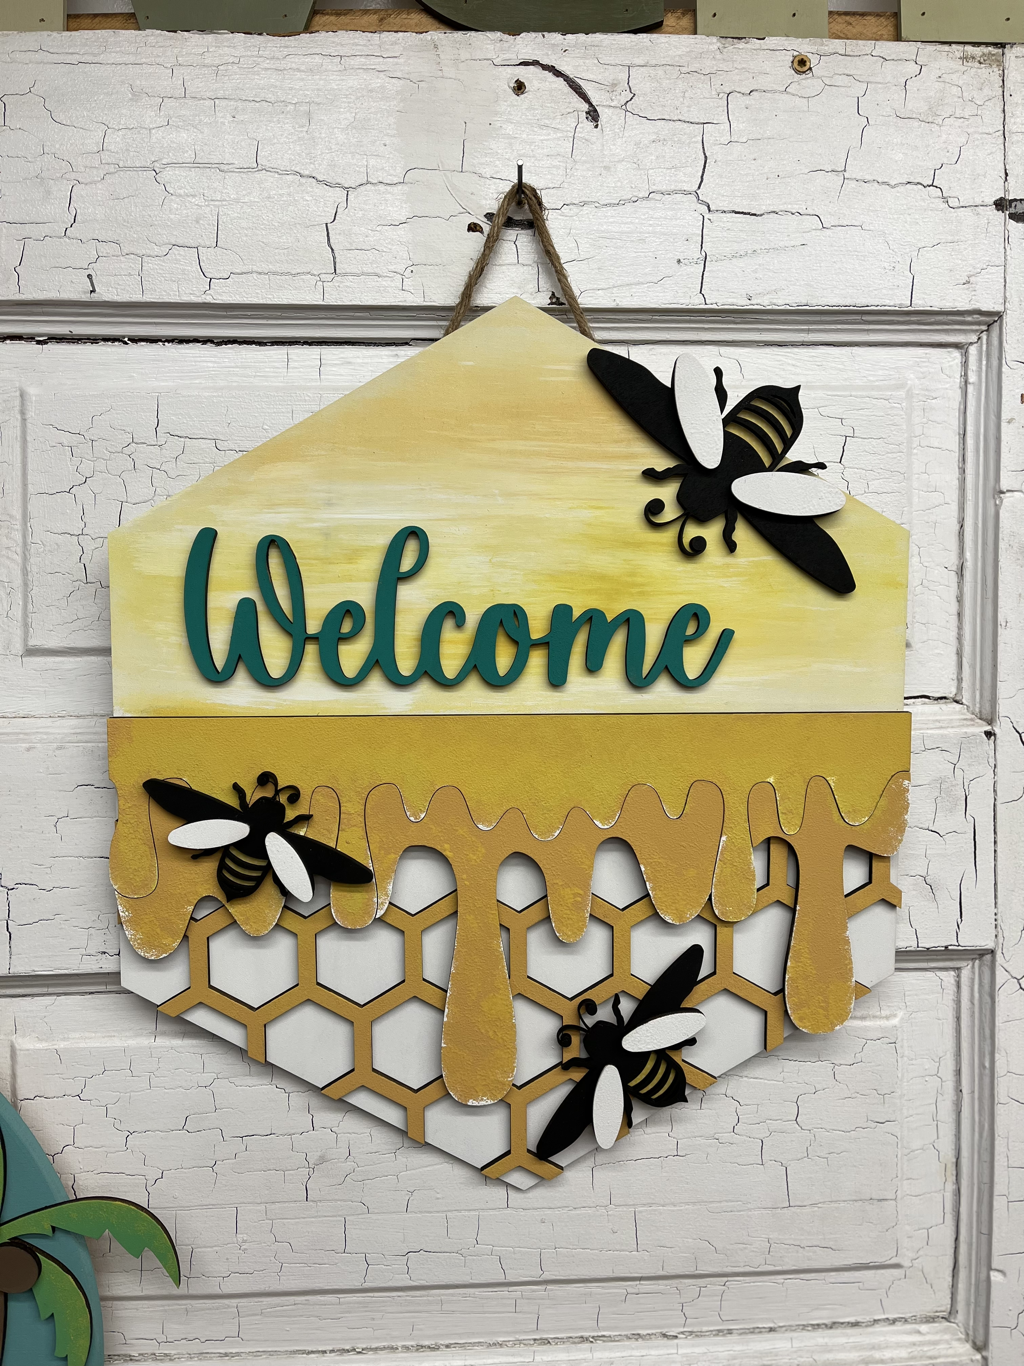
Welcome to My Honeycomb
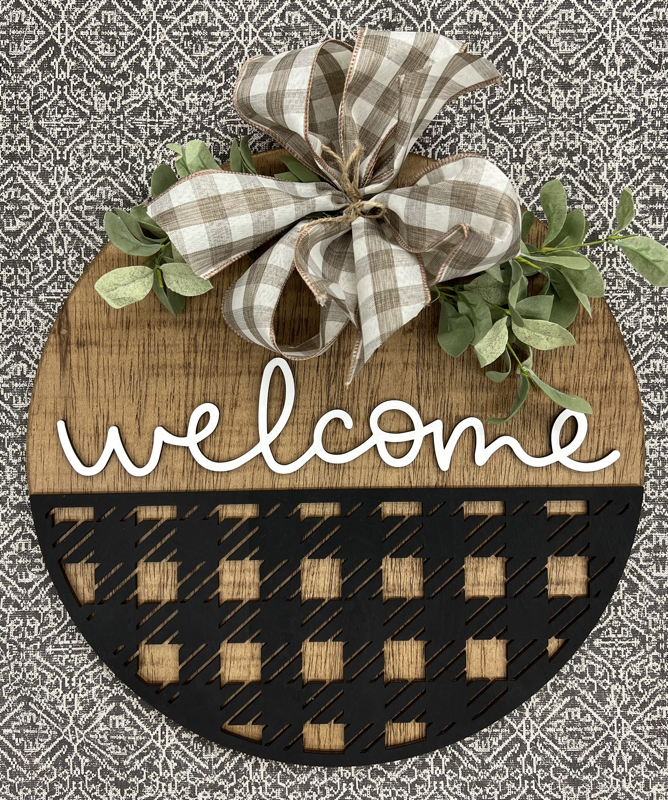
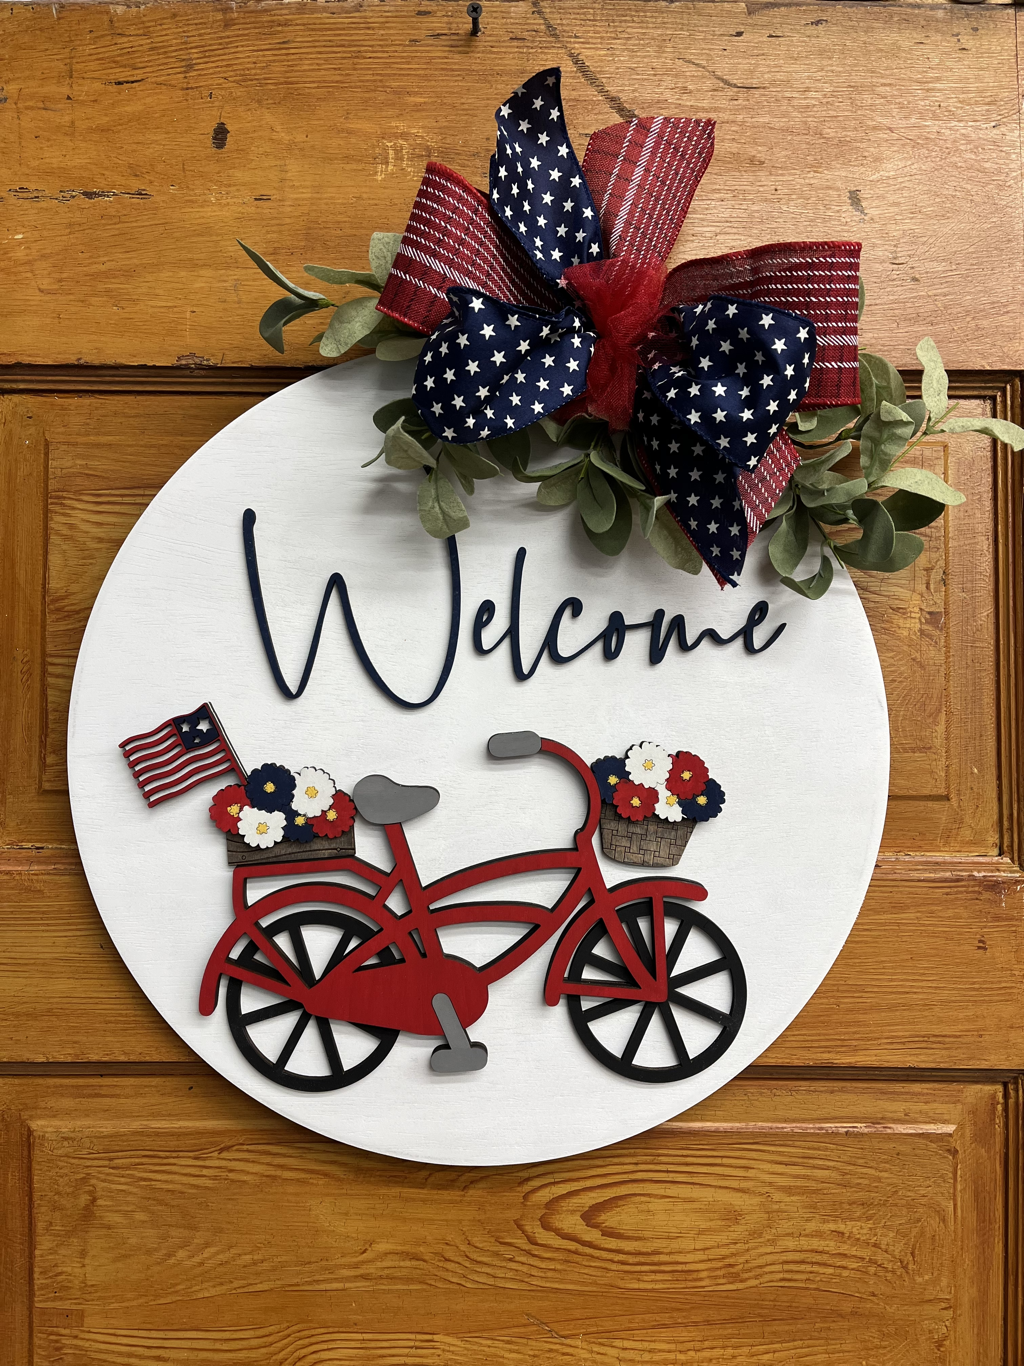
Welcome Bicycle Round
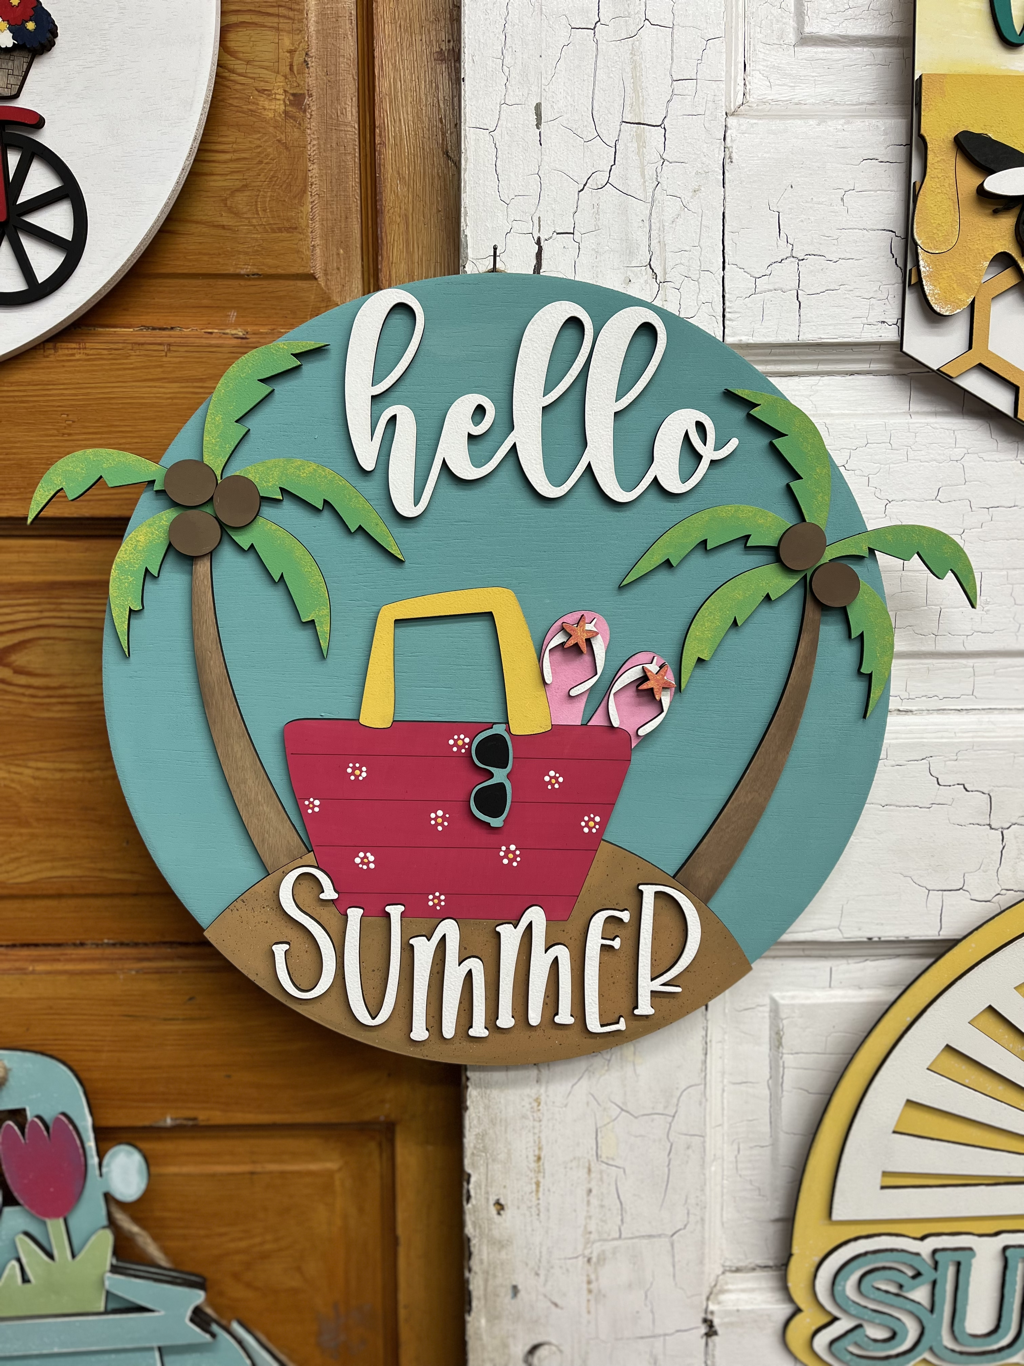
Hello Summer Round
Happy Summer Plank Sign

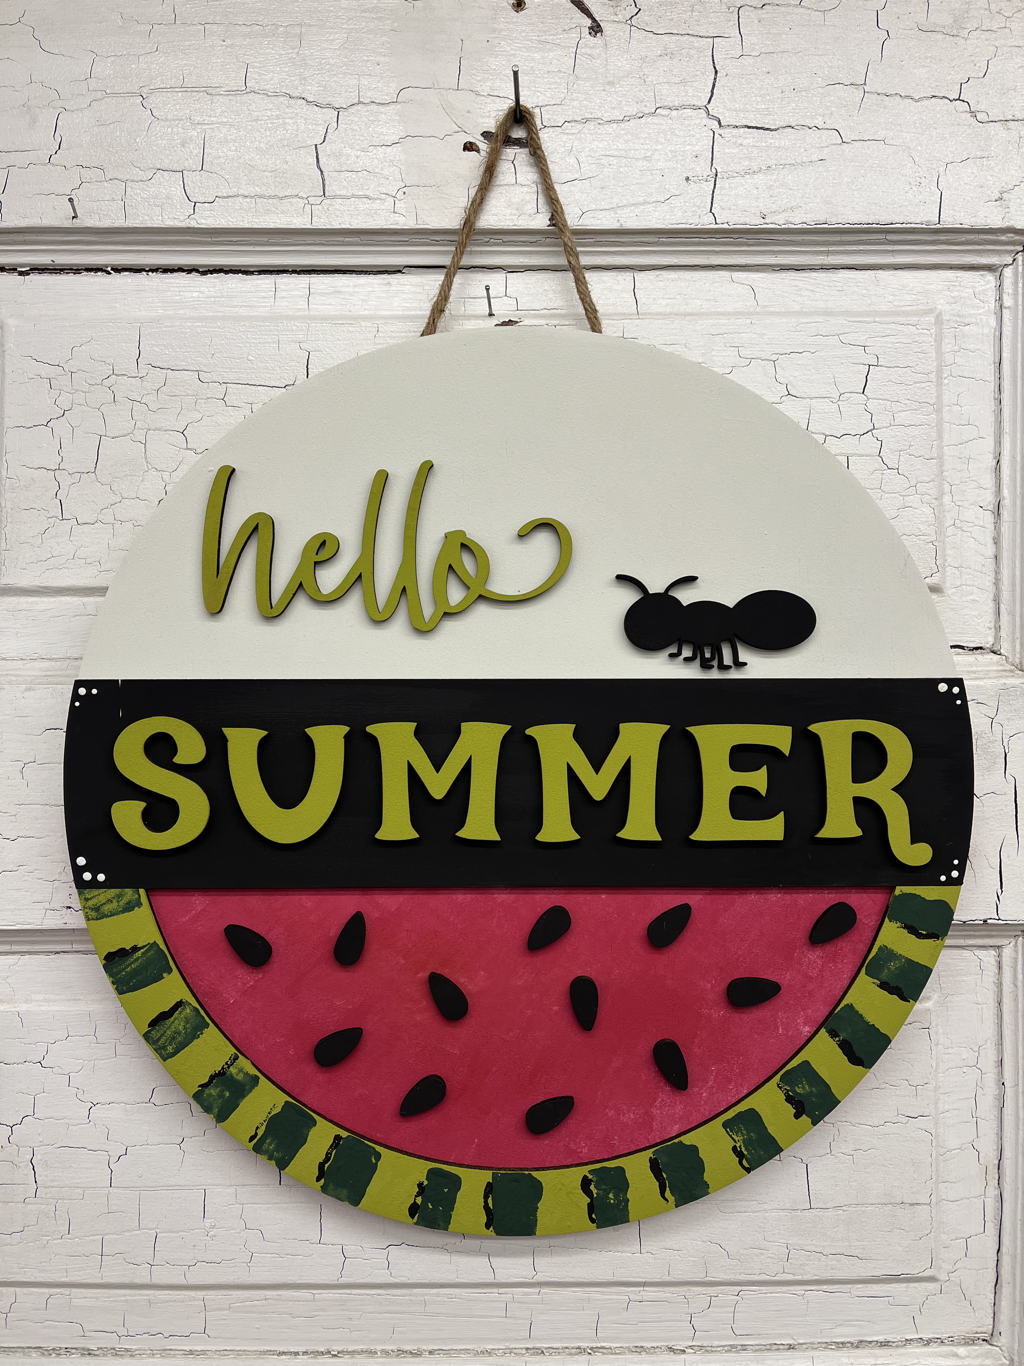
Hello Summer Watermelon Round
Spring ‘22 Projects


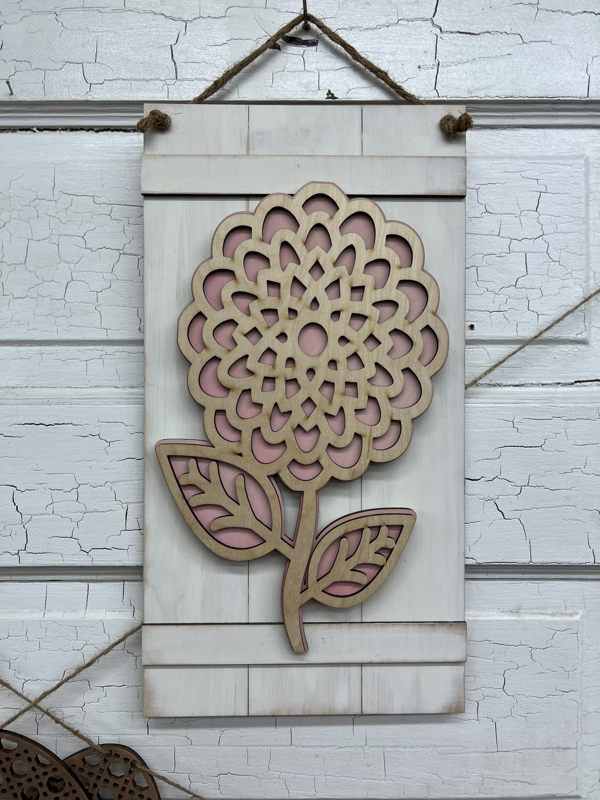
Farmhouse Plank Changeable
Bunny & Carrot Garland

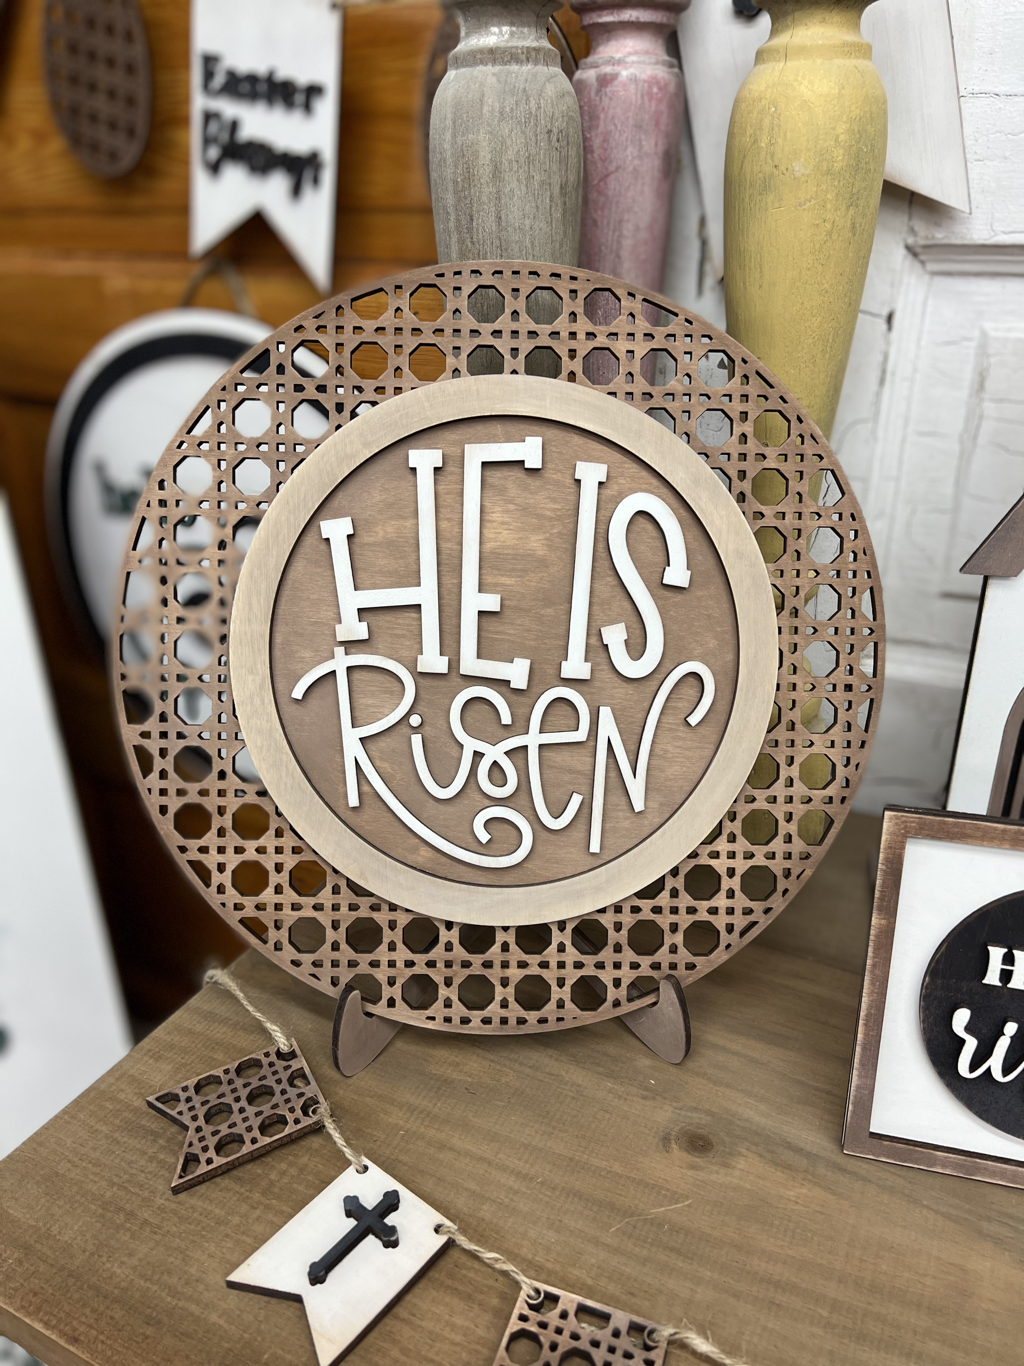
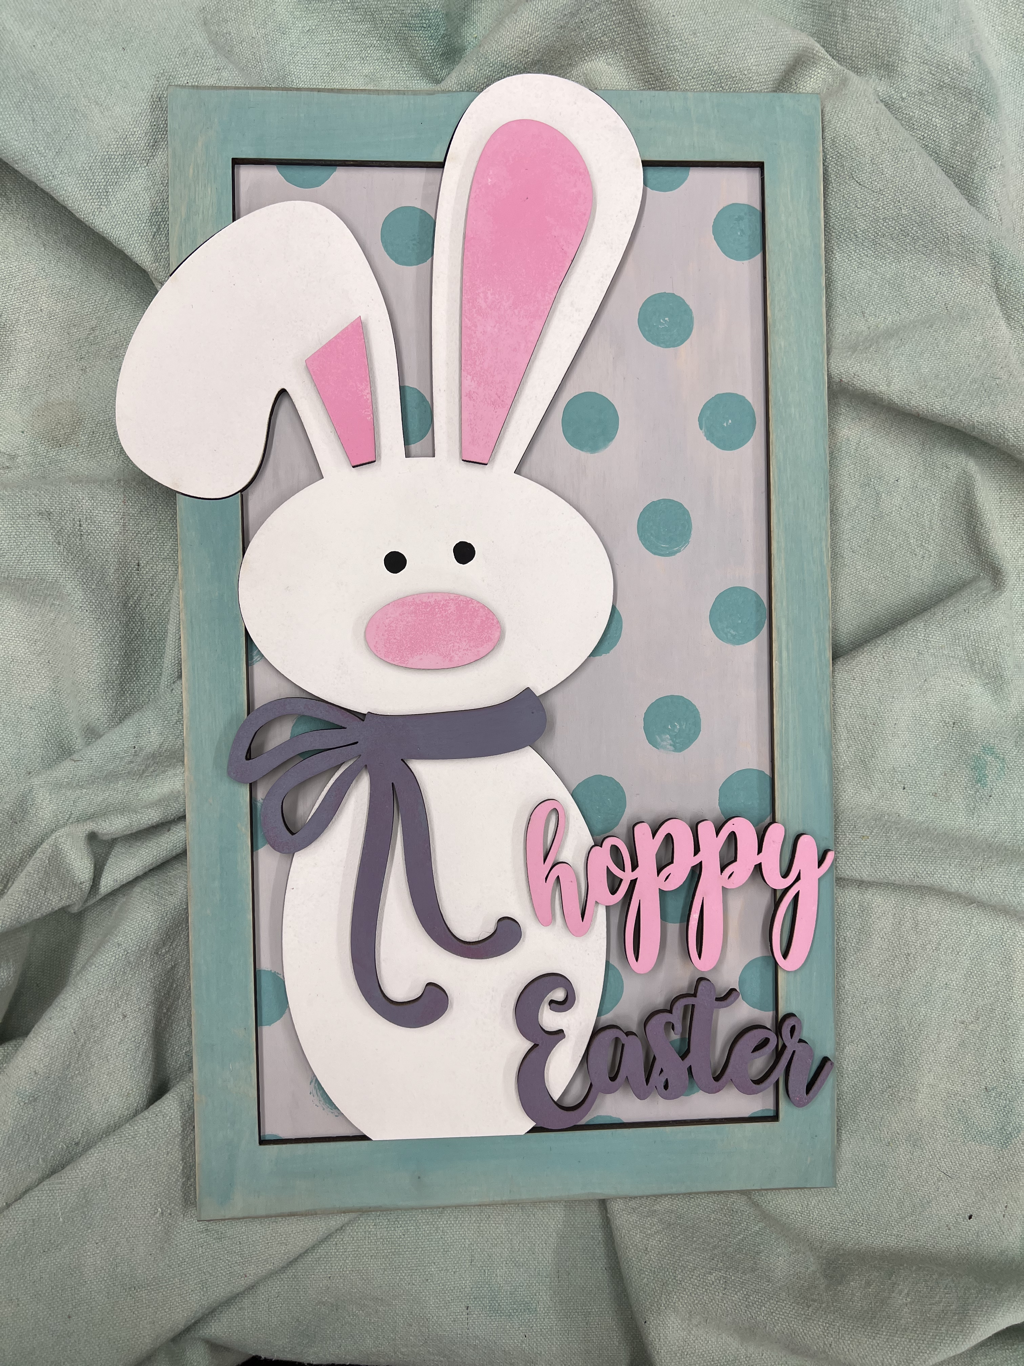
Hoppy Easter
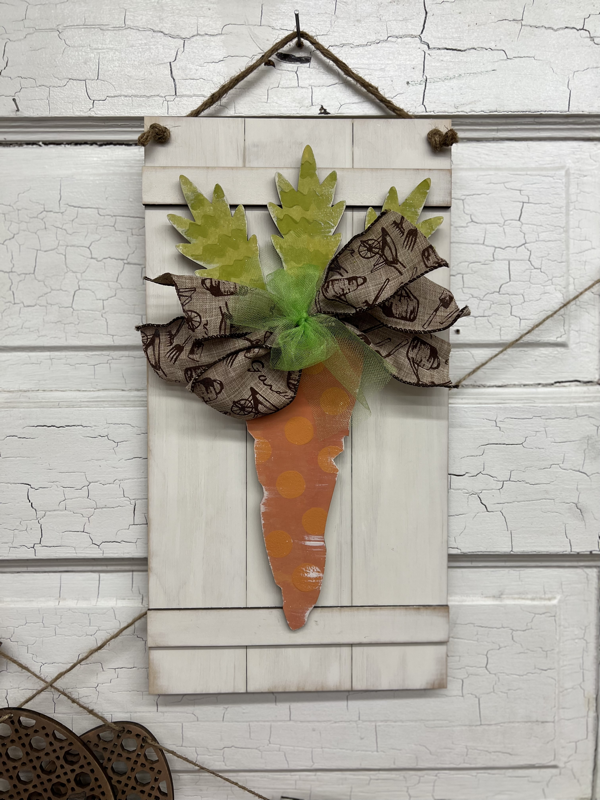
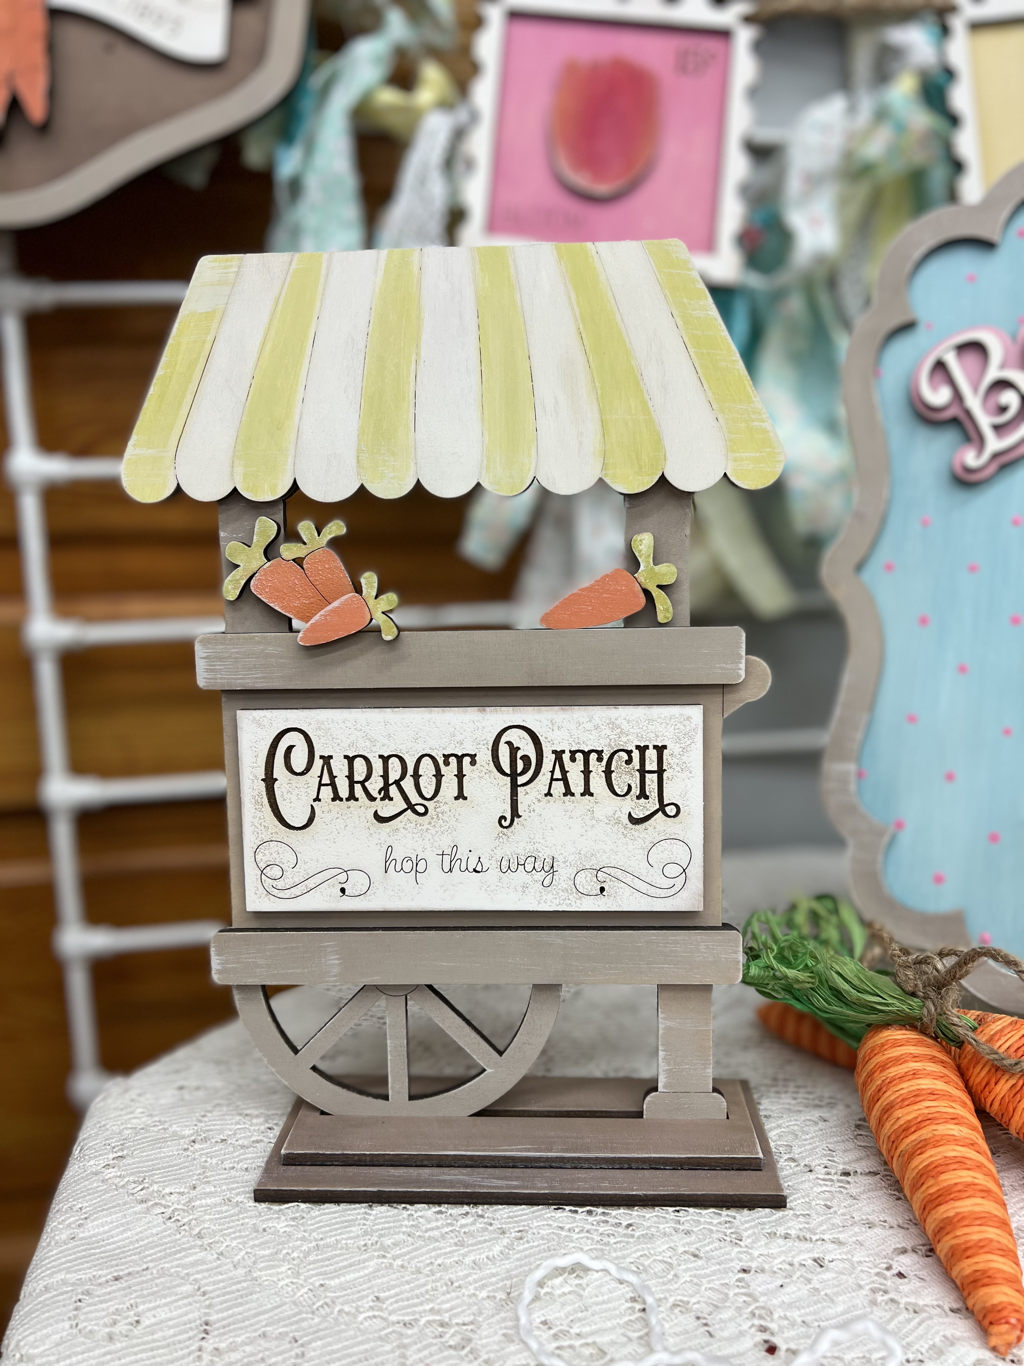
Peter’s Carrot Co.

Peter’s Carrot Cart
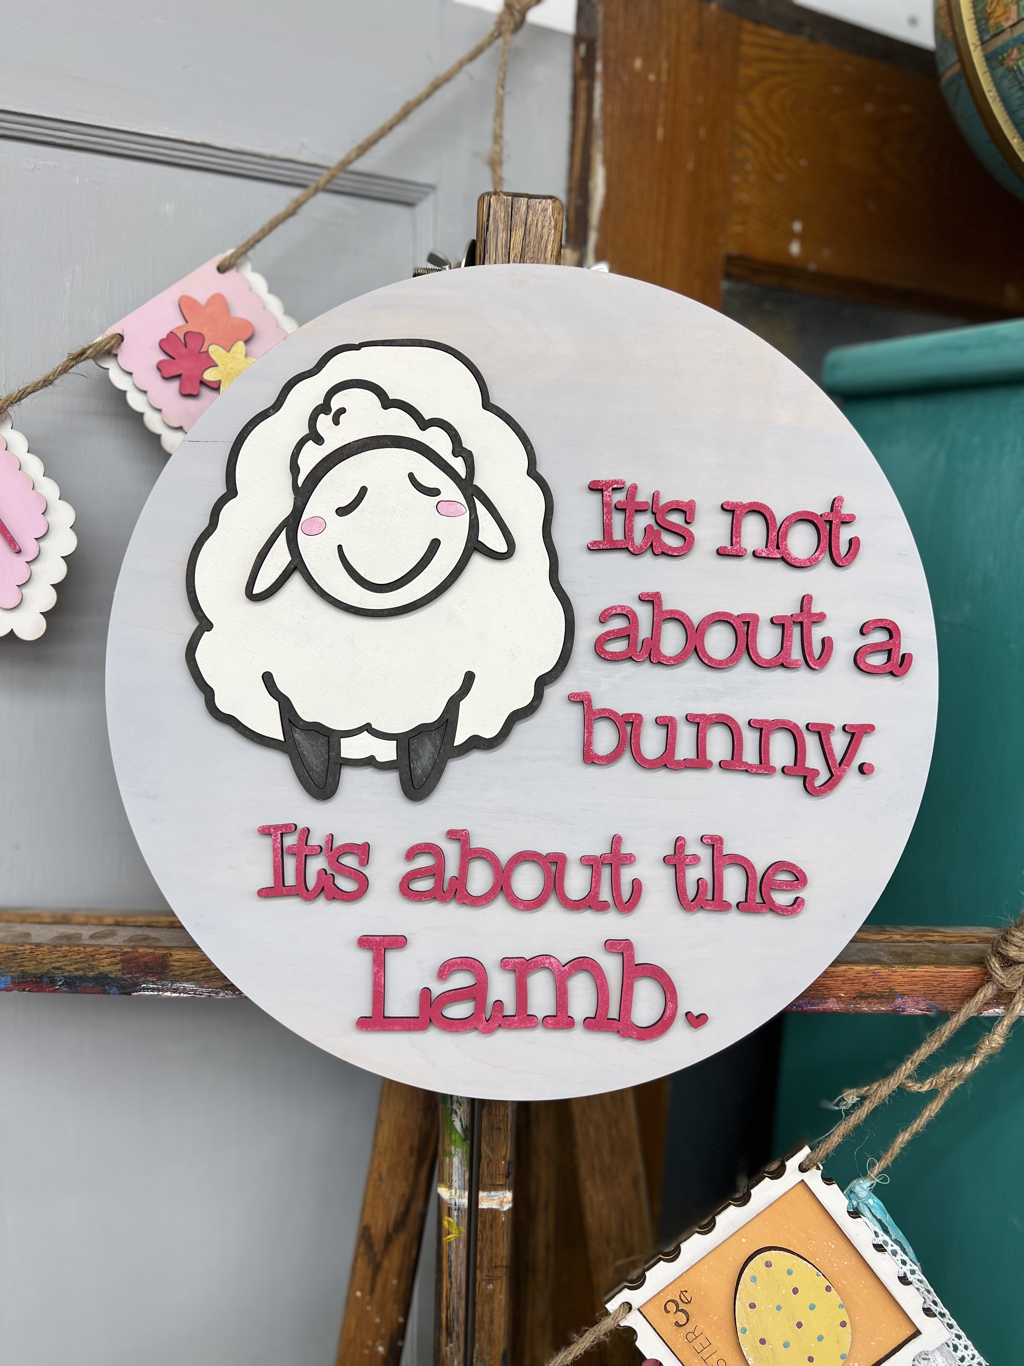
It’s About the Lamb
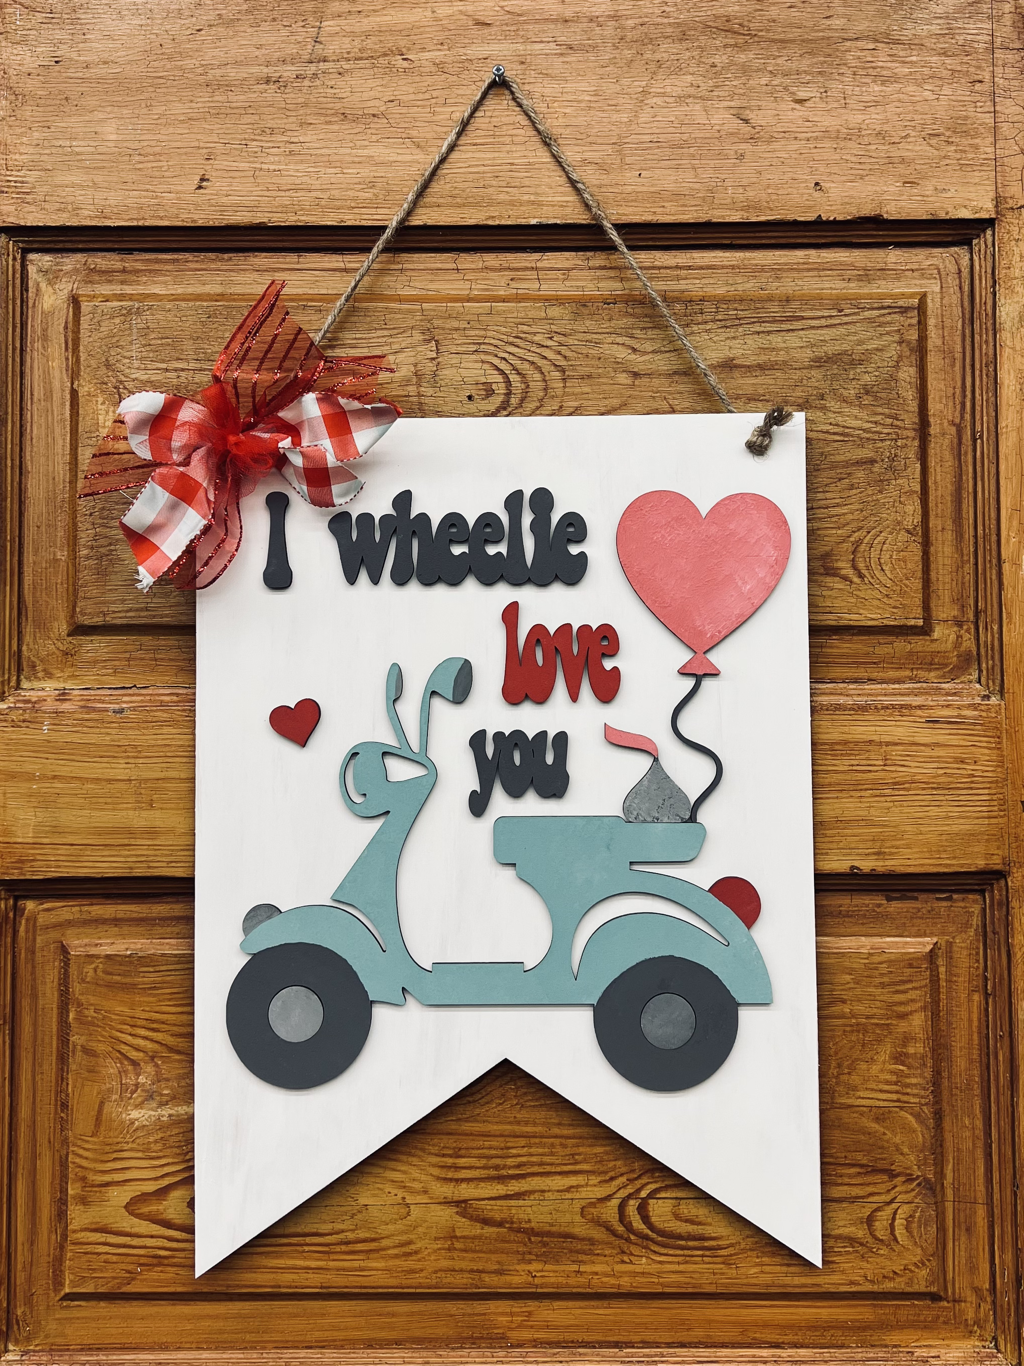
"I wheelie love you" banner
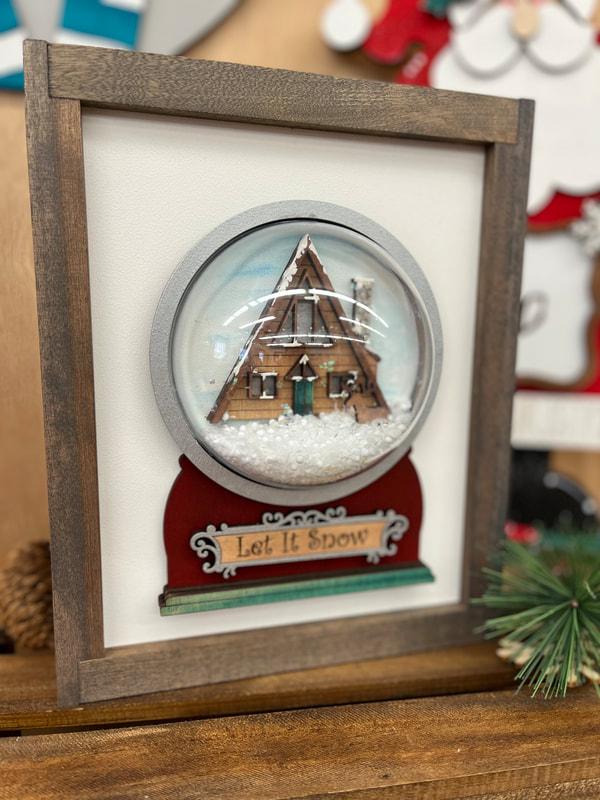
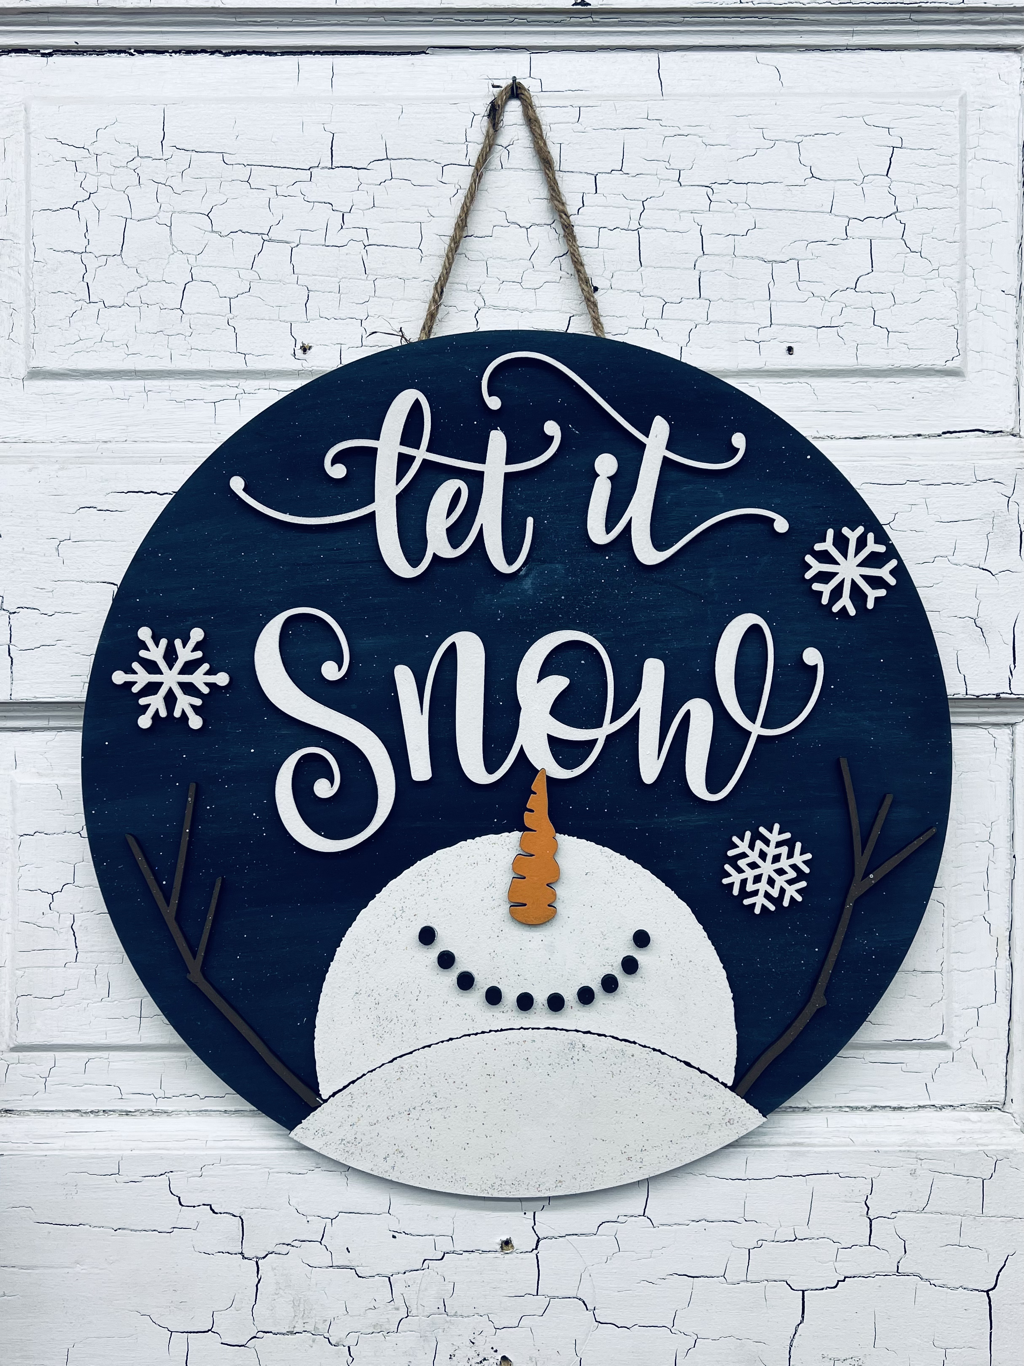
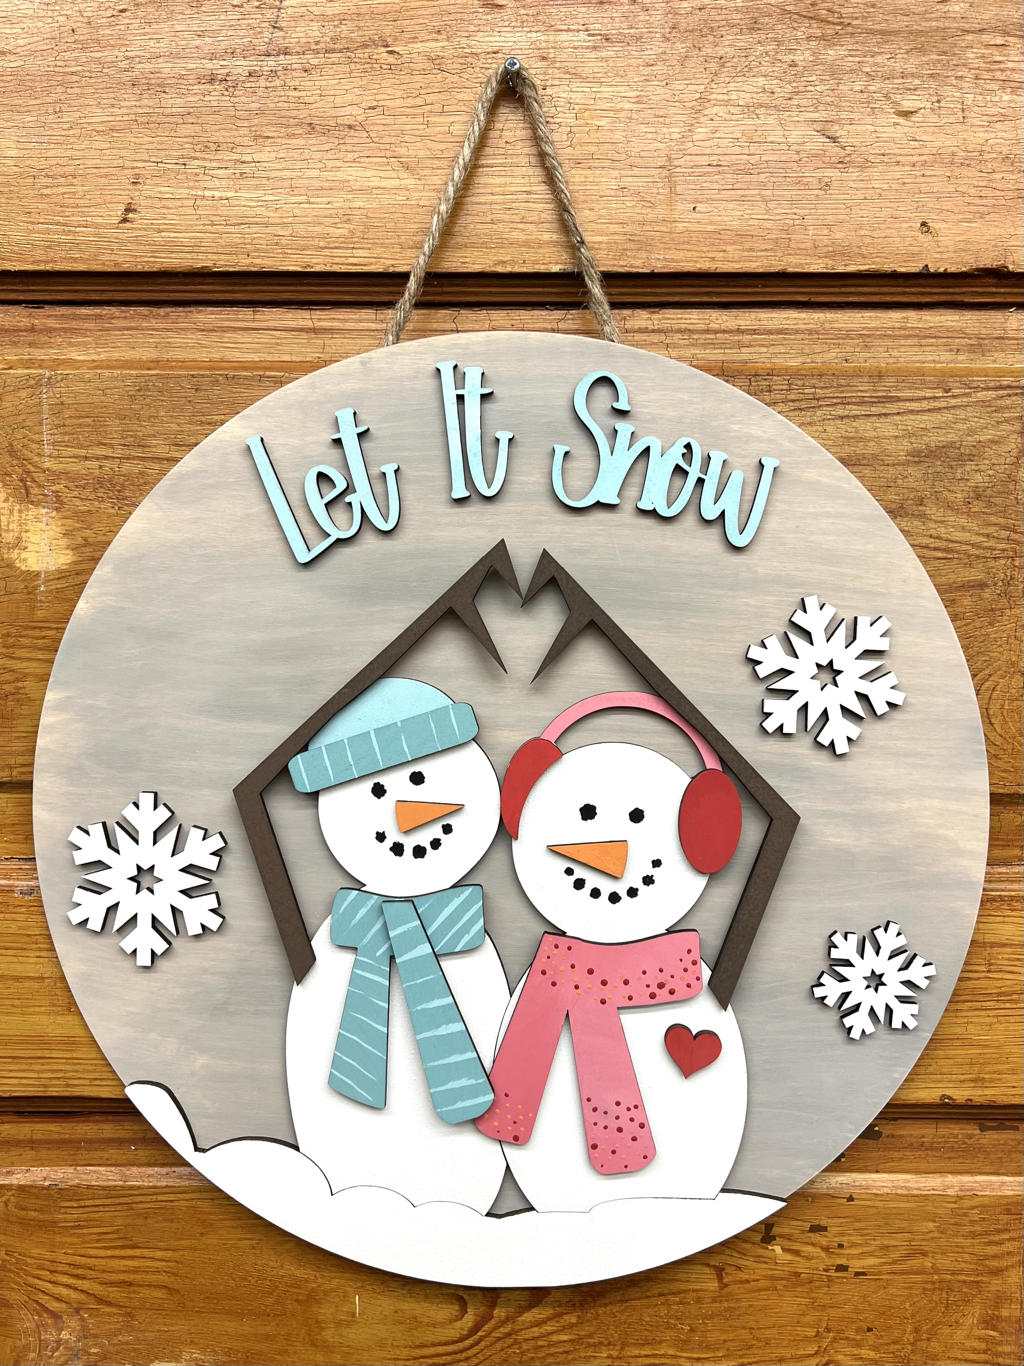
Catching Snowflakes… Let It Snow round
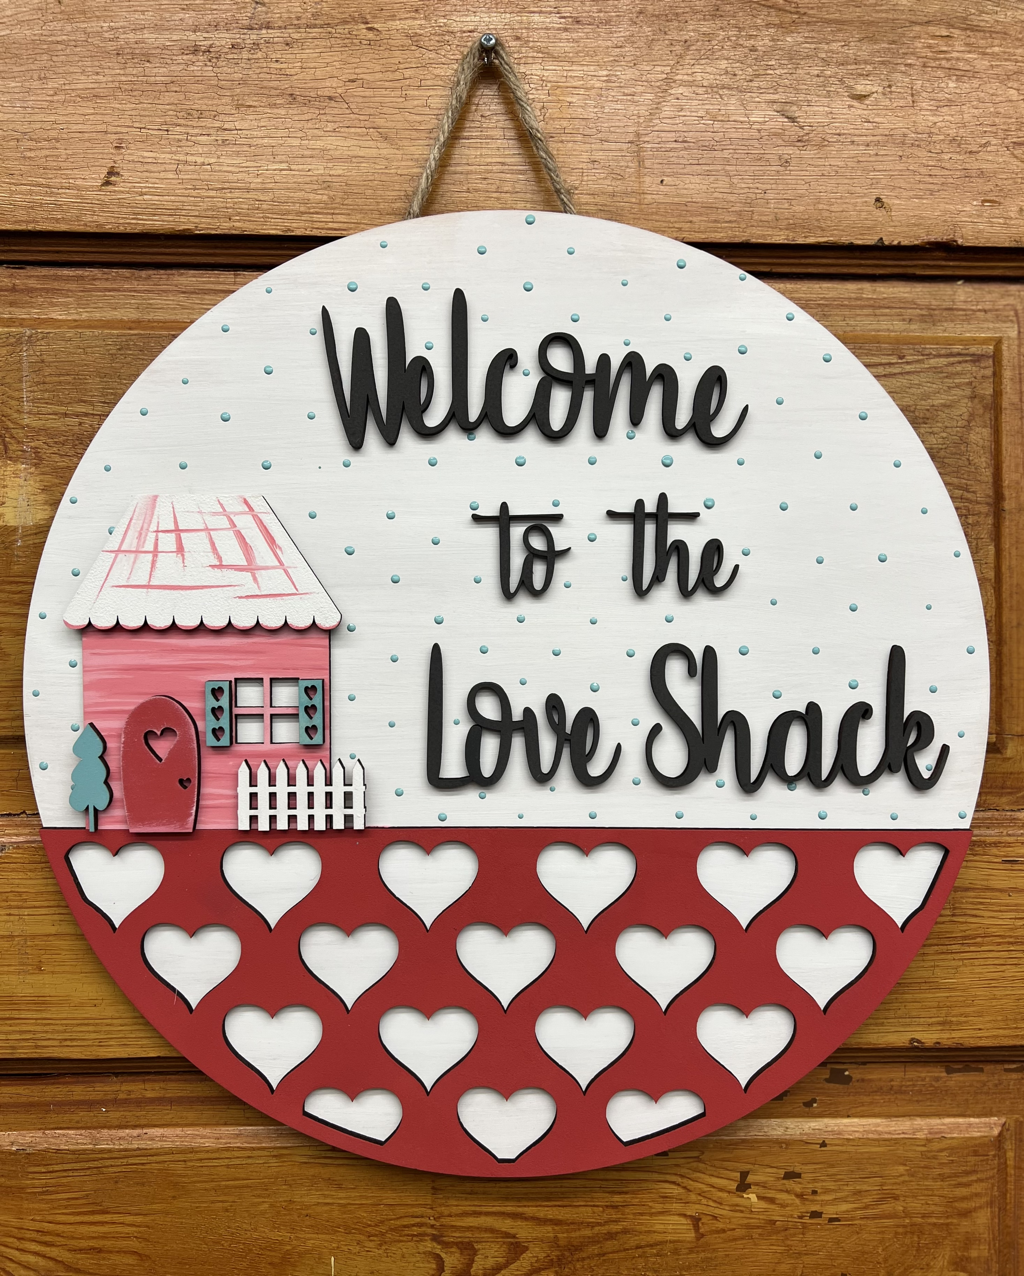
Welcome to the Love Shack round
Snow in Love round
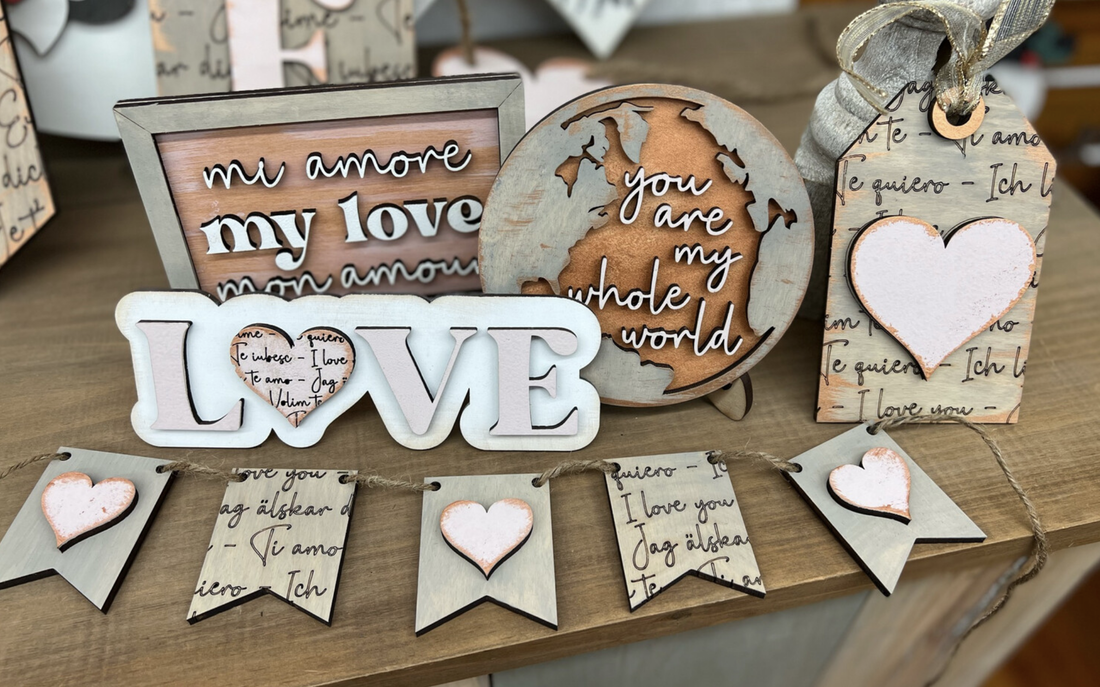
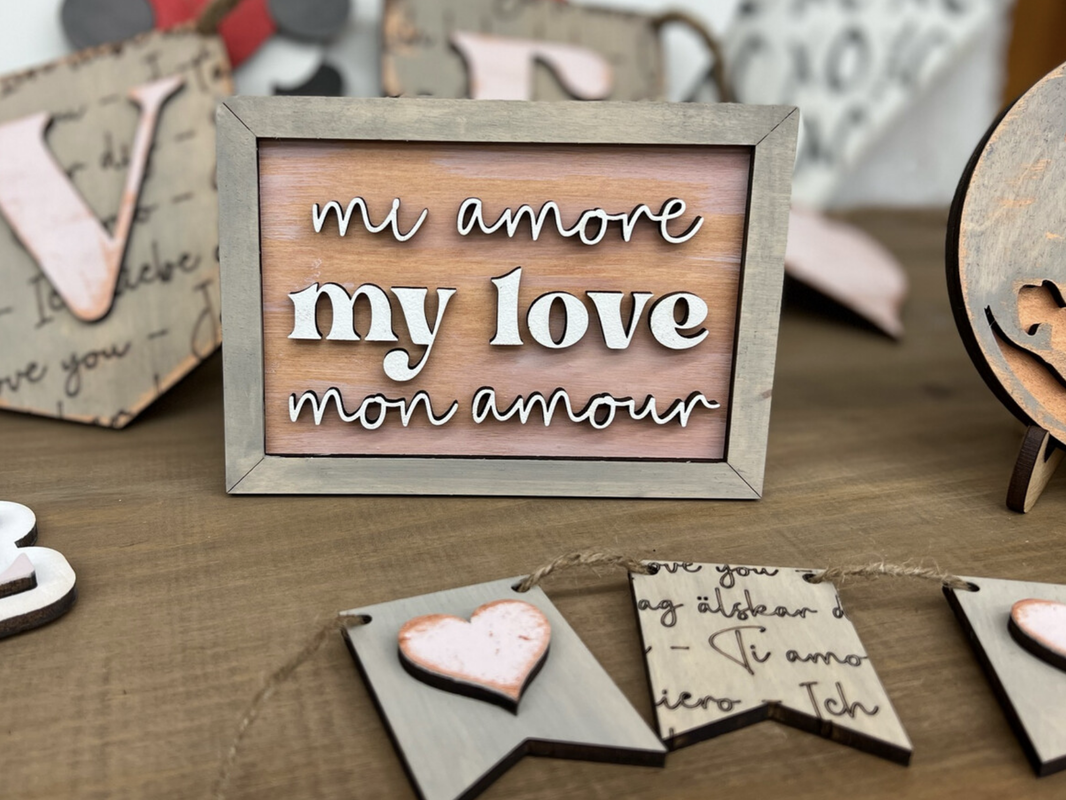
Love Letters tray set


Fries before Guys round

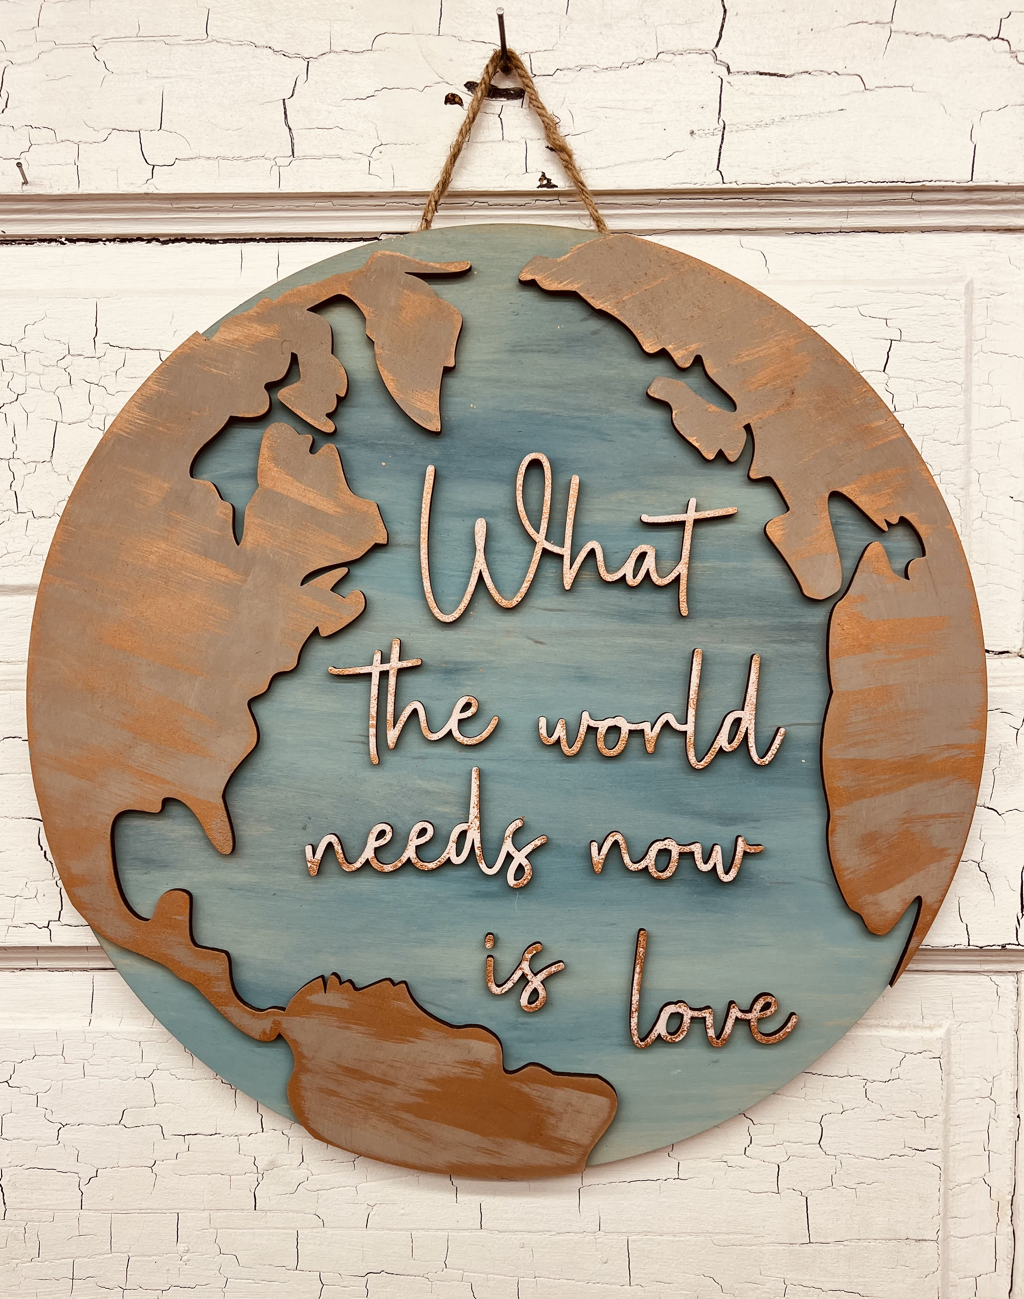
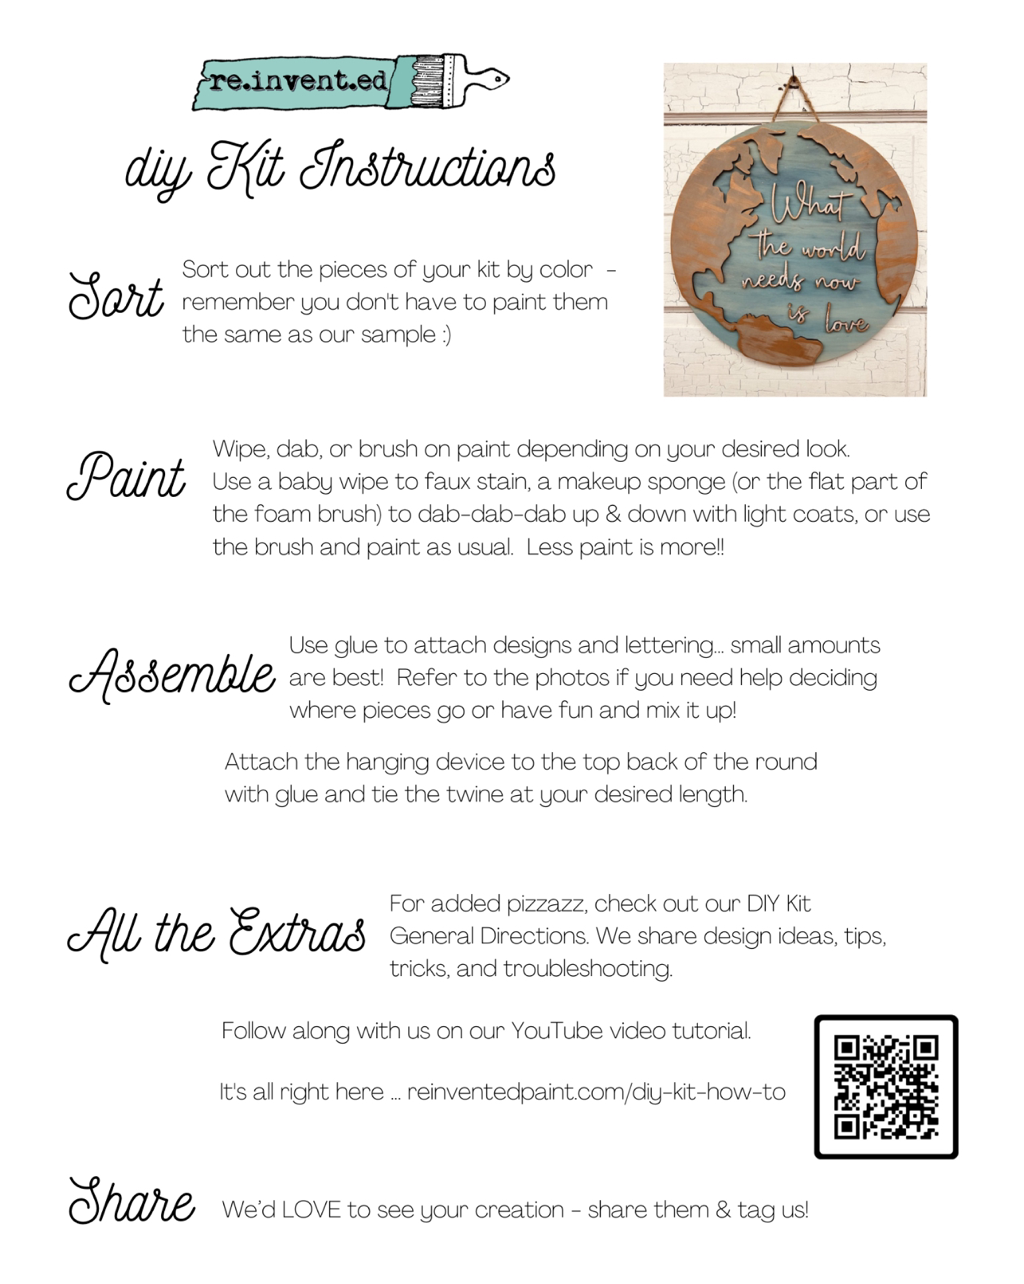
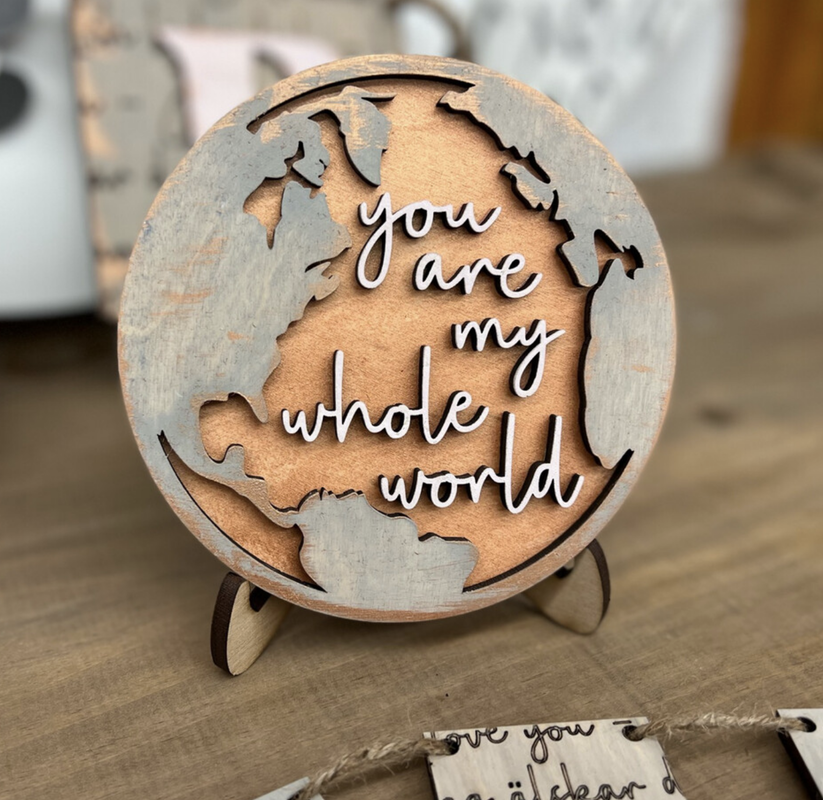
What the World Needs is Love round
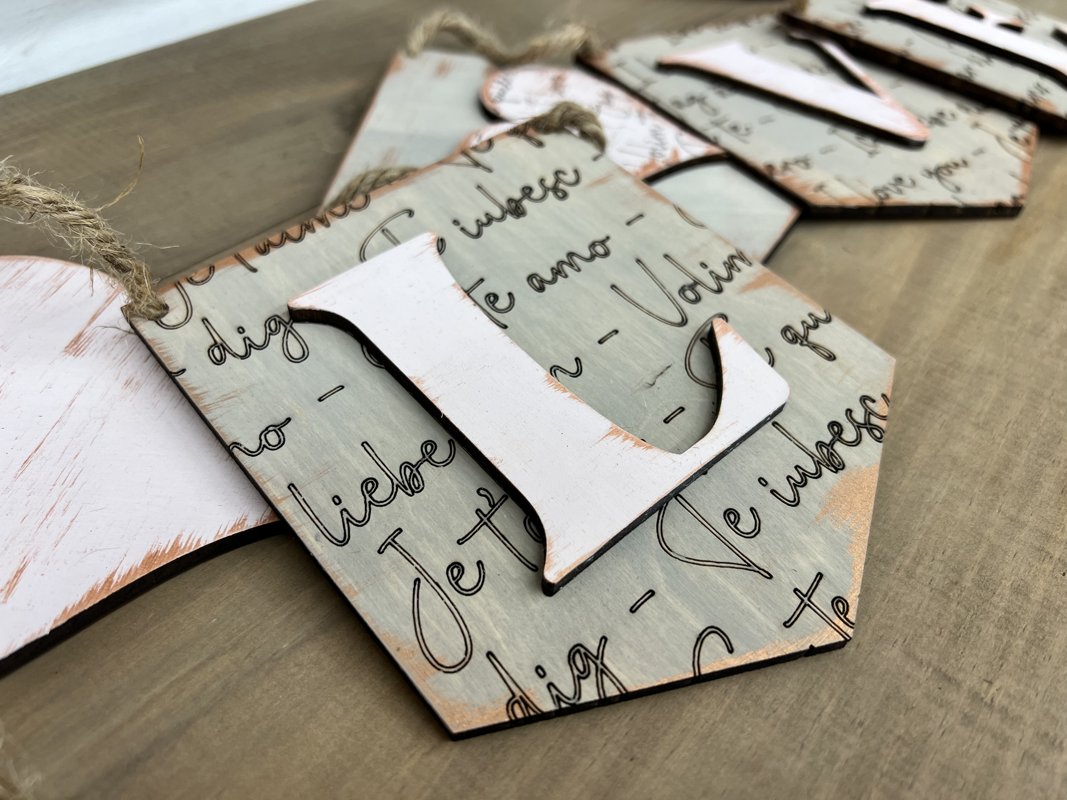
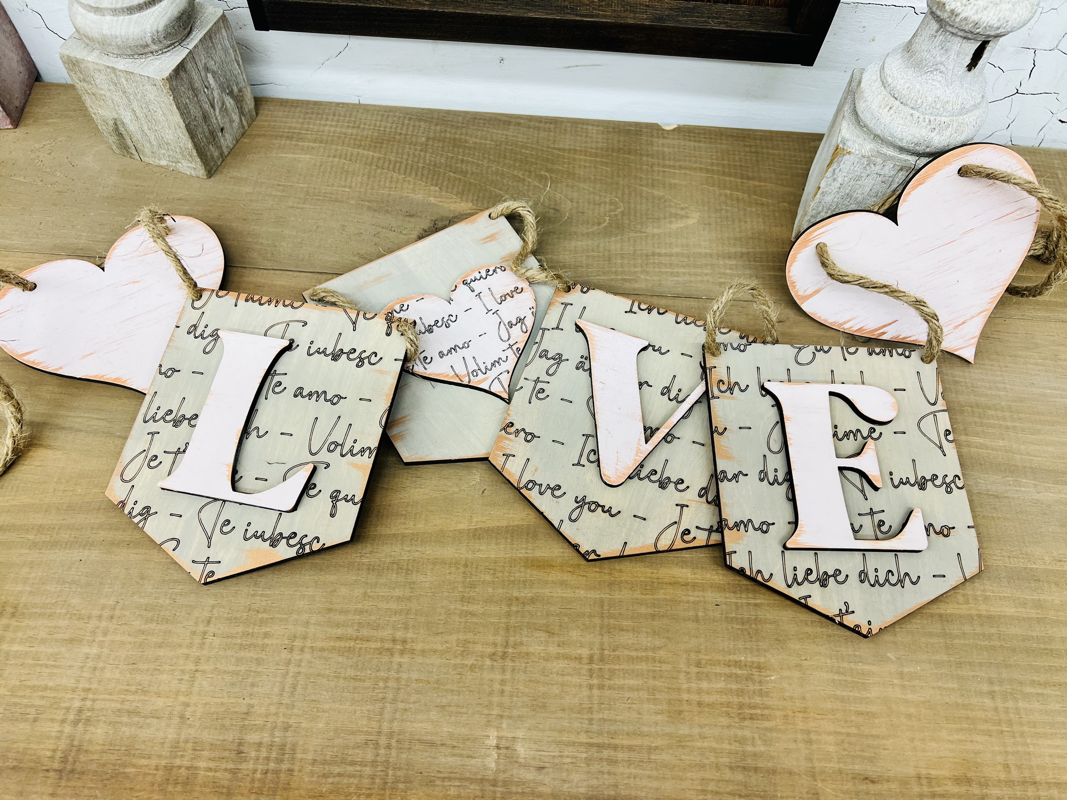
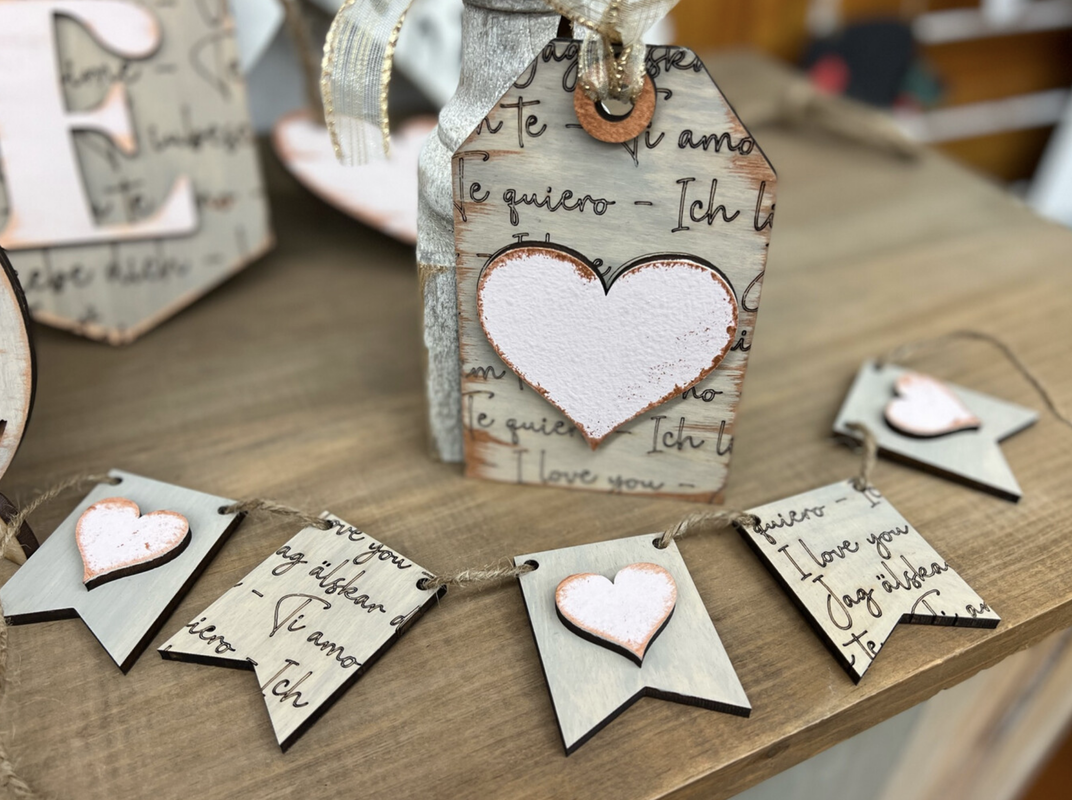
Love Language garland
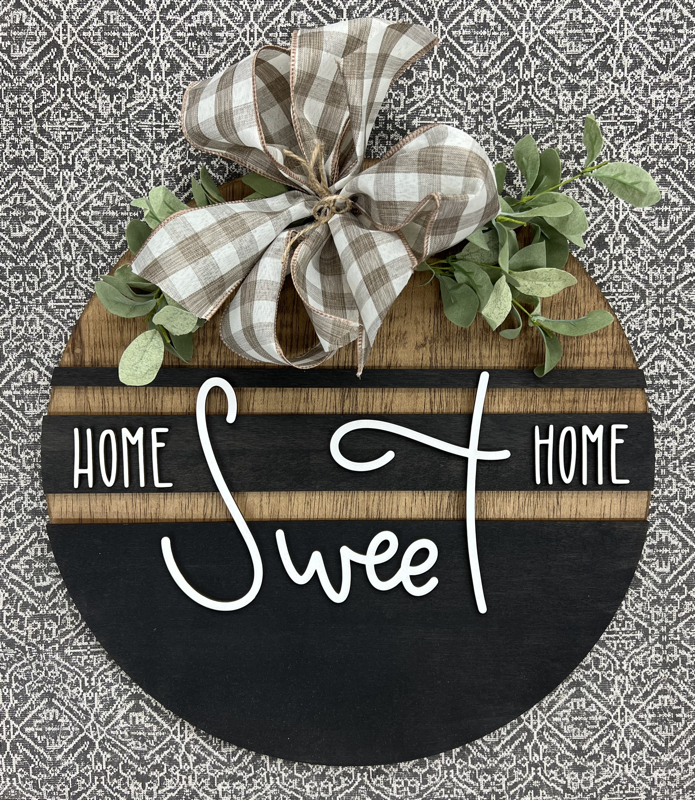
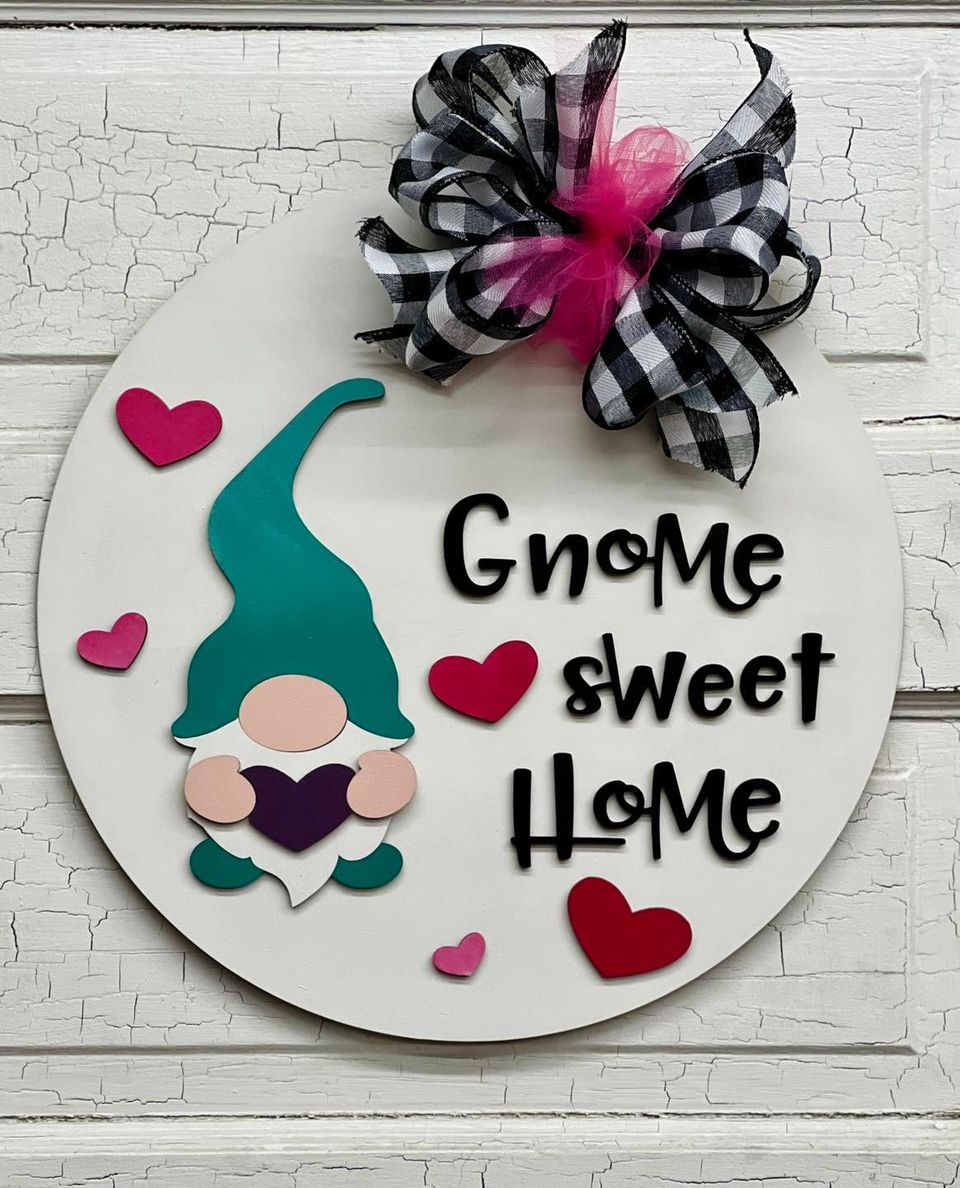
Gnome Sweet Home round
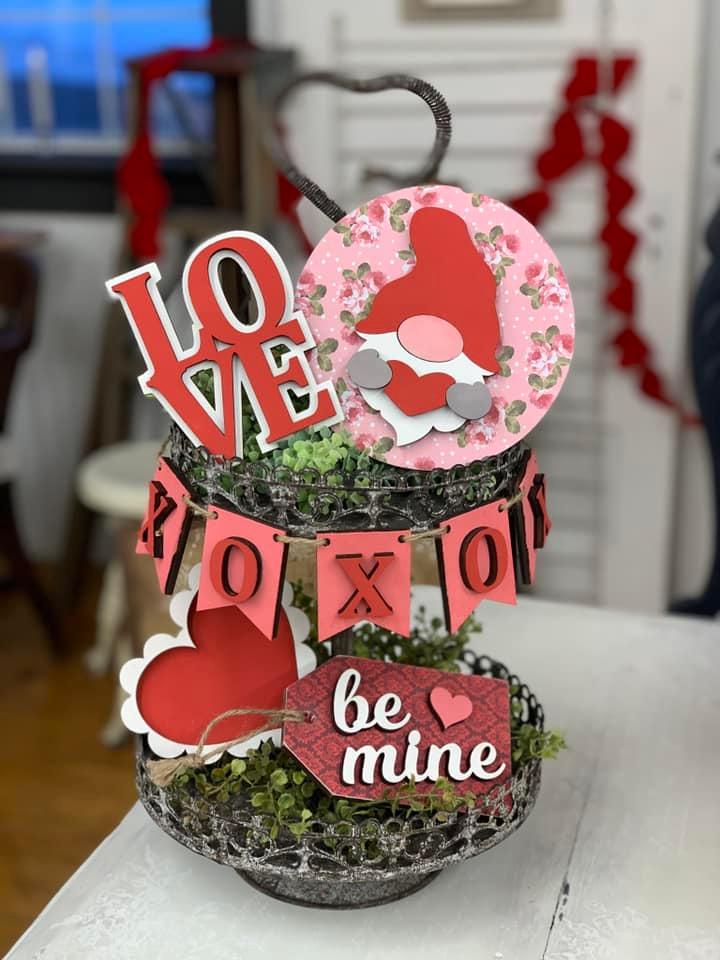
Gnome in Love tray set
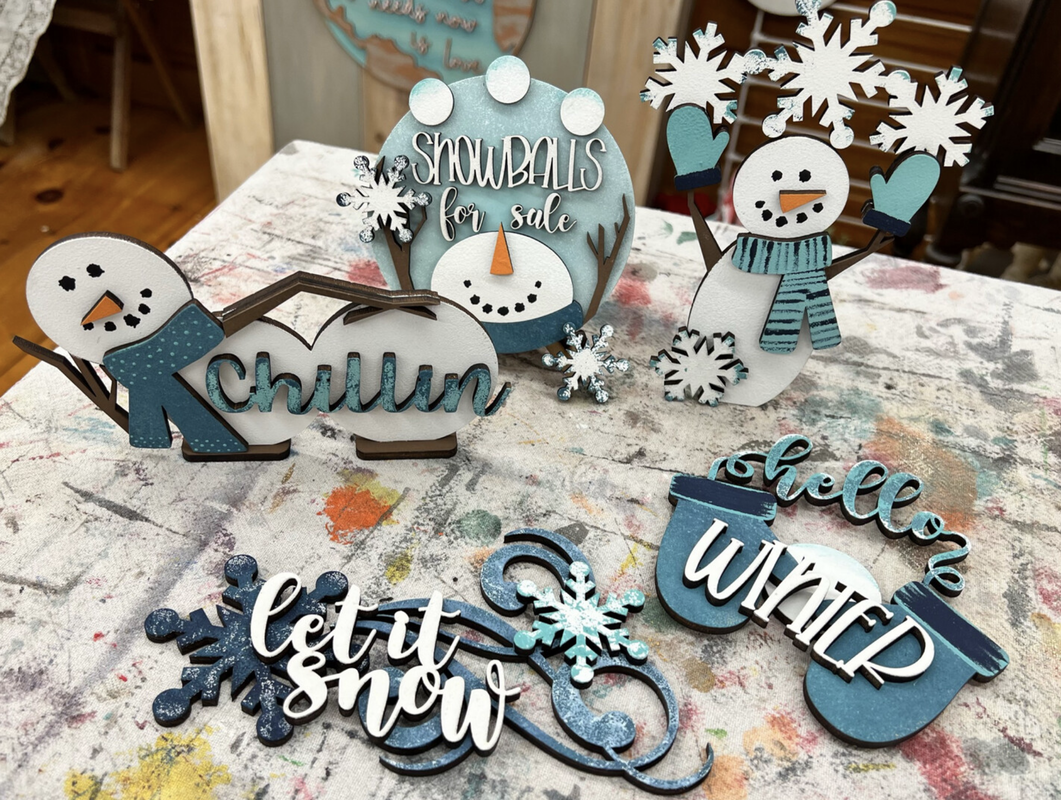
Just Chillin' tray set


Love Around the World tray set

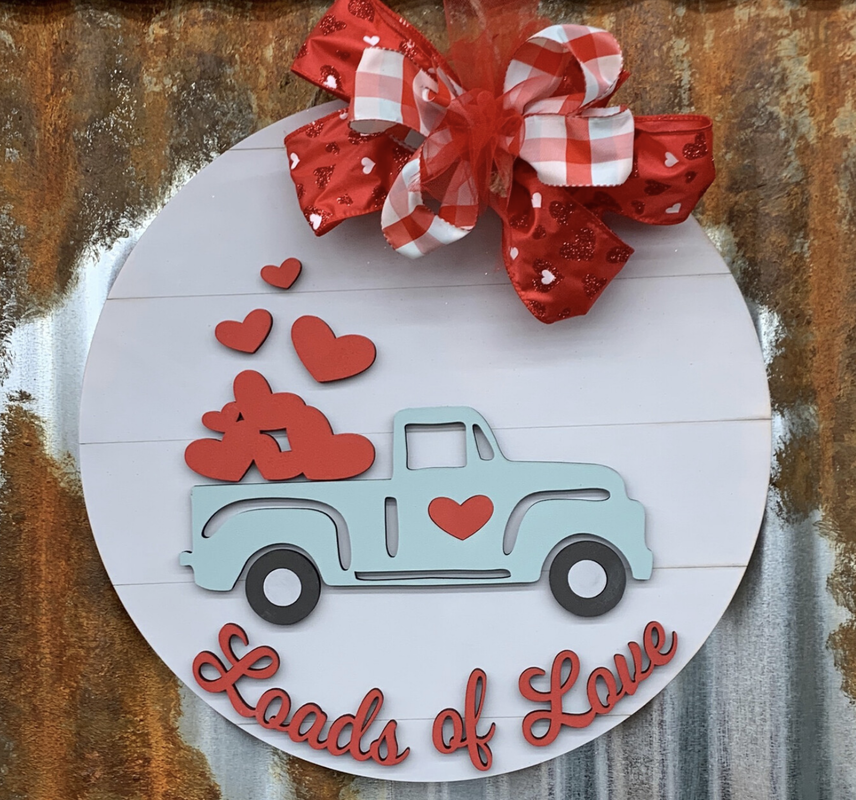
Loads of Love round

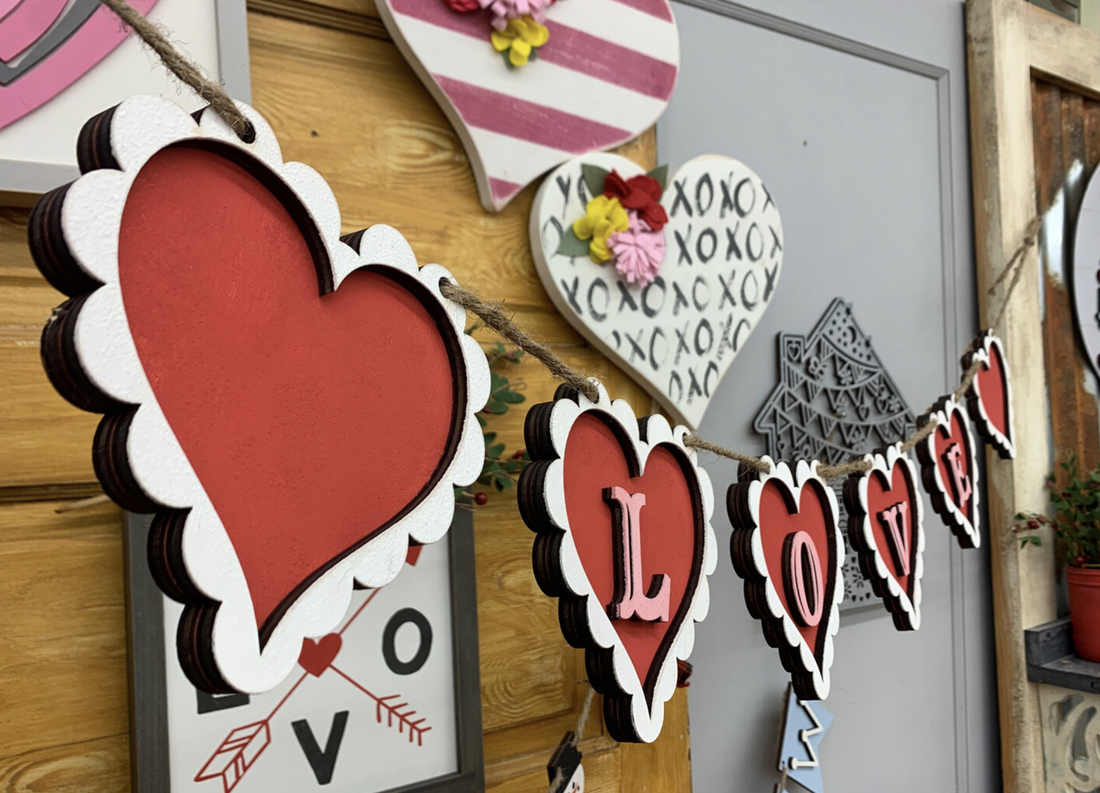
Lace Hearts Love garland
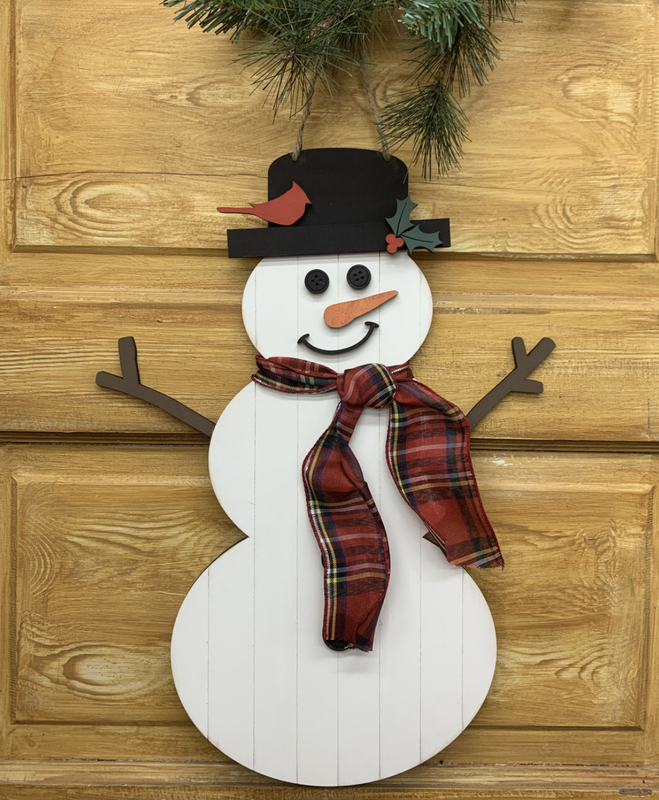
Build-a-Snowman (set of 2)

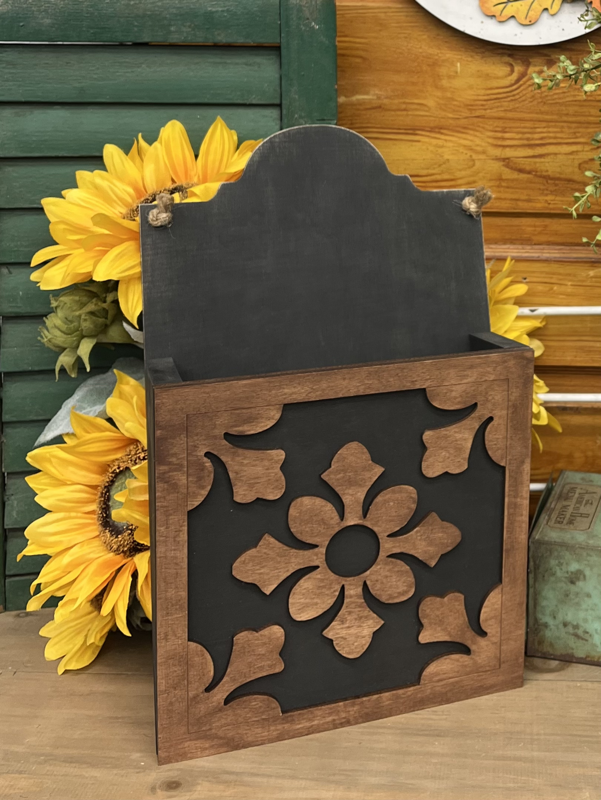
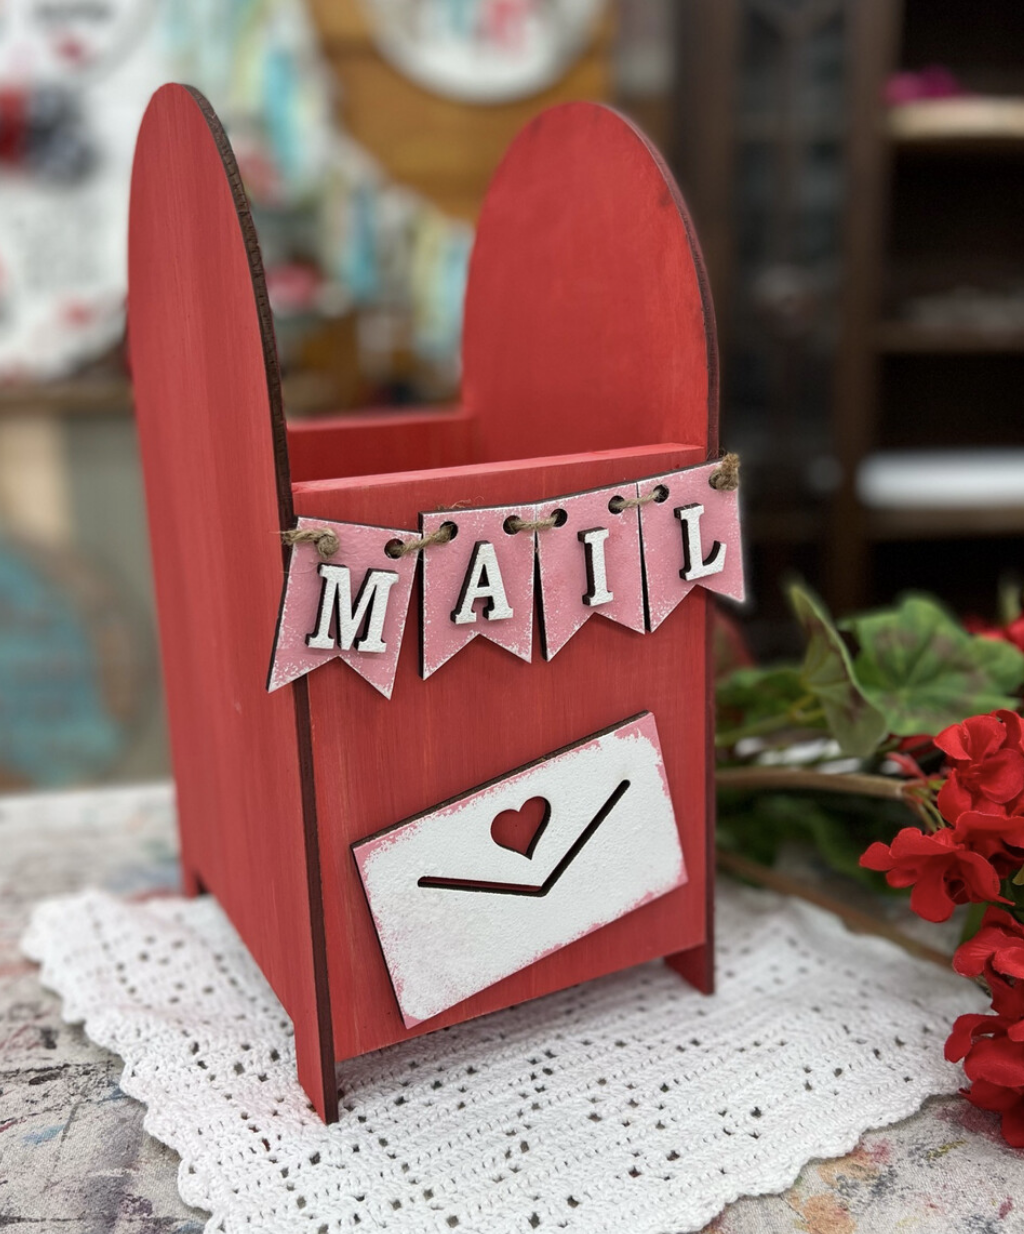
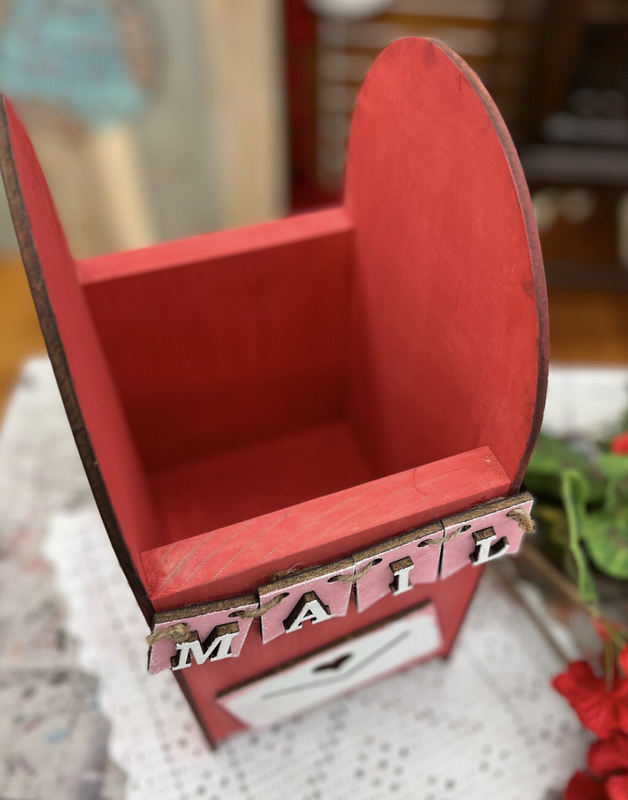
Valentine Mailbox

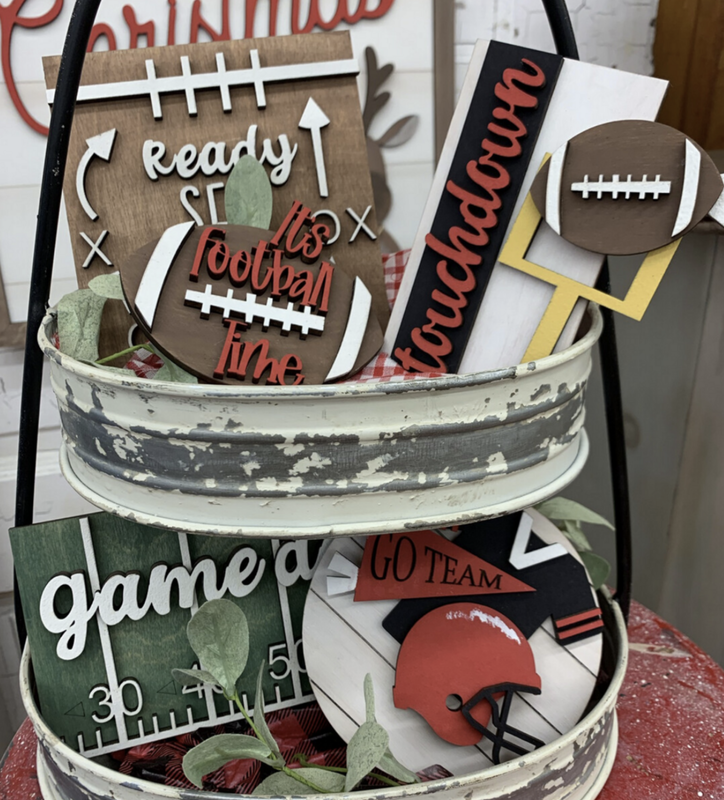
Touchdown! tray set
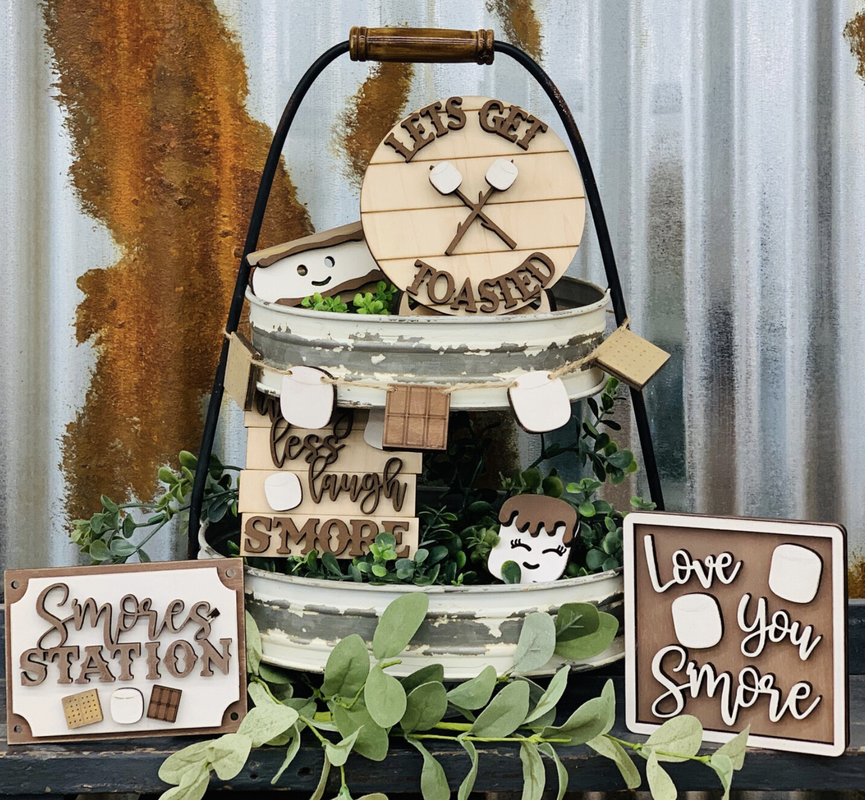
S'mores tray set